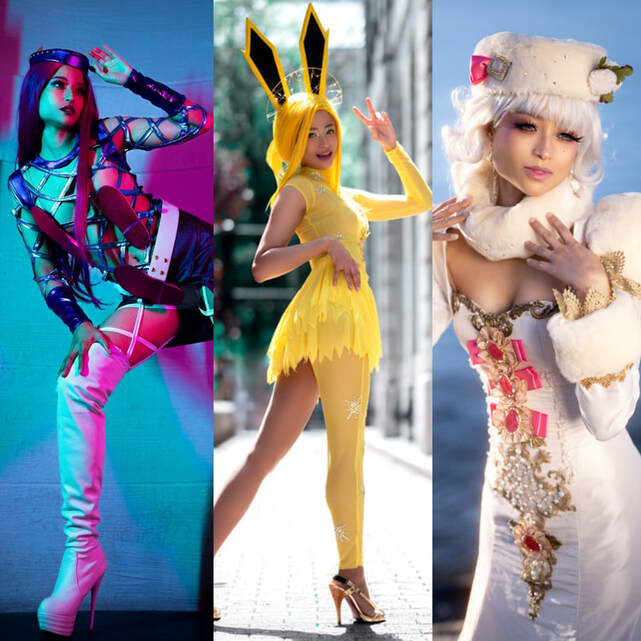
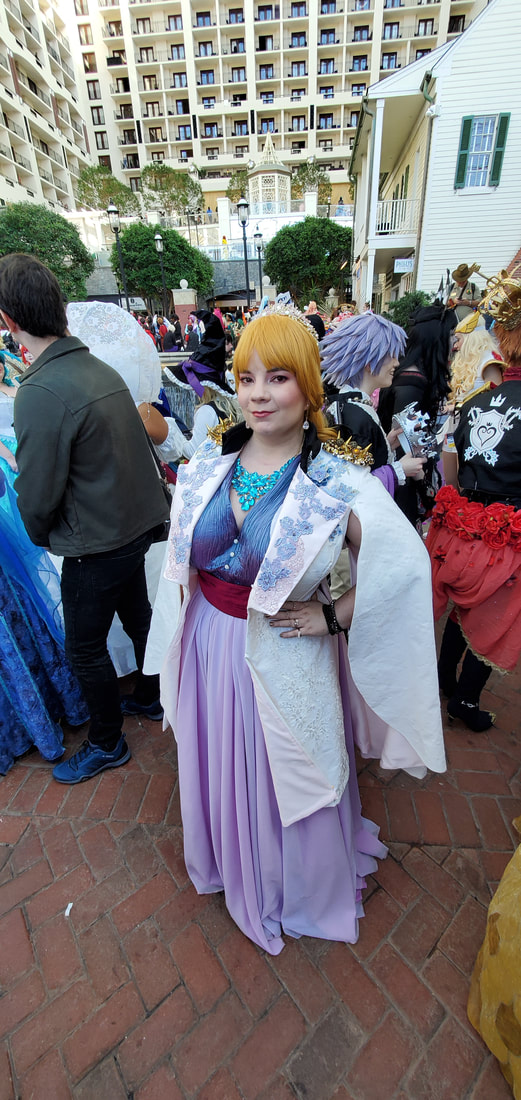
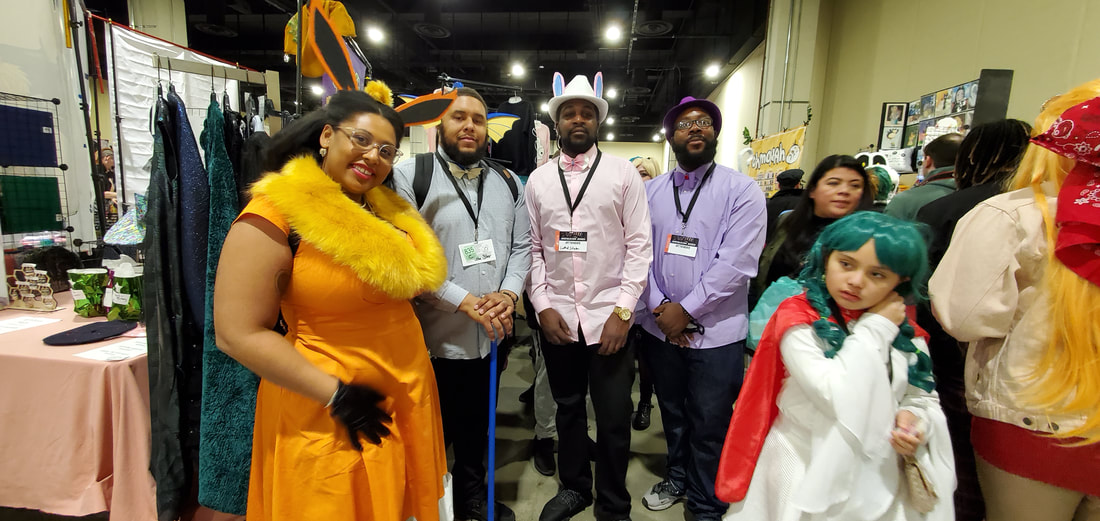
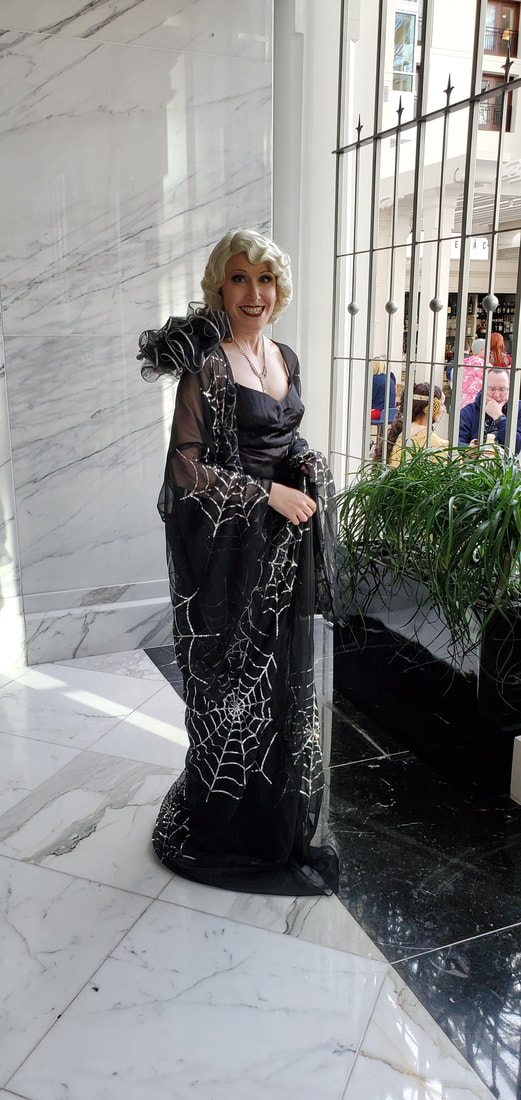
 2023 was a slow crafting year for me. I typically produce 6-7 costumes each year and I made so few costumes in comparison. I need to remind myself not to be discouraged by it since I was dealing with a lot of life changes that slowed me down. There will always be next year to work on new projects and attend other conventions. I had a great time at the many convention I attended and I'm proud of the costume I did finish. Salty Vanilla has been a work in progress for years so I'm happy to finally wrap it up. Anasui is was a fun costume to wear since I love crazy Jojo designs. And Pokémon design are always a fun creative outlet. So let's go over my 2023 cosplay year. What I learned
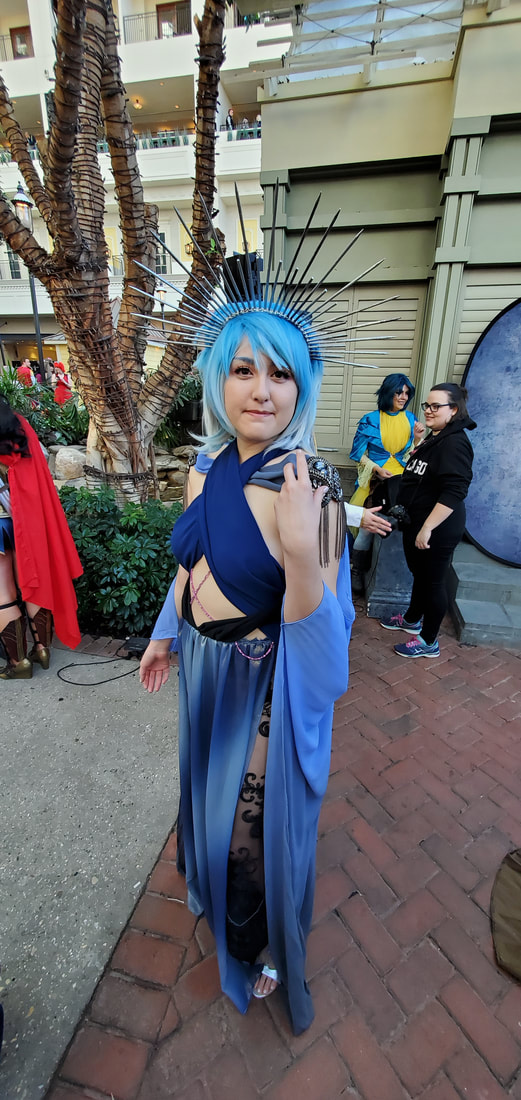
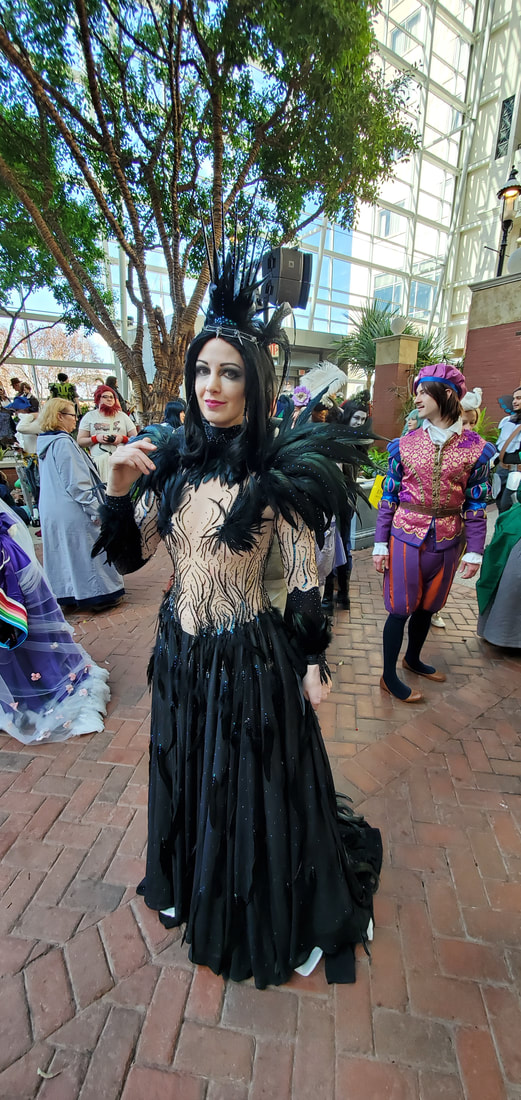
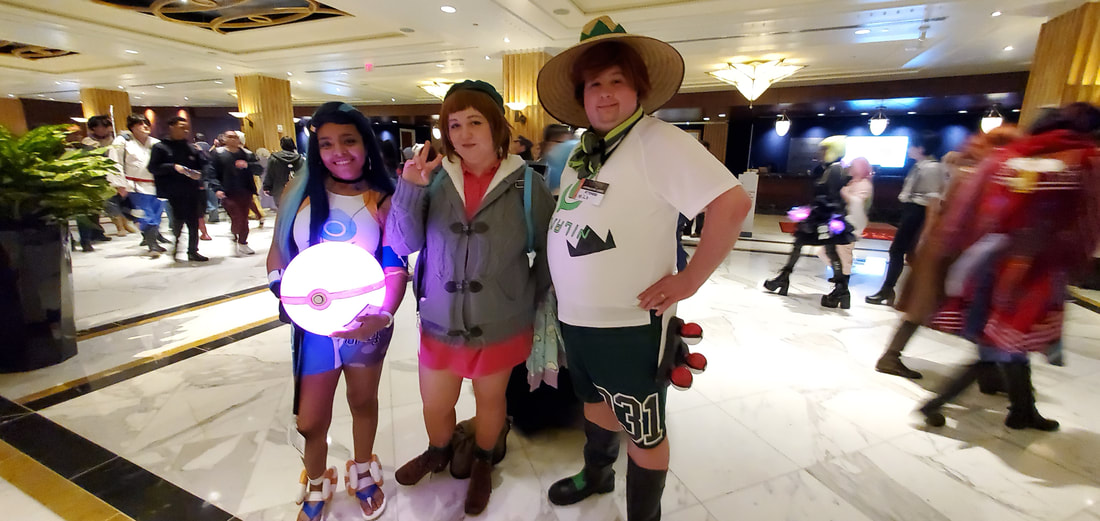
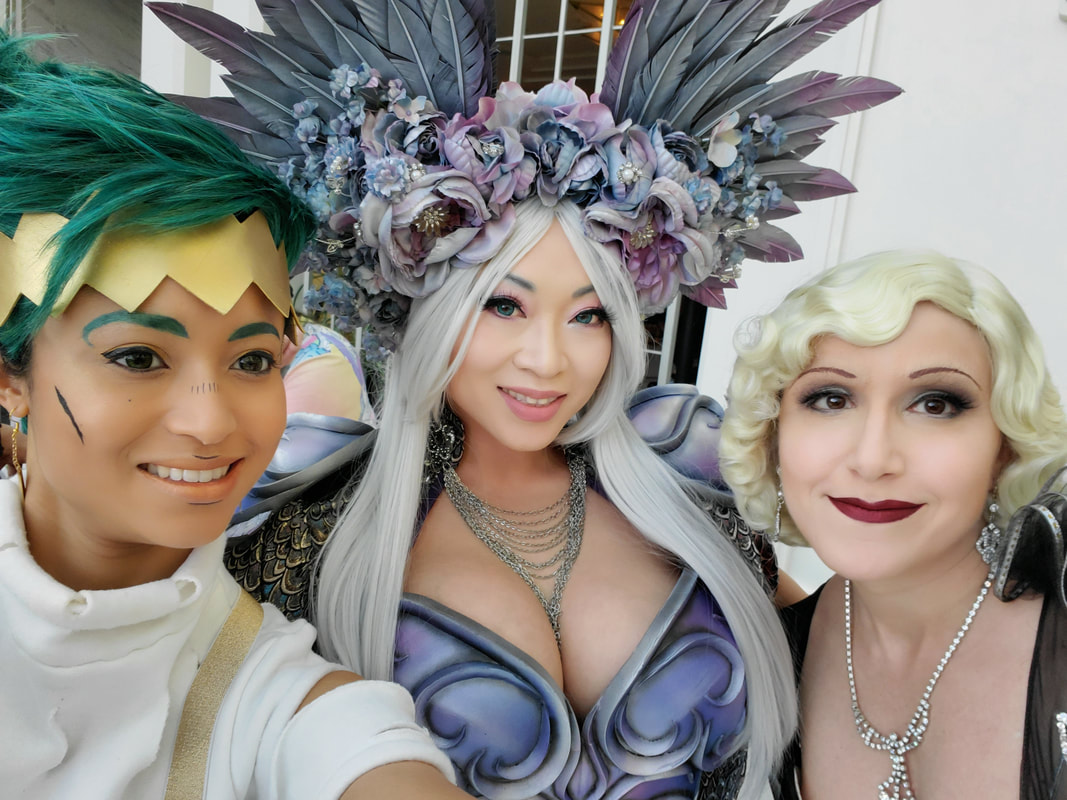
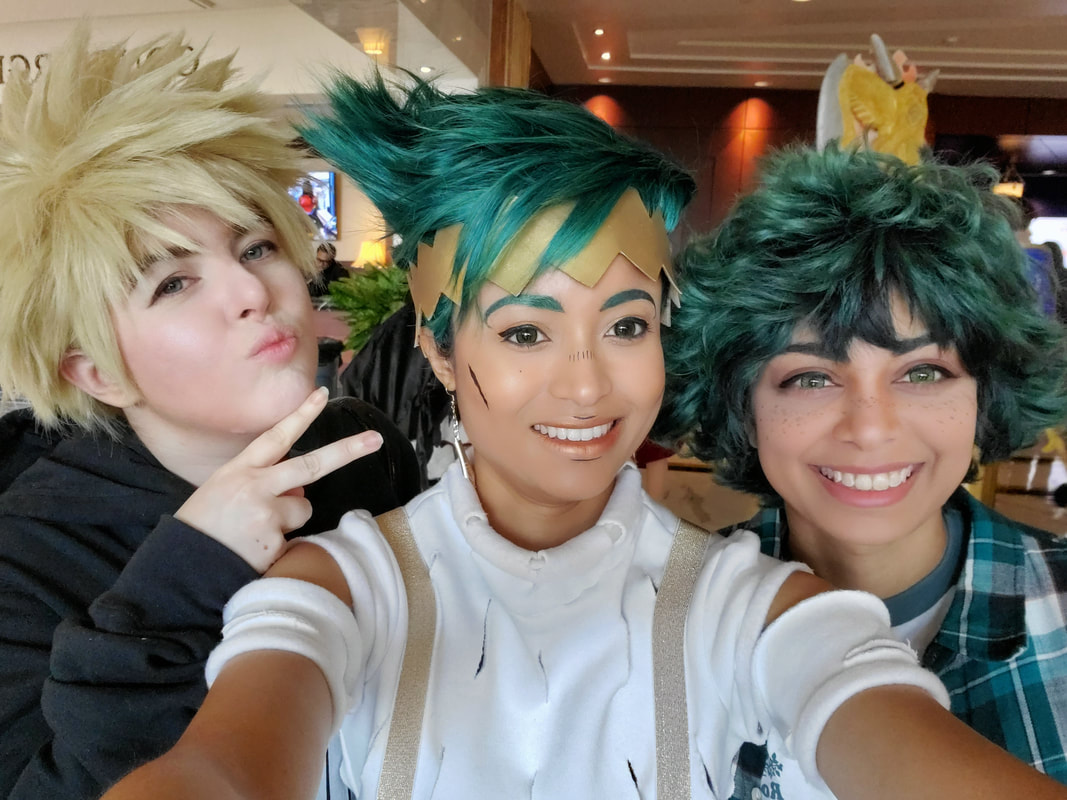
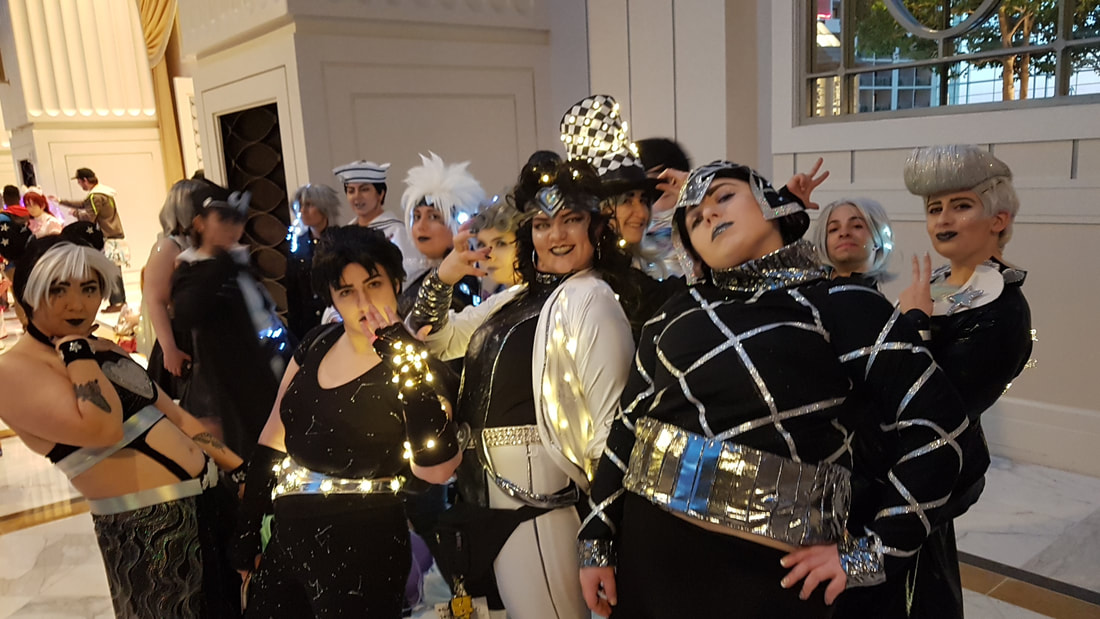
Favourite cosplay - AnasuiJojo has some fun designs and the thought that this is supposed to be a man's prison outfit just brightens my day. Posing in a Jojo costumes is an elite experience since nothing is too over the top so you can be a little wild and experimental with it. I highly recommend it. 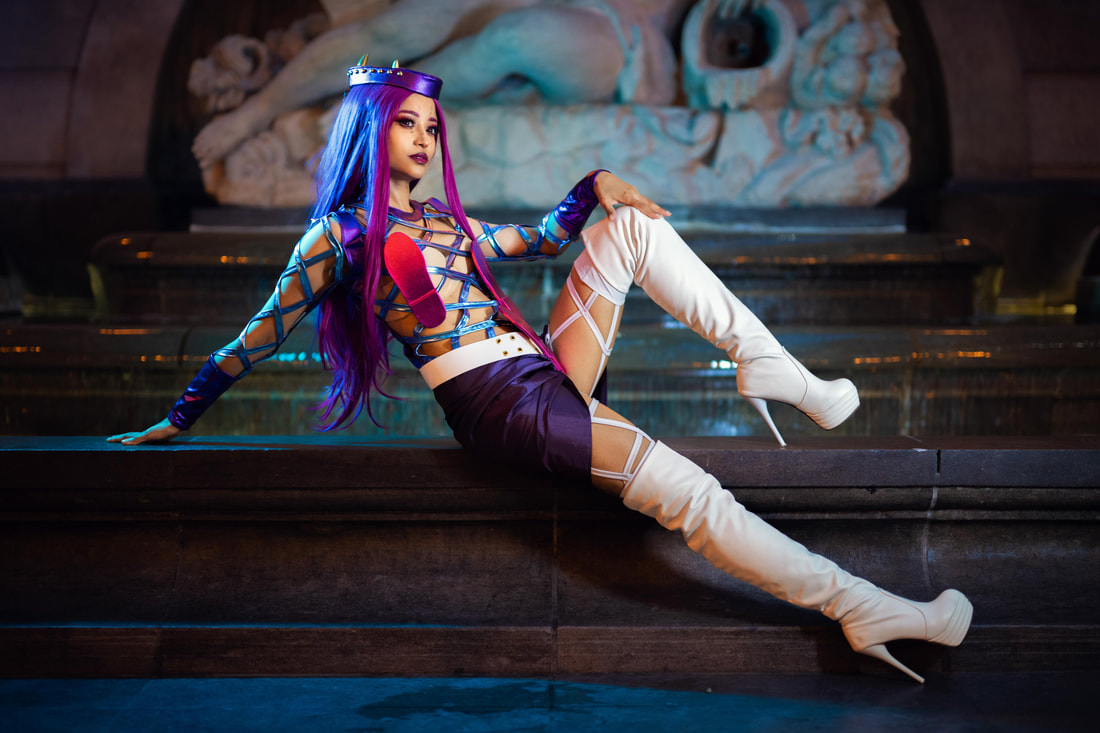 Photo by KameraNinja at Otakuthon 2023 Convention recapI started off the year strong with Katsucon. It was nice seeing everyone after a few years of skipping it due to the pandemic and travel restrictions. It's busy as always but manageable if you go in expecting crowds. I was a guest at Anime Detour and I had such a great experience. It was my first time at a midwest con. It was such a warm and friendly environment. I highly recommend you attend if you can. After years and years of attending Anime North in Toronto/Mississauga, I got to be a guest in 2023. It felt like a real "I've made it" moment and something I would have never imagine for myself when I first attended back in 2006.. I was also a guest at East Coast Comic Expo in Moncton, NB. It was a great experience to see the cosplay scene in the east coast, which is a region I don't get to travel to all to often. I also stuffed my face with sea food the whole time I was there. I wrapped up my convention season with Otakuthon, which is a staple of my yearly con schedule. It was a little hectic but a good time. 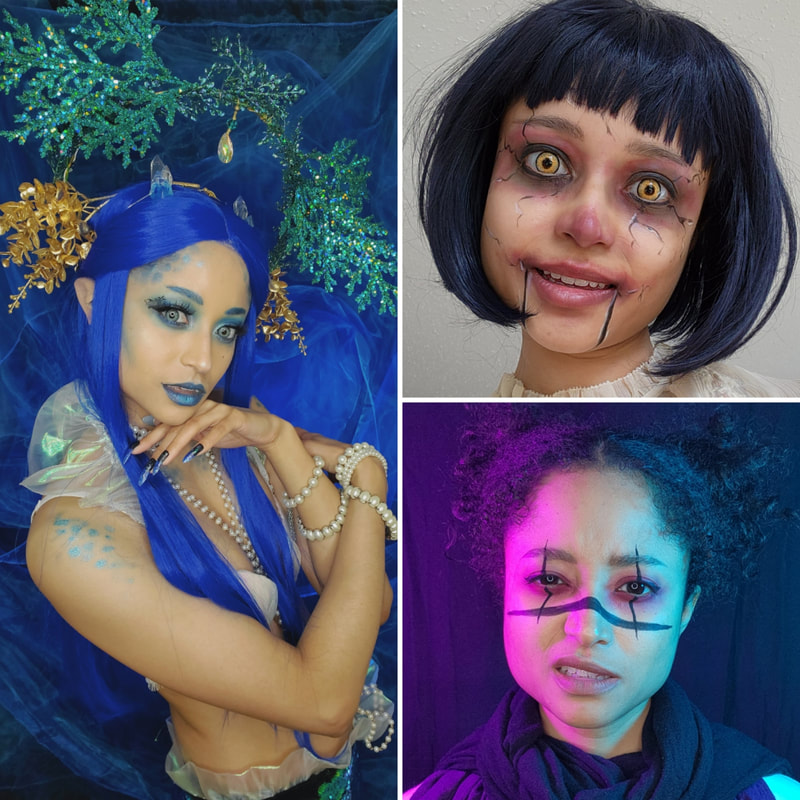 Some closet cosplays / makeup looks of 2023 Forward to 2024 I don't have any big plans for 2024 although I might try to compete again if I can get a competition ready costume done in time for certain events. I'm also looking forward to working on more Pokémon designs. I'm continuing my work on my set of Eeveelutions using mesh fabrics and lots of rhinestones. I also plan to return to one of my favourite themes, Evil Queens.
2024 will be a year of several cosplay milestones for myself so I'm hoping to post more content looking back on my many years of cosplay. I'll see you around at conventions or online!
0 Comments
 King of Swords | Umbreon | Sylveon | Morana | Risotto | RaihanIt's been a productive year. I managed to complete a few costumes on my long "to be completed" list and I got creative with Pokémon costumes again. 2022 was my return to conventions after pandemic lockdowns. I'm still adjusting to post-lockdown conventions while trying to stay safe and dodge covid for another year. Luckily, I was never the type to share drinks and I always had hand sanitizer with me pre-pandemic, so I was going in with good habits. I never want con plague, not then and definitely not now. It was nice to be back and seeing friends I haven't seen in years. Also, it was a shock to be assaulted by con funk after being spared for so long. 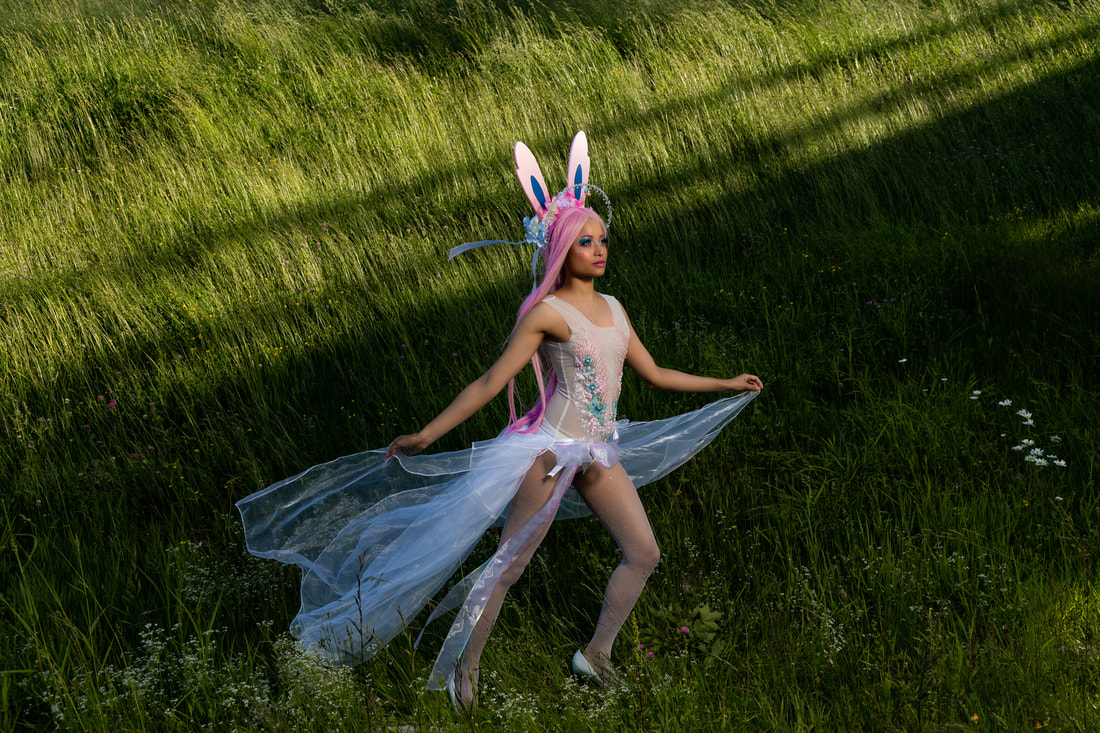 Sylveon cosplay | Photo by KevinUncaged What I learned
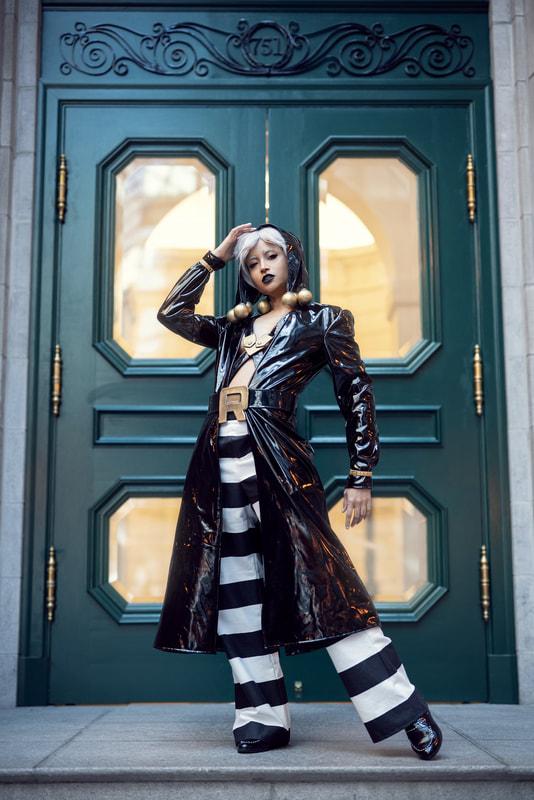
Favourite Cosplay - RisottoI don't really have a favourite this year but if I have to pick, I'll pick a Jojo costume. I was pleasantly surprised at how smooth the sewing went considering vinyl is such a finnicky fabric. The hat is fun and was an interesting puzzle to pattern out. I managed to get the stripes on the pants to align neatly. How satisfying! And the shoes are cool and comfortable. Plus any excuse to do crazy poses is a good one. 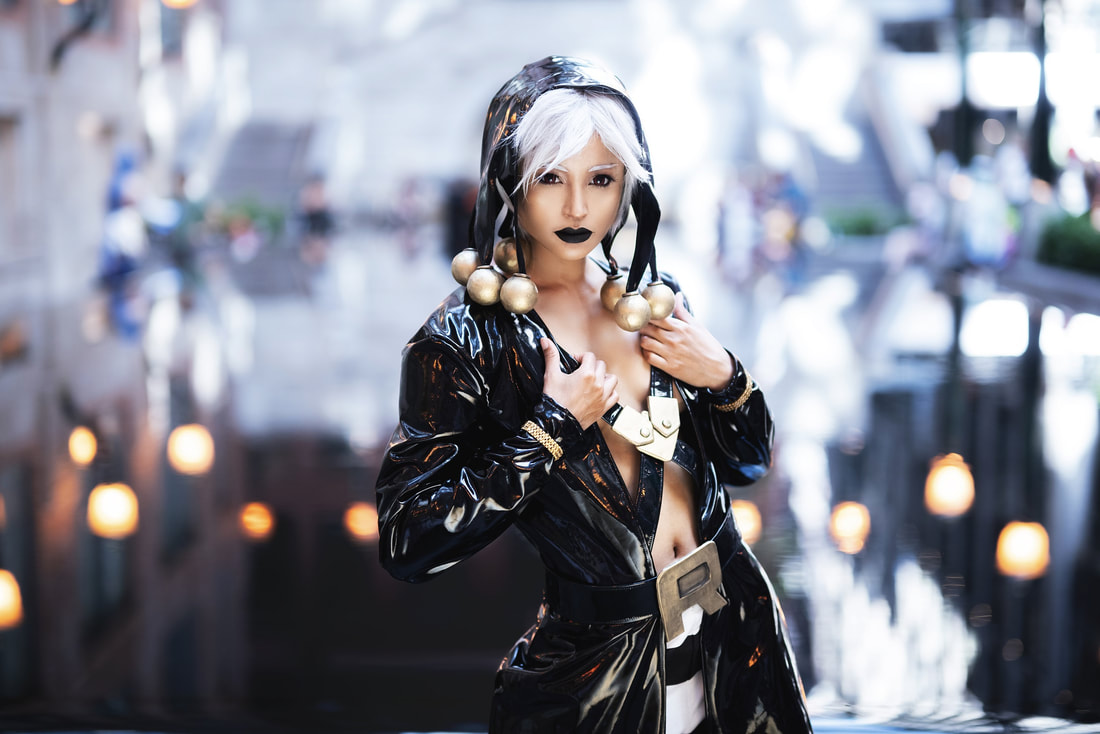 Risotto cosplay | Photo Paul Hillier Return of the ConsI was fortunate enough to go to four conventions this year: Yeticon, Anime North, Otakuthon, and Capital City Comic Con. I had a relaxing time as per usual at Yeticon. The scenery is always beautiful but the wind was miserable this year and made it so cold, which was a pain since I packed mainly light costumes. It was the opposite at Anime North where it was horribly hot. Thankfully my Eeveelution costumes are as light as can be. They are probably the most exposed costumes I have. Although I was a little nervous wearing them out, I had no regrets once I step outside in the hot weather. Judging the masquerade was like riding a bike, it was nice to be back at it and seeing people's creative work. I had a good time at Otakuthon, although I was trying to avoid the worst of the crowds. The fun I had that weekend was doing things around the city (going to the spa, checking out an art show) since it's been years since I could visit. Lastly, Capital City Comic Con, was my return to guesting at a convention. It was a great event and everyone was so friendly. Getting back to the west coast (Victoria) made me really miss travelling. There are so many beautiful sights to see on Vancouver island and Lichon Photography showed me around. I got to see a few small waterfalls and of course we took photos in the woods. 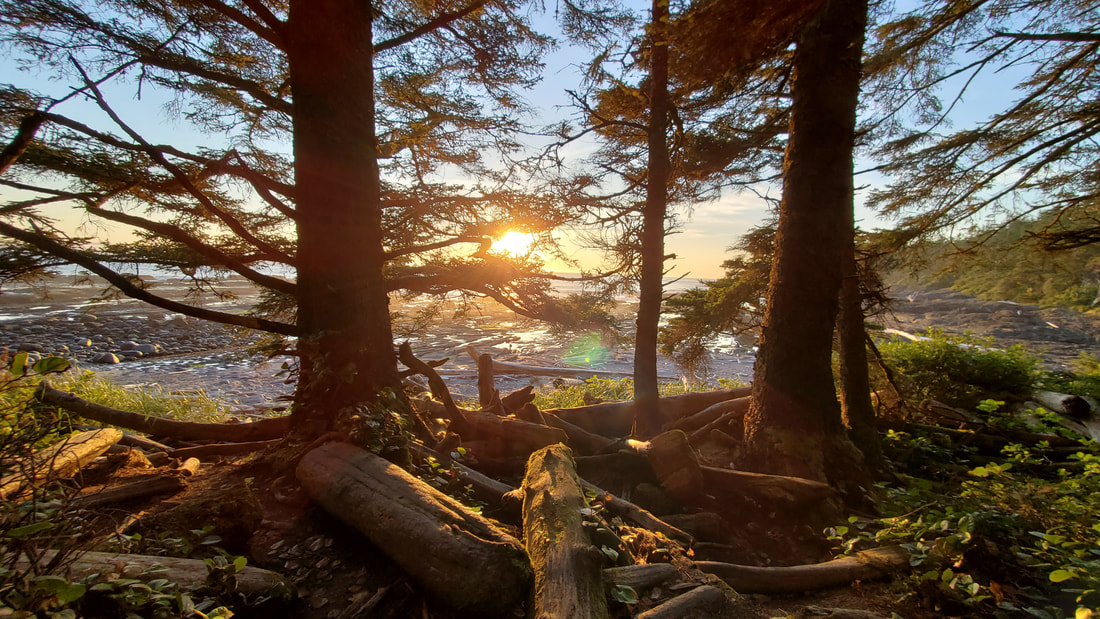 Juan de Fuca trail on Vancouver island Forward to 2023 I'm being cautiously optimistic for 2023. Here's hoping I can make another 5-6 costumes and maybe clear some other old costumes on my "to be completed" list like this Sakizo costume I've been working on since 2019. You can also expect more Jojo costumes and pokemon gijinkas.
Besides that, I'm mainly sticking to projects I can make with my fabric stash. After moving recently, I realized how much stuff I have and I need to reduce the amount before committing to new things. Also I don't really have place for any new costumes, which means I will be getting rid of some older ones to make room. I hope you all had a great 2022 and I'll see you in the new year. XOXO
AliExpress can be intimidating website but I have been using the site since 2012 and it has been an invaluable source for getting materials for my costumes, so I'm sharing my tips for navigating the site to ensure you get what you want and suggestions for what to shop for along with referral links to items and shops.
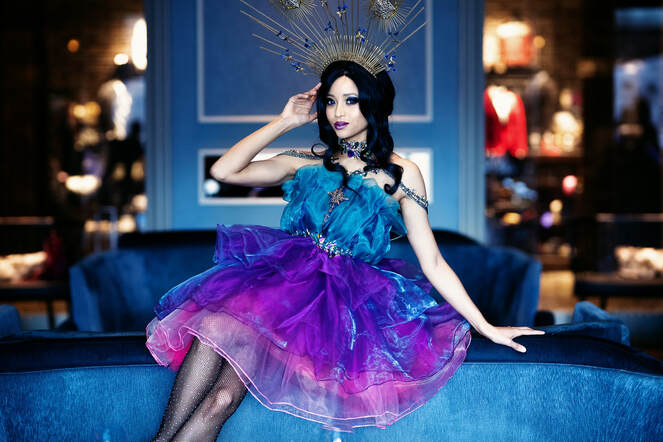
For Cosmog, all the organza, the body jewelry, and the tights were from AliExpress. Picture Paul Hillier
General Notes & Tips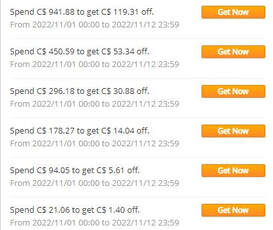
A common mistake people make is they think Alibaba and Aliexpress are the same thing. Although they are both owned by the company, they serve different purposes. Alibaba is meant for businesses to make bulk orders, usually there is a minimum number of items required. While Aliexpress is consumer focused so you are not expected to order mass amounts of product.
Coupons: there are two types of coupons, site wide coupons and store specific coupons. The site wide coupons are great and can be used in any purchase and usually give you a dollar amount discount off a minimum purchase amount. They usually are paired up with site-wide sales (more on that later). These can also be earned through activities on the site: mini games, adding items to wish lists or cart, etc. Store coupons are available throughout the year but also become available during site wide sales and you may get emails with these promo codes. Similarly, they often require a minimum purchase amount, and comes in increasing discounts the more you spend. They are easy to find, many items have a coupon button/link right under the price. Bulk Discounts: Many stores will offer you a percentage off discount the more items you buy. I mainly buy bulk notions on AliExpress so this is very handy. These are automatically applied to your purchase. Site-wide sales: Amazon has prime day, AliExpress has 11.11. On Nov 11 there are site wide sales in basically every store. This year the sale is running Nov 2-12. I often wait for it to make most of my purchases for the year. They will even tell you what the price of items will be advance on the page. Note: pay close attention to the shipping price, I've seen free shipping items switch to paid shipping to make up the discount cost. They have other events throughout the year like Black Friday but the events are on a smaller scale. Ratings and Reviews: Stores have overall rating based on their sales and so does each item page. Users are encouraged to leave reviews and can include images. I use these religiously before committing to a purchase. Please leave reviews to help other buyers especially on low review/no review items. Seeing reviews from multiple countries can help determine which reviews are valid vs manufactured. Save your favourite items and stores: You can spend a lot of time searching through millions of items on the site. If you find an item or store you like, save it! It makes things easier when you need similar item later on and you will be sent coupons and promotion emails for those specific stores. Make use of the wish list because you will have a hard time finding the item again. Also the search function does not allow you to search store names. Searching: Think like a thesaurus and come up with multiple terms for items if you can't find what you are looking for. It takes patience and persistence. Click on related items to get recommendations to similar items on the side menus and at the bottom of the page. Recommendations will also come up when you add items to your wish list/cart. Shipping times: Most items have free or cheap shipping rates, however, it can sometimes take months for it to arrive. So plan far in advance. I wouldn't advise last minute orders unless you are willing to pay the steep express shipping rates. Pay attention to the delivery window times. They are mostly accurate. I've had things arrive super fast within 2-3 weeks but I've also had things lost in the shipping for months. Money Back Guarantee: There is a 75 day money back guarantee on orders, which means if it gets lost on the mail, arrives broken, etc. you can file a claim. It has happened a few times to me and I was able to get a 100% refund on my purchase and funnily enough, it sometimes shows up at my door a week later. Keep track of your delivery windows and the timers for claims if your items do not arrive. What to buy?
From completed costumes to base materials, you will find it on this site. I'm including some links directly to stores and the images also link to products as well. I tried to relate them back to my projects, so check those links as well to see the items in action.
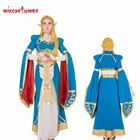
Many cosplay stores with full costumes have shops on AliExpress and you can get great deals with store coupons or site wide sales. Pay close attention to the sizing and expect synthetic materials for most of the costumes. Uwowo Cosplay Store - My friends and myself have bought a few costumes from this shop with good results. I got a Little Witch Academia costume from them. They have a lot of Genshin Impact costumes.    
Miccostumes - Another staple for buying full costumes.
Fabric - It takes patience to search through all the items and narrowing down to what you need. Often terms are used interchangeably, so there isn't the certainty you have with traditional stores like Mood Fabrics. That said, I have been buying all my organza from one store for the last 6 years and used them for all my Sawsbuck costumes and more. It's BIT.FLY a wedding décor shop. I also tend to focus on easily searchable materials like stretch mesh and pvc/vinyl.
 
Wigs - There is no shortage of wig suppliers on this site, many of whom are using the same product photos. Checking the reviews and making sure the watermark on images match the store name will be key to getting a good wig. Also pay attention to band measurements since these wigs tend to fit smaller heads. Recent purcahses: I've bought my Morana and Sylveon wigs from Freedom Offical Store . I also got a great lacefront from Charisma Fashion wigs.
  
I tend to use the site to buy materials in bulk, mainly notions because they can easily add up. For a few dollars more, I can get a lifetime supply of an item vs. a handful of that item locally. Here are a few things I swear by. Rhinestones - I almost exclusively buy rhinestones from AliExpress and add them to my hoard like a dragon. Saved shops I use: Rhinestone and Crystal Jewelry World | IDIYEA Brand Crystal | Mezao Offical Store |    
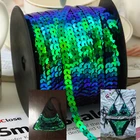
Appliqués - The selection for appliques in my area is non-existent. The site has some in every colour imaginable and with rhinestones, beads, pearls, etc. Fancy Decor store is where I got both appliqués for my Sylveon and Umbreon costumes for under $6 total.
   
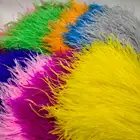
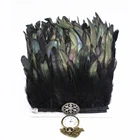
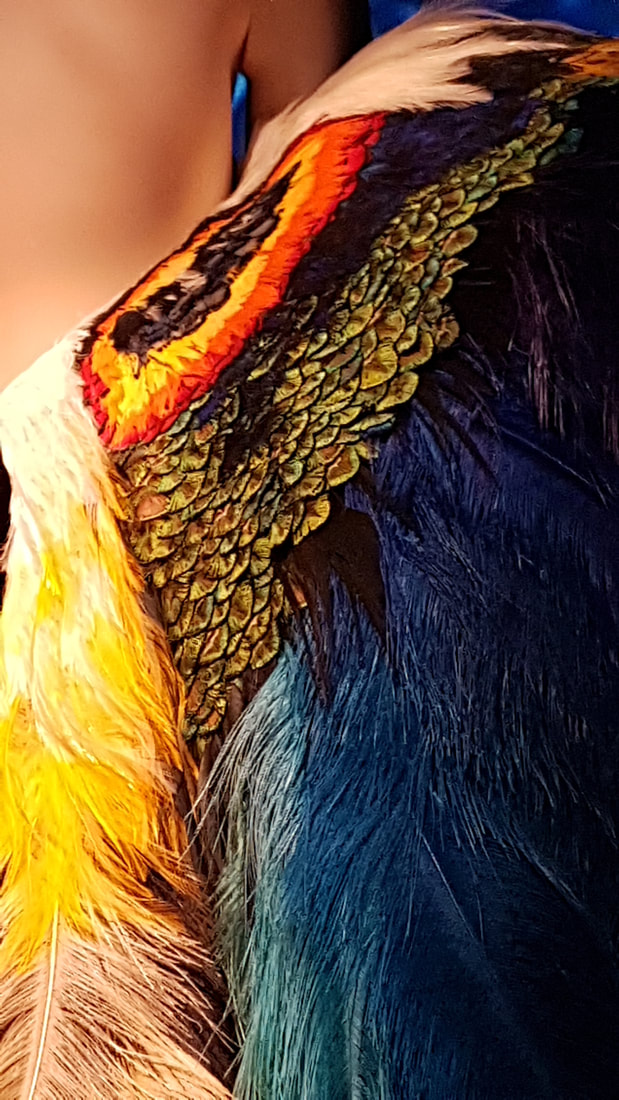
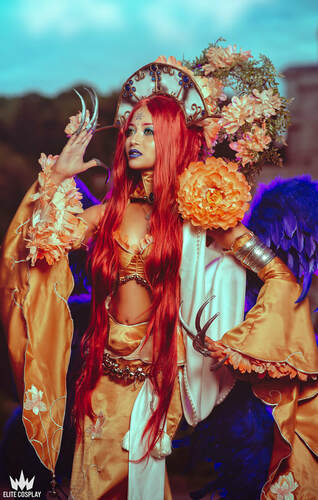
Feathers - I've been covered head to toe in feathers for costumes like Ravenna or used as accents for costumes like Ragyo. Finding the style and colour you need locally is difficult. If you have a lot of surface area to cover, buying feathered trim may be a better bargain, also it's easier to estimate how much surface area it will cover. I sourced feathers for my Sharla costume from Beautiful Crafts Store.
Horsehair braid - If you want your skirts to have the magical girl look, horsehair braid is a must. I now have a lifetime supply from the two shops linked below.
 
D-Rings & Fasteners - These are a must have for armour crafters and you can get them for cents. RoYishi is where I've bought mine so far.
   
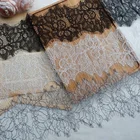
Lace, trim, and ribbon - For projects that need an excessive amount of trim like Sakizo costumes or simply to stock up on basics like twill tape or grosgrain ribbon, it makes sense to bulk order them.
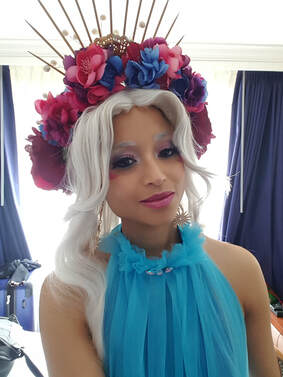
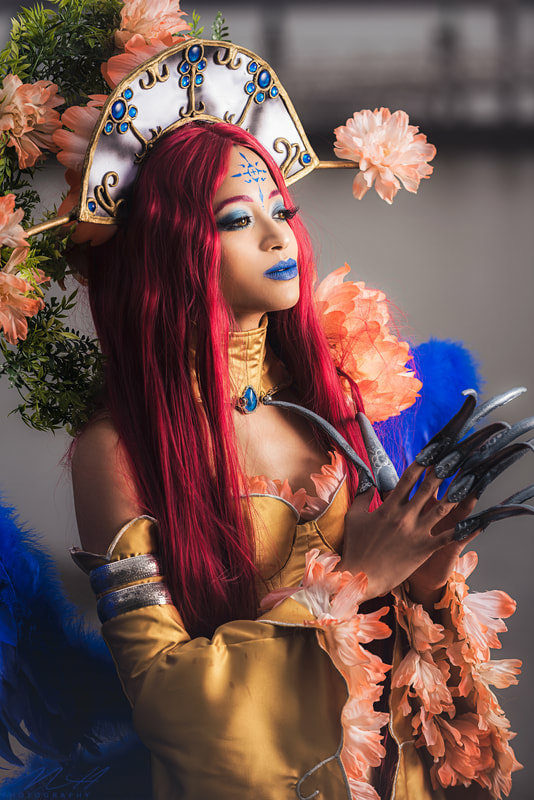
Accessories - The variety is unmatched, if you need to add an accent item to your costume you will be able to find it here. Halo crowns, like I've used Sylveon and Umbreon. Embellished tights for Cosmog. Bracelets for Lilith. Also medallions and filigrees to makes your own jewelry and accessories. If you have sensitivities to certain metals, proceed with caution.
   
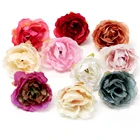
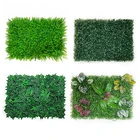
Flowers & Flower wall - Michael's' flower section is a happy place for me but sometimes I need a lot of flowers, like the time I built my own flower wall, which was all bought from AliExpress. Pro tip: buy some panels filled with foliage in addition to blank ones so you have less empty space to fill. Man-made craftmanship store is where I bought a lot of my flowers.
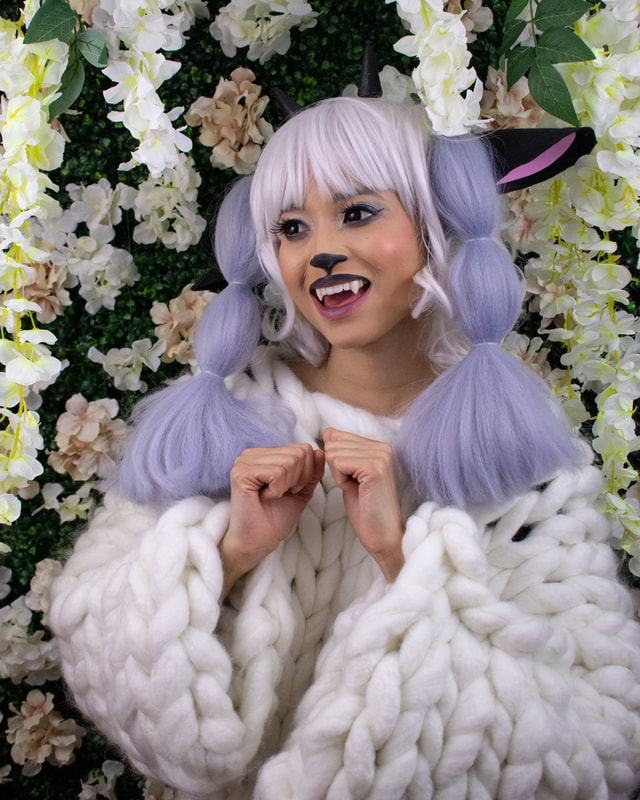
I hope this helped demystify AliExpress and opened up some shopping options for you, especially since many of these shops have Amazon storefronts with a markup. Please note that I am not sponsored by these stores, do your due diligence before purchasing, and if you have any issues you will need to take it up with AliExpress and the store.  Wooloo | Rohan | Cosmog I had grand dreams of being ultra productive in 2020. I managed to crank out three new costumes for Katsucon in February (which is more than usual from me) so I was expecting to have many more completed costumes by the end of the year. Then the pandemic happened, I started working from home, and I figured, what a great time to get ahead on projects! I was going to produce the most costumes I ever. Well, it didn't work out that way. The only 3 costumes I finished were those 3 from Katsucon. I've been sporadically working on projects but never finishing them, and that's fine. Maybe I needed a break from the hustle. I think many cosplayers have felt the pressure to keep up and continue to push out new things on a regular basis. Every year when Katsu would roll around I would anticipate a friend of two burning out from the stress. Know that your health and mental well-being is a priority and if this year has shown us anything, it's that the costumes and conventions can wait. So instead I focused on creating content with costumes that I had in my closet. I finally put all my self-shooting equipment to use. I got to filming short videos and actually enjoying making Tiktoks (le gasp!). Long story short, do what makes you happy, even if that's relaxing on the couch and reliving your high school weeb days.  Photo: Paul Hillier What I learned
 Photo by lichonphotography.com from our shoot on Vancouver Island in January
Favourite Cosplay - RohanI love many things: I love Jojo, and I love being comfortable. So Rohan is my favourite costume of the year. It's rare I get to be conformable in costume and look this good. Having a character that is meant to have fun and interesting poses definitely helped me go out of my comfort zone in photoshoots. I just have to remember to channel that Jojo energy with my other costumes.  Photo by lichonphotography.com from our shoot in Victoria in January Forward to 2021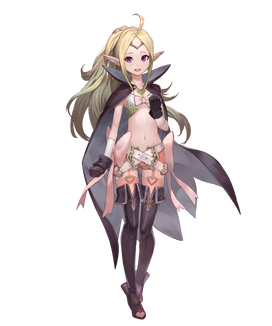 I don't know if I'll get miraculously more productive in 2021 but I hope to put a dent in my outstanding projects as usual. I don't foresee going to any conventions until maybe the end of the year, and even that is a stretch depending of how vaccinations go.
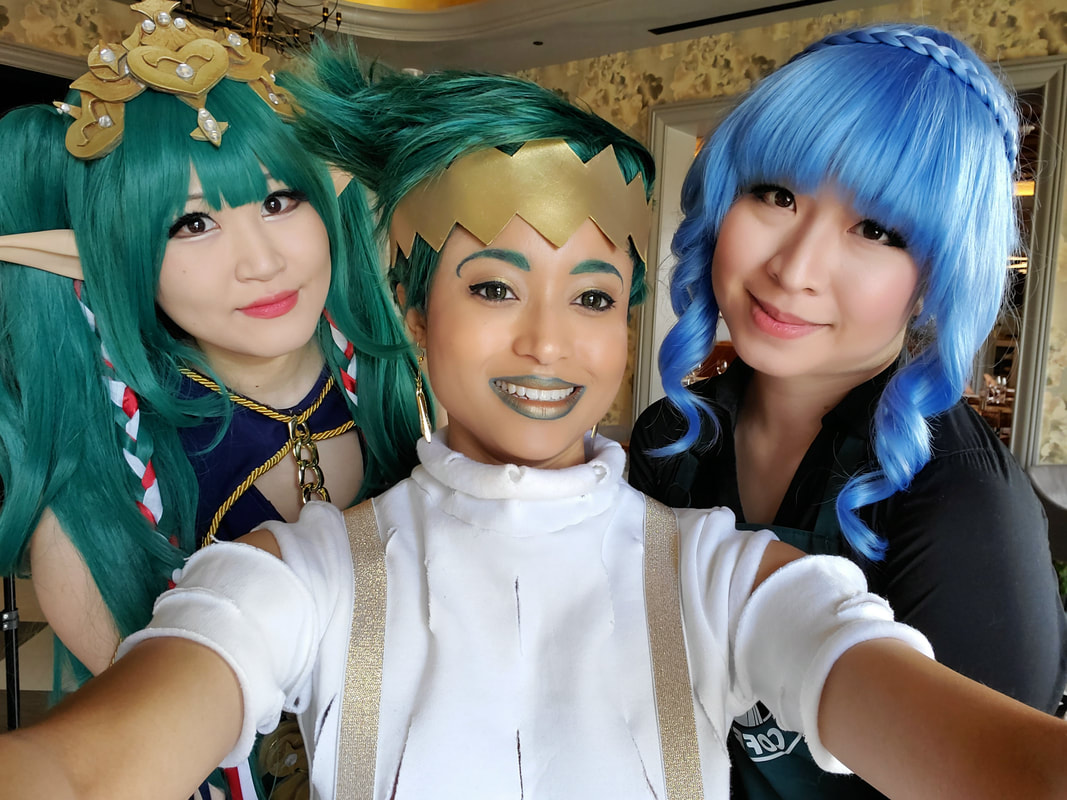
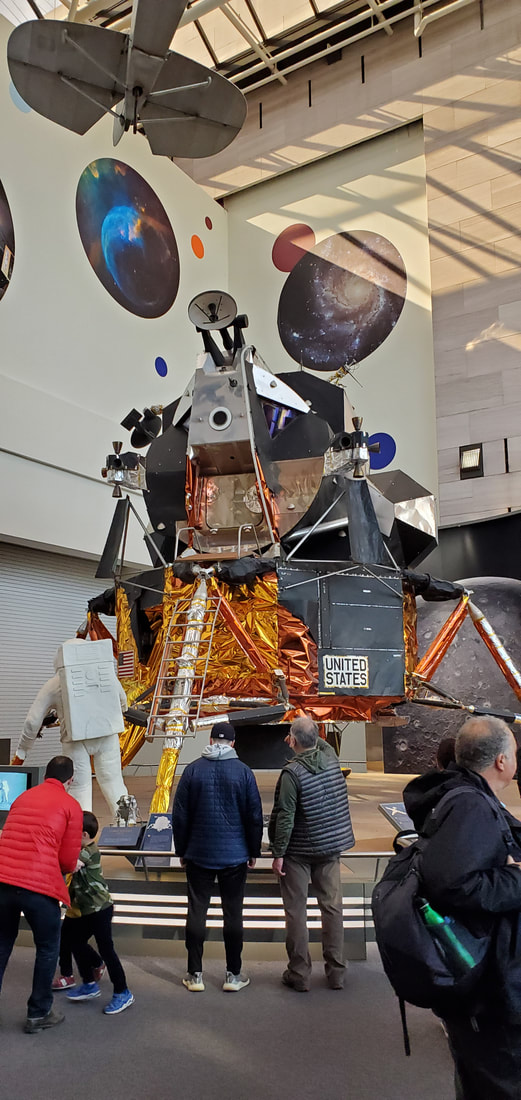
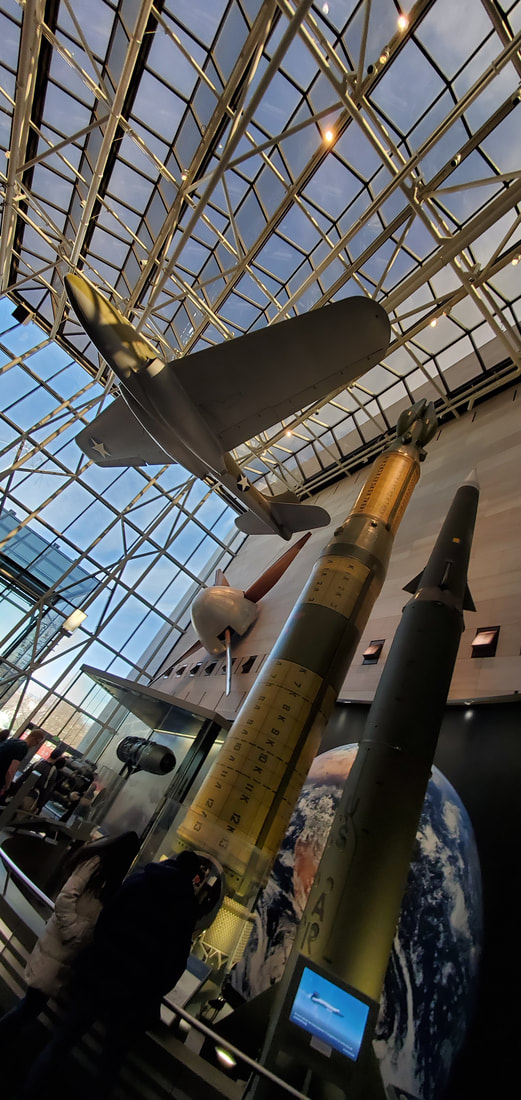
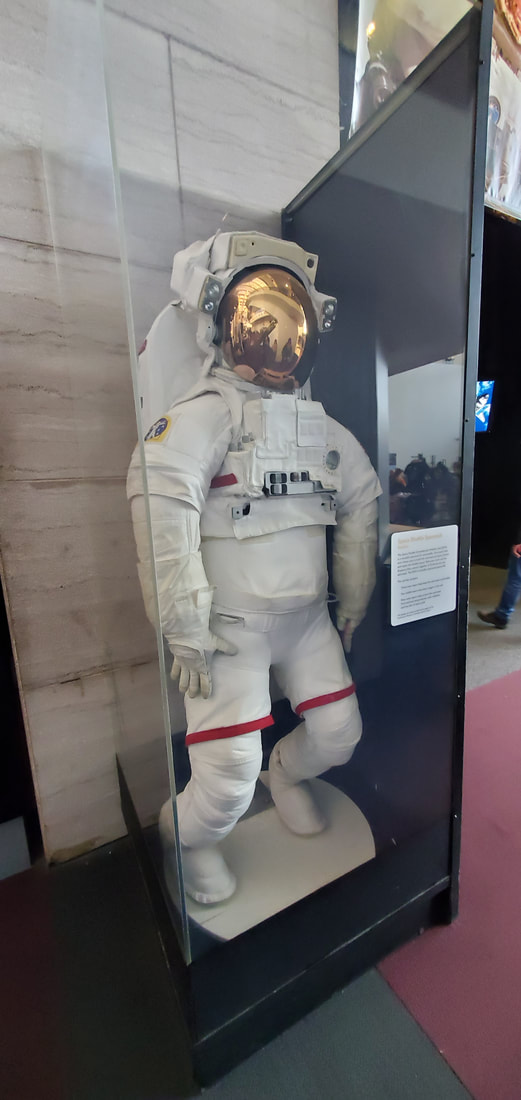
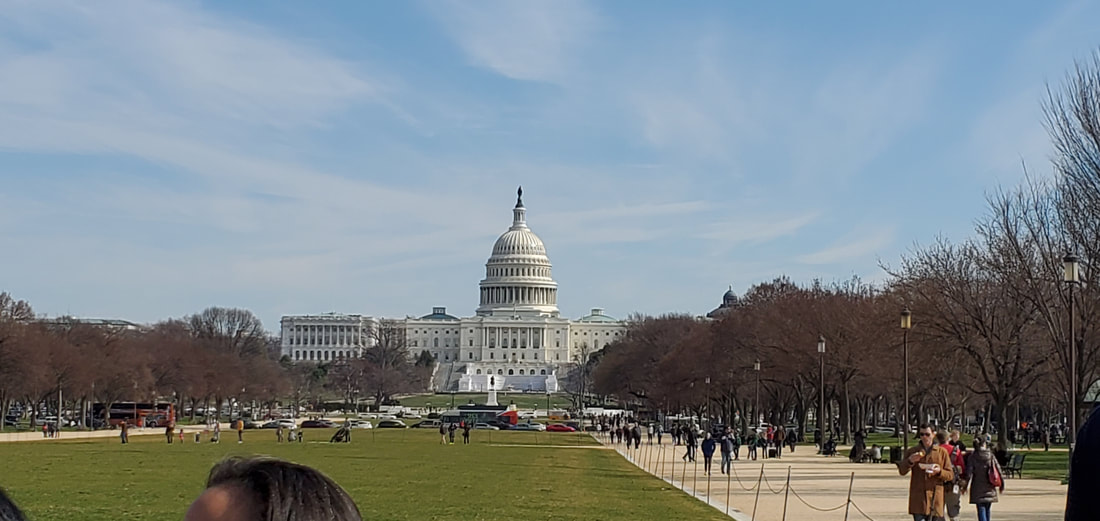
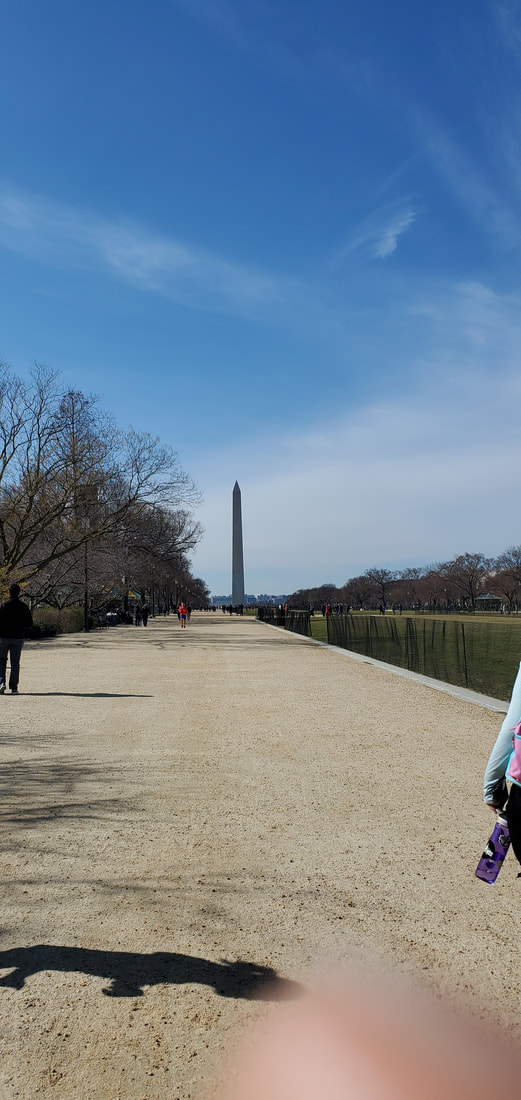
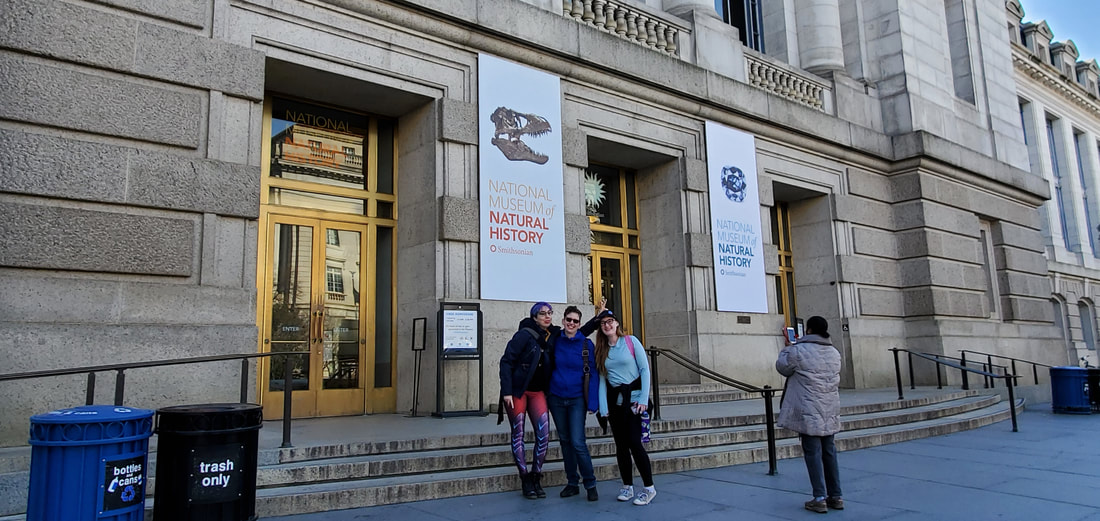
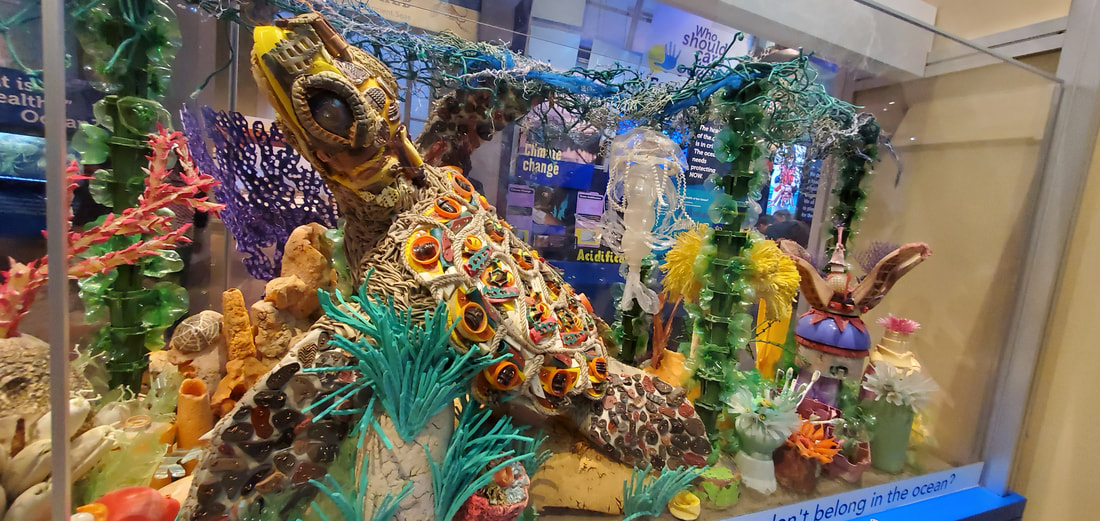
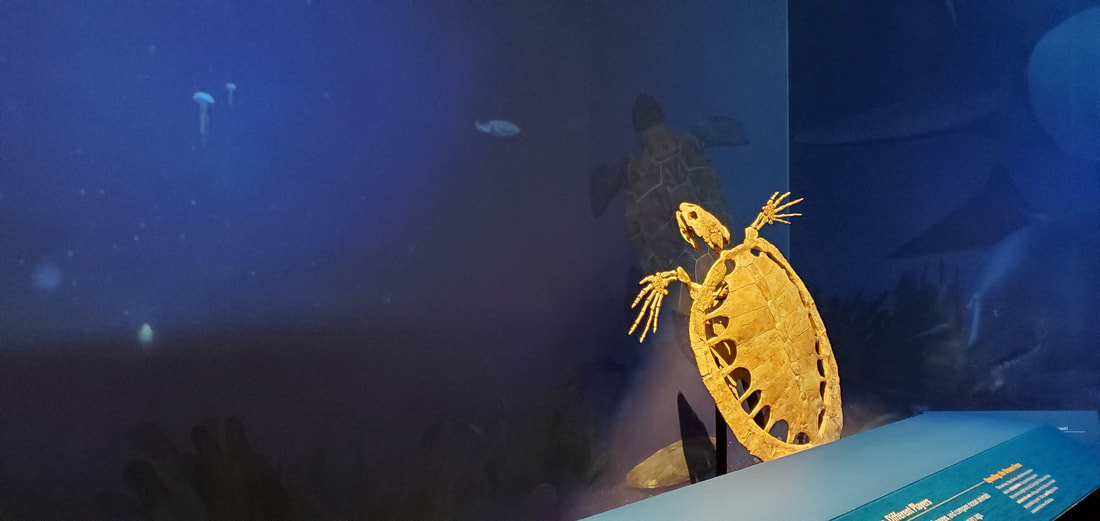
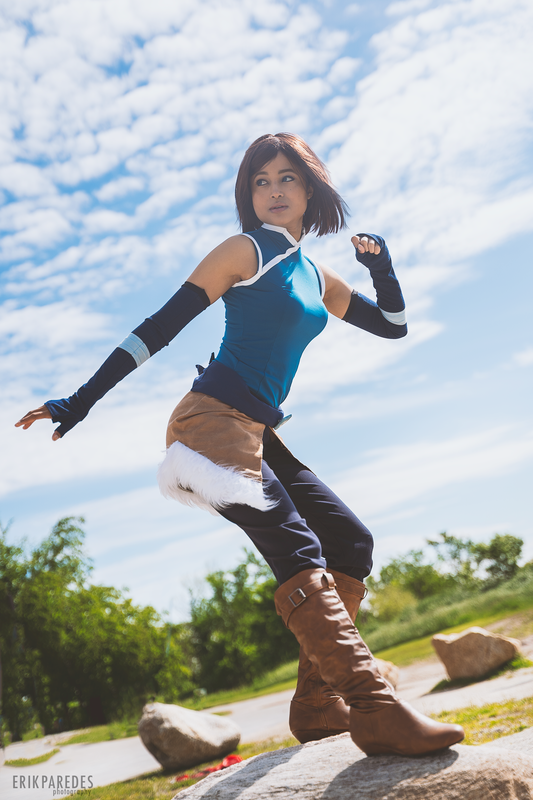
I just know I miss my friends, and I want to travel the world once things are safer. I also want to go on more wilderness photoshoot adventures. Hopefully in warmer weather, since I'm always freezing on my wilderness shoots. I hope you are all staying safe and hopefully I'll see you online and maybe at a convention next year or the following year, who knows. 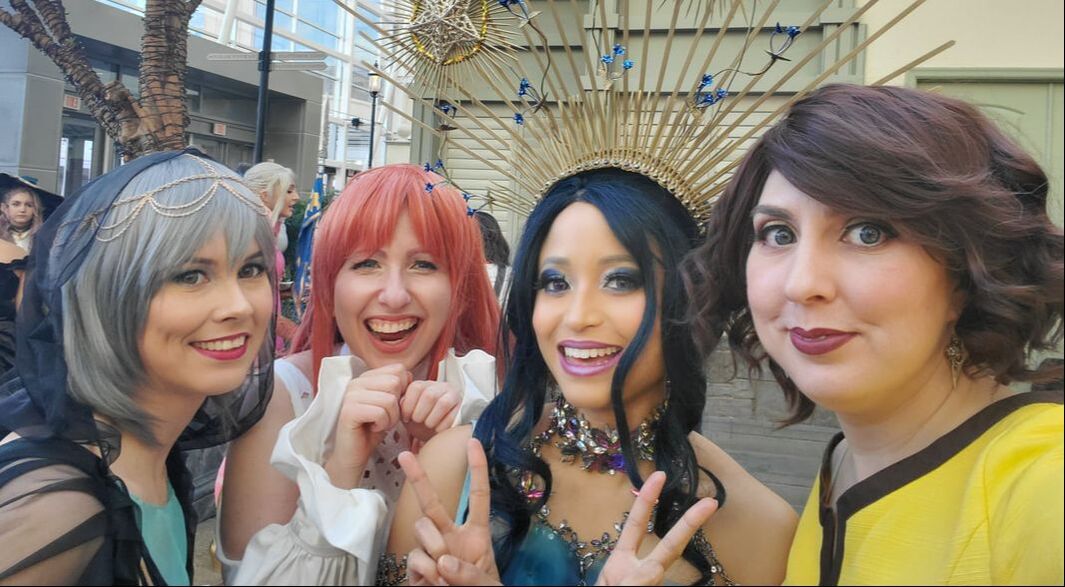 Thursday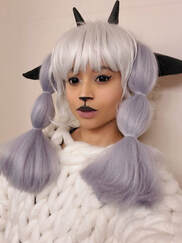 Wooloo Wooloo No better way to start the weekend than an early morning flight and several flight delays. After 12 hours of airports, flights, and cabs I finally made it to the Gaylord. I got my badge, grabbed some food, and had some mild hangouts. The Thursday night is getting busier and people start the party early on the gazebo level. I might have been up for it if I wasn't so exhausted. I was supposed to wear Wooloo on Thursday, but I was too tired. So I wore it on Saturday. I realize that 2 costumes in a day is exhausting especially if the makeup is drastically different. 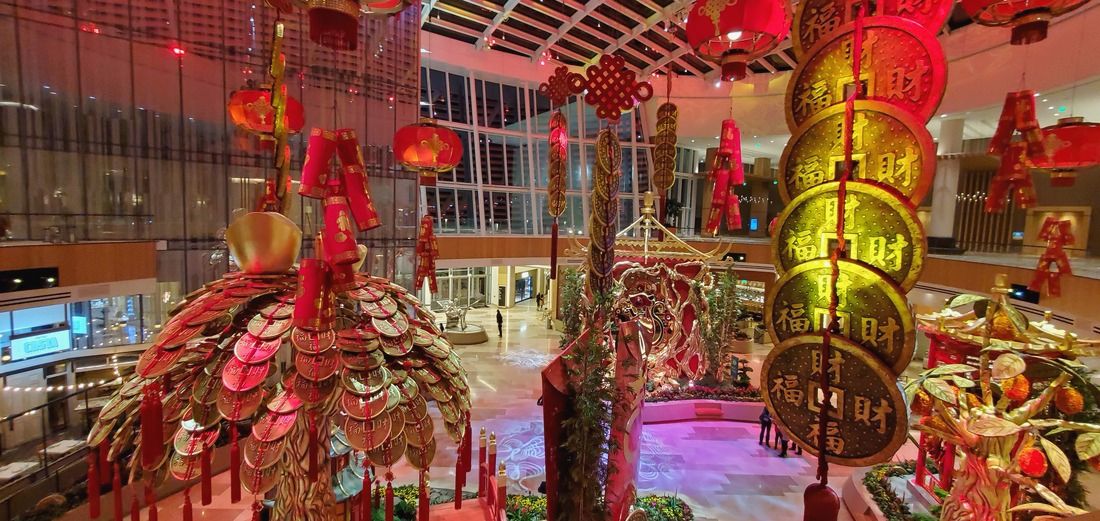 Chinese New Year decor at the MGM Friday Cosmog Cosmog On Friday I wore my new Cosmog ginjika. The headdress is nice and light and I love how the look came together. I found out later that the body jewelry was scrapping my shoulder and left a bunch of scratches. Oh well, the photos look nice and a lesson learned for next time. I shot at the Voltaggio in the MGM with Paul Hiller and the blue colour scheme was a perfect match for this outfit. After the shoot I ran back to the Gaylord to check out the Cosplay Met Gala. I missed the runway showcase but it was nice seeing all the costumes up close afterwards and catching up with a few cosplayers from all over the country and abroad. I checked out Anna Fischer's cool shooting setup on one of her beds in her room. It's impressive what you can do with some fabric and cheap lights. I changed out of the costume for the rest of the day and just spent my time visiting friends, Saturday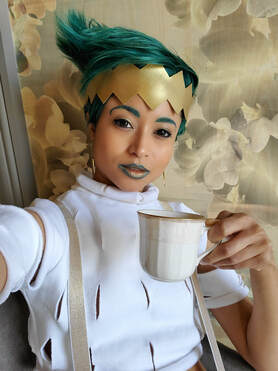 Rohan - Jojo Rohan - Jojo At long last I cosplayed from JOJO. I wore Rohan for most of the day since it's such a comfy costume. I shot with Dangrr Doll at the lobby bar at the MGM. I can't wait to share those photos. I did a lot of unintentional core exercises posing for those pics. I then spent the rest of the afternoon helping Dangrr and co setup a full flower arch and tea table set. It was beautiful. I also helped take pics of all the Fire Emblem characters - on everyone else's phones rather than my own. I switched in Wooloo briefly to wander the con floor to see friends and snap some hall shots. I was in it for maybe 2 hours before I changed out of it. It's comfy but heavy and warm. Sunday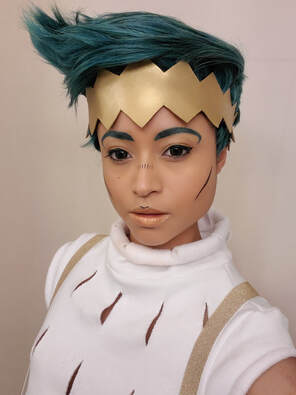 Rohan - Jojo - Vers.2 with more makeup Rohan - Jojo - Vers.2 with more makeup I wore Rohan again but with some different makekup. Gotta accentuate those Jojo lines. I shot with Elemental Photography this time around on the Gazebo level. Again I engaged my core for the shoot. I then helped out Elemental with lighting her shoot with Sarcasm-hime. I spent the rest of the day trying to see all the people I missed during the rest of the con. The Sunday of Katsu is getting busier as well. Usually it would die down after 2pm but there were still lots of people around and at the Gazebo into the night. It was my first time staying the Sunday night and I think I will keep doing that for future years. I also went to see Sonic with friends. Was it good? It was ok. Not worth the $20USD movie ticket though. I think I would have been satisfied with a non-HD viewing. MondayI've been going to Katsu for 7 years and this is the first year I actually got to see the city. We went to the museums at the Washington mall. The weather was great and the exhibits were fun. They were surprisingly dusty and especially crowded because it was a holiday. I only run into slight delays getting home. I made it home after midnight and had work the next day. I do not recommend it. Overall Katsu was a blast and bringing comfier costumes made it more enjoyable. 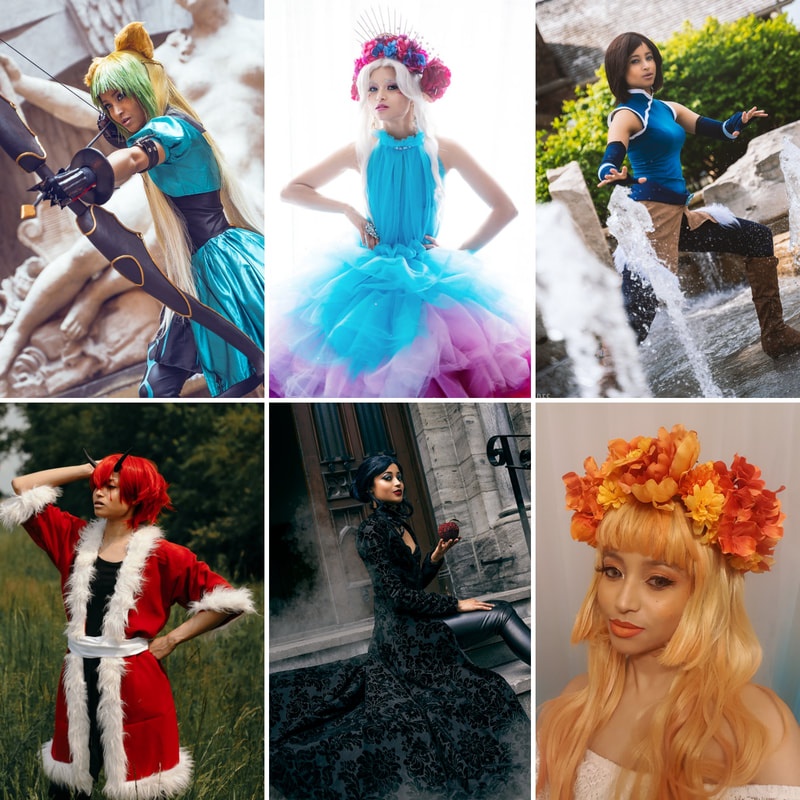 | Atalanta - Fate | Allura - Voltron | Korra - Book 4 | | Benimaru - Slime | Evil Queen Regina - OUAT | Original Fall fairy | What do I say about 2019? It felt like an unproductive year because I wasn't able to accomplish what I wanted, however, I know that is not entirely true. Keeping up with the Jones in cosplay is very unreasonable when you work full-time so I learned to let it go and not push myself too hard for events. Overall I had a blast at the conventions I attended and I have made some lasting memories with friends. Another highlight is that I made my first male cosplay in years with Benimaru. I also feel like I have gotten much better at switching up my poses. So overall, I would say it was good. What I've learned
Favourite Costume & Prop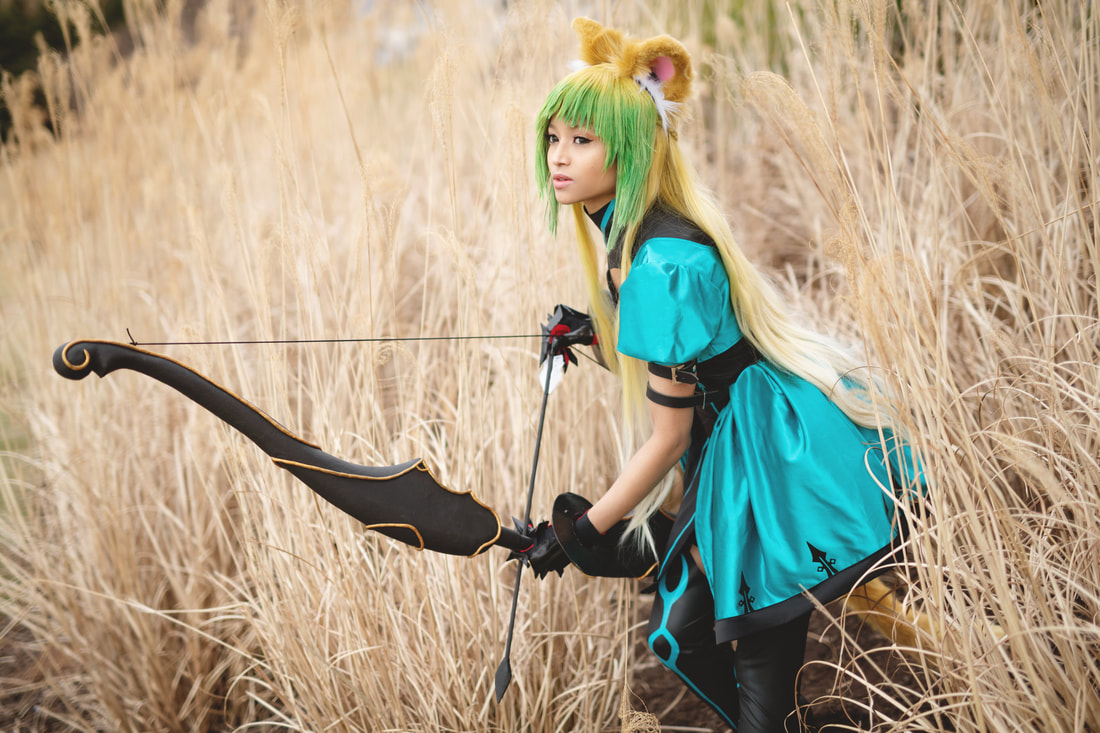 Photo by Paul Hillier I got to push myself by learning so many new techniques for Atalanta such as using iron on vinyl, stenciling with Angelus paint, and designing with Photoshop. The favourite prop wins by default because it's the only one I have for the year, although I've been working on many other props for other unfinished projects. If you are curious on the construction of the costumes, check out the costume page. Tutorials
Events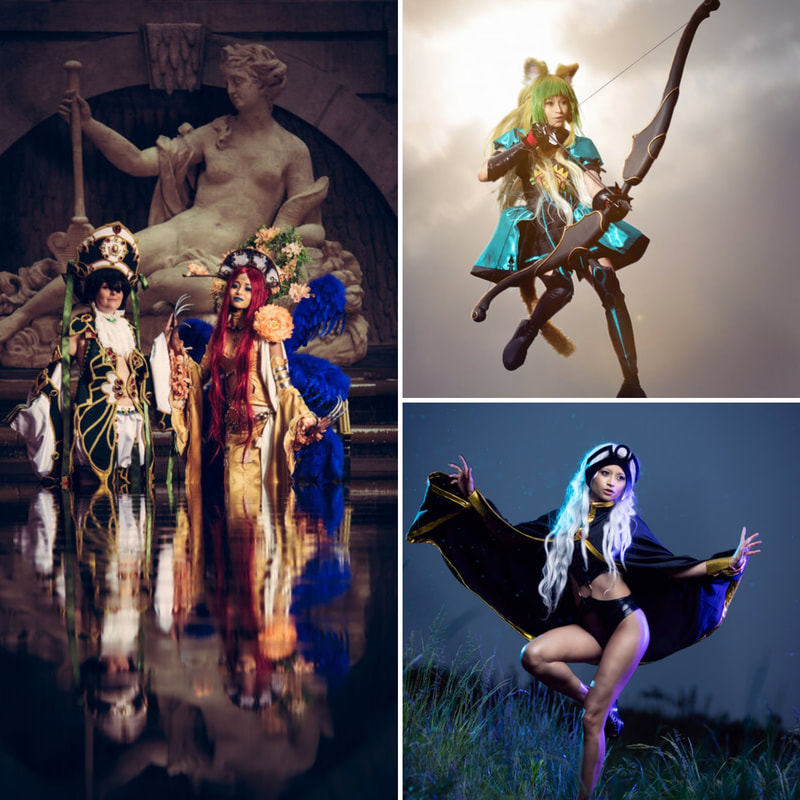 Some notable photoshoots from this year. L: with Amurita & Michaëlle Charette. R: Jumping with Paul Hillier I went to 7 conventions this year, mainly in Canada [OCC, Anime North, Yeticon, MCC, Otakuthon] with two trips to the US [Katsucon & Colossalcon]. It was a pretty relaxed year considering I was only judging masquerades at a handful of events, usually I am for most events and it doesn't leave much time to enjoy the con or see friends. Yeticon is new favourtire convention of the year since I really took advantage of the many of the events and there were times where there were too many things I wanted to do all happening at the same time. I look forward to going next year. Forward to 2020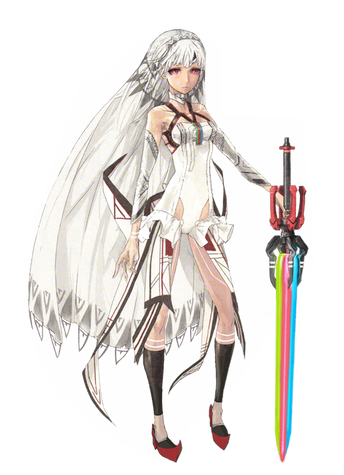 I have some many ongoing project that I want to finish in 2020. I was pretty disappointed that I didn't complete them in 2019 but that's life, I'll finish them eventually. Regina and Korra were both costumes I had been sitting on for years so I cleared some of the backlog.
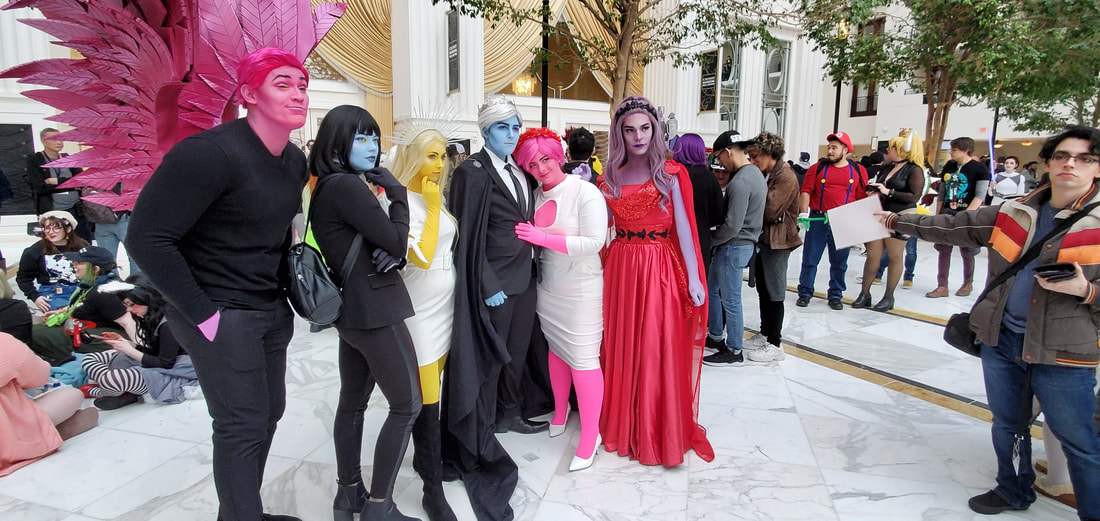
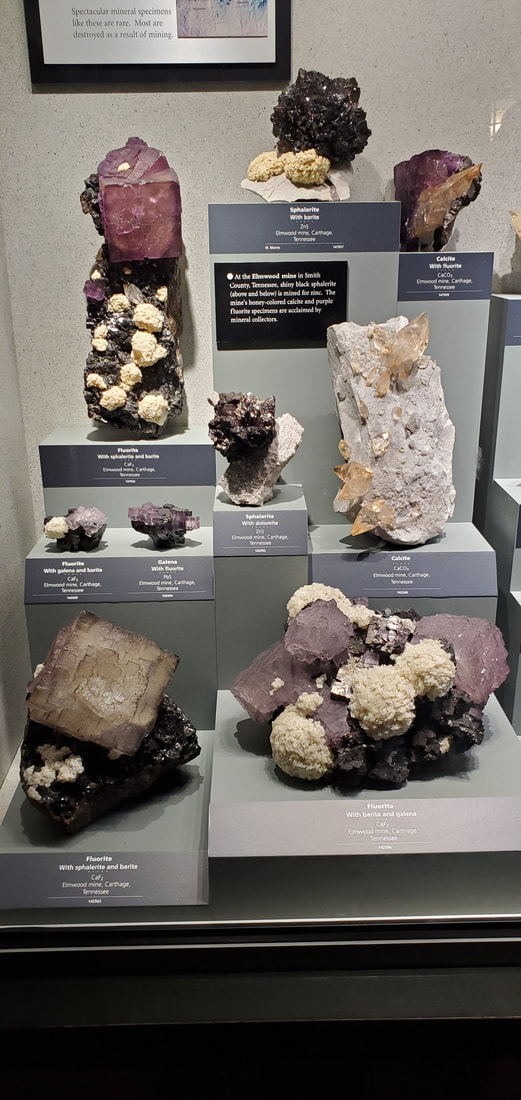
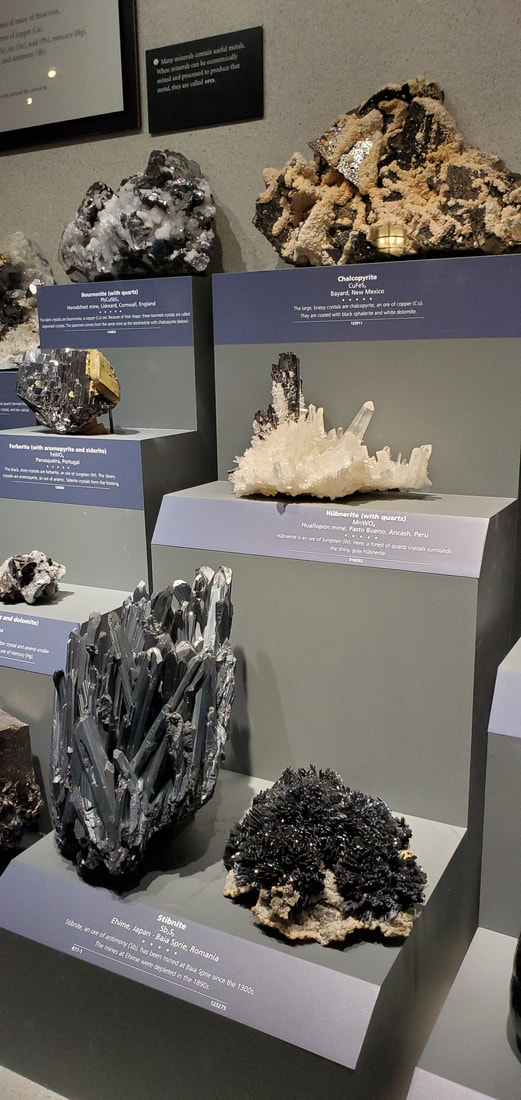
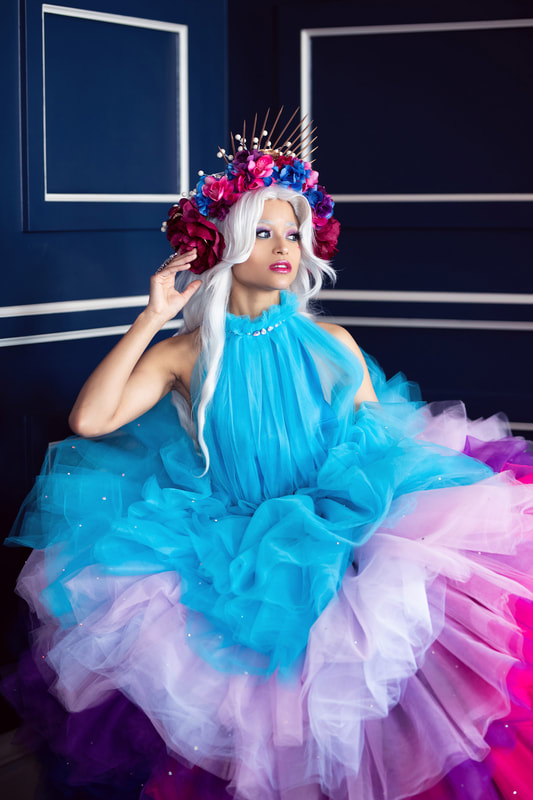
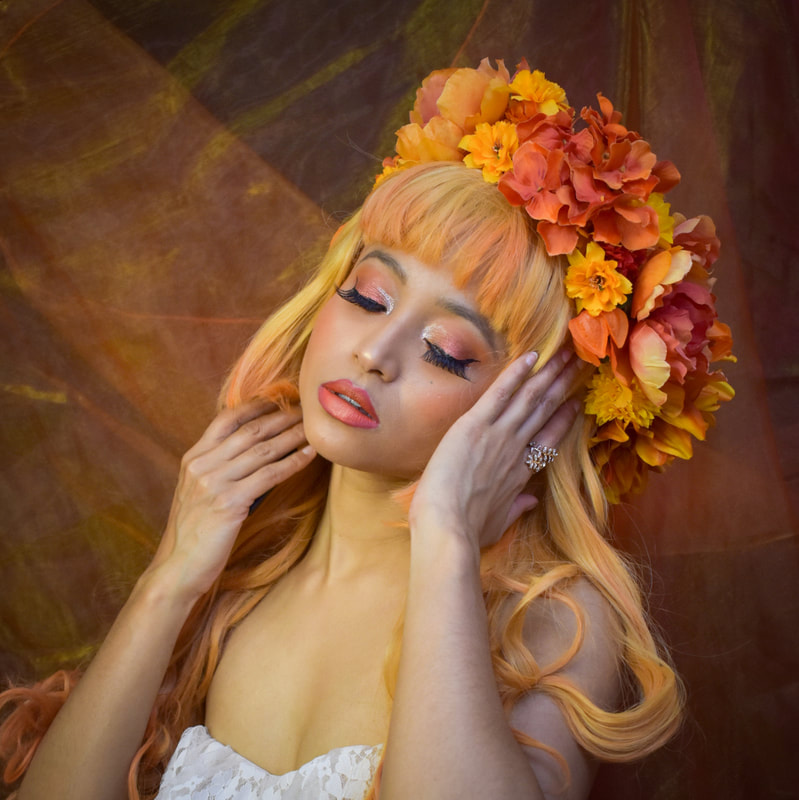
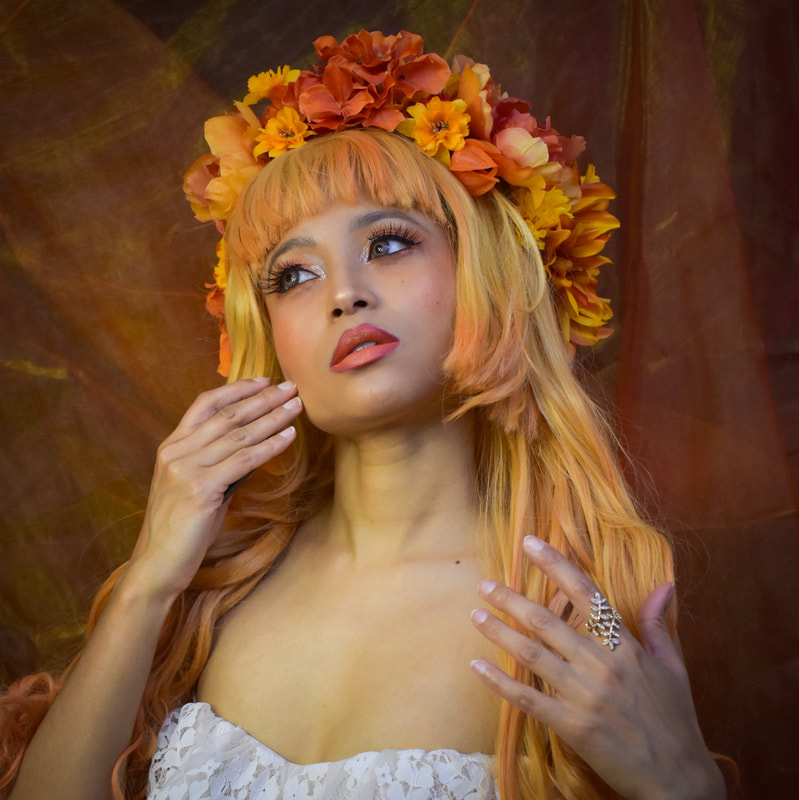
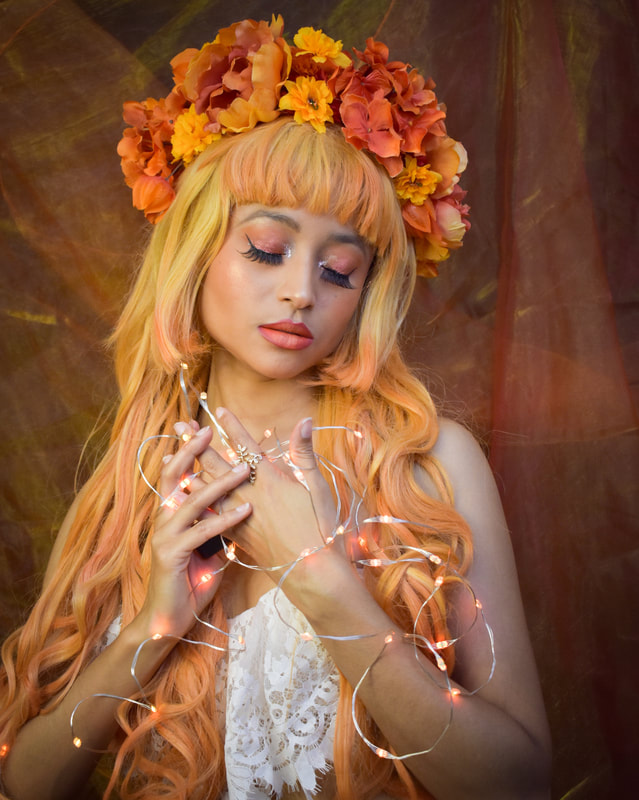
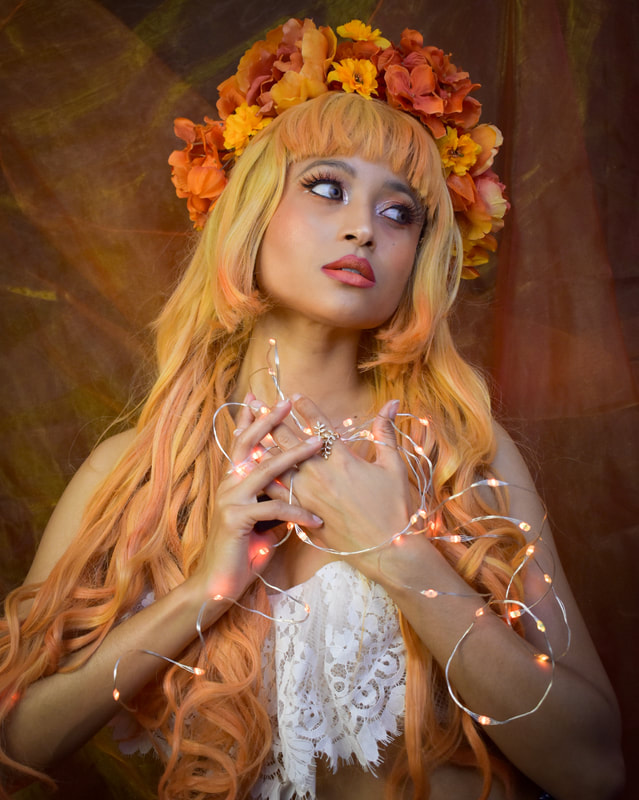
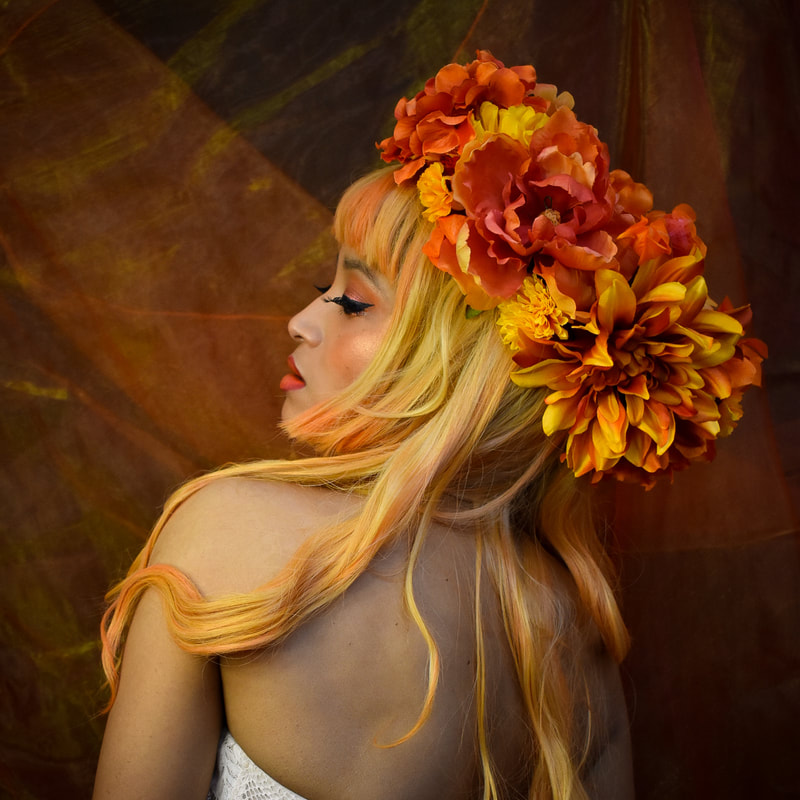
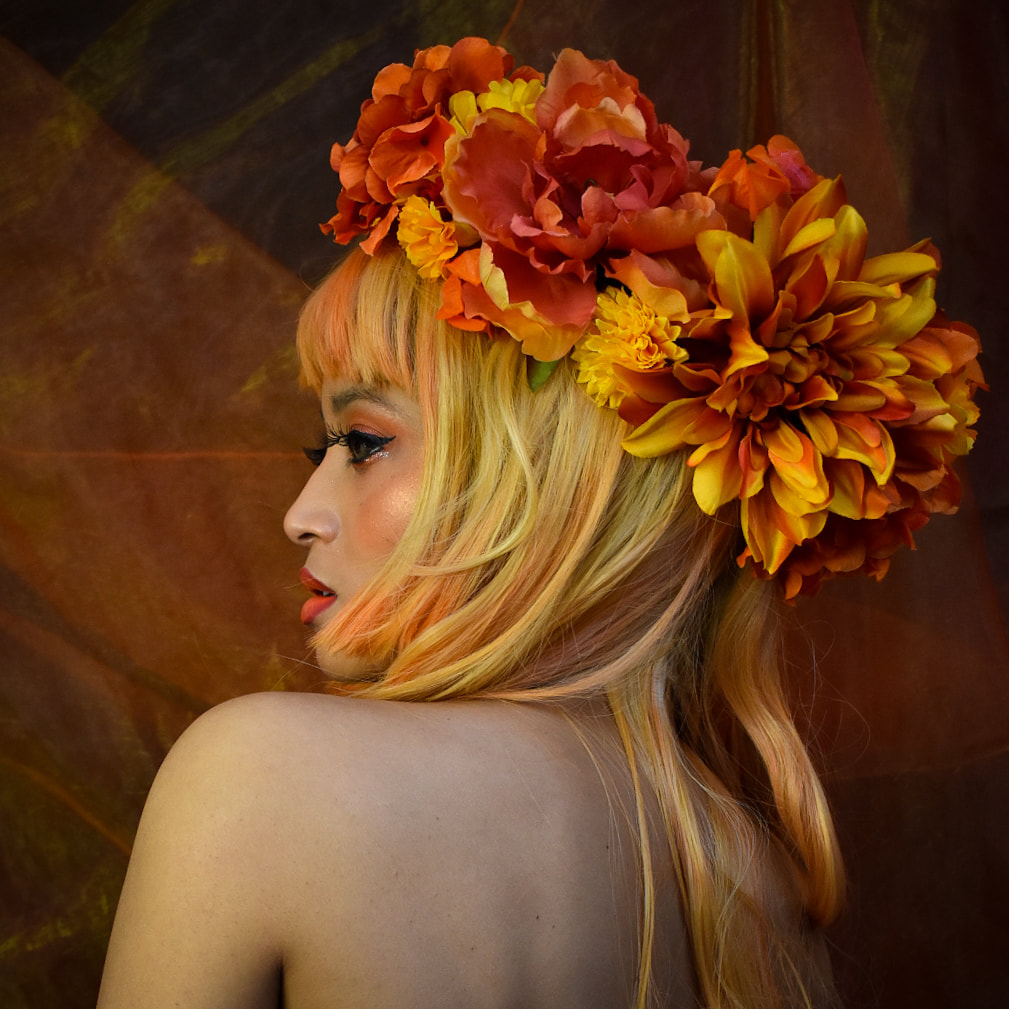
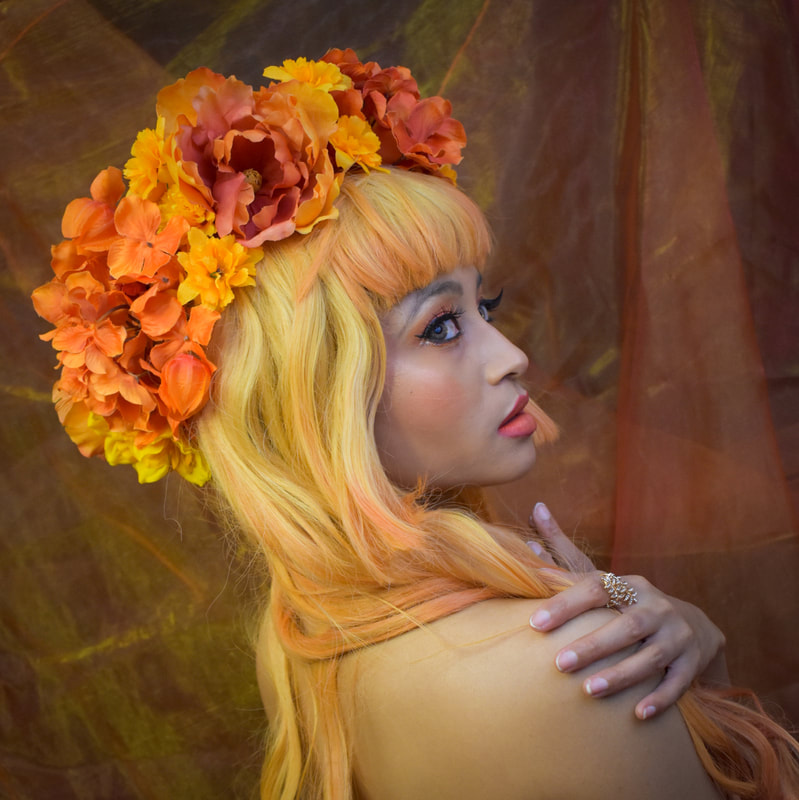
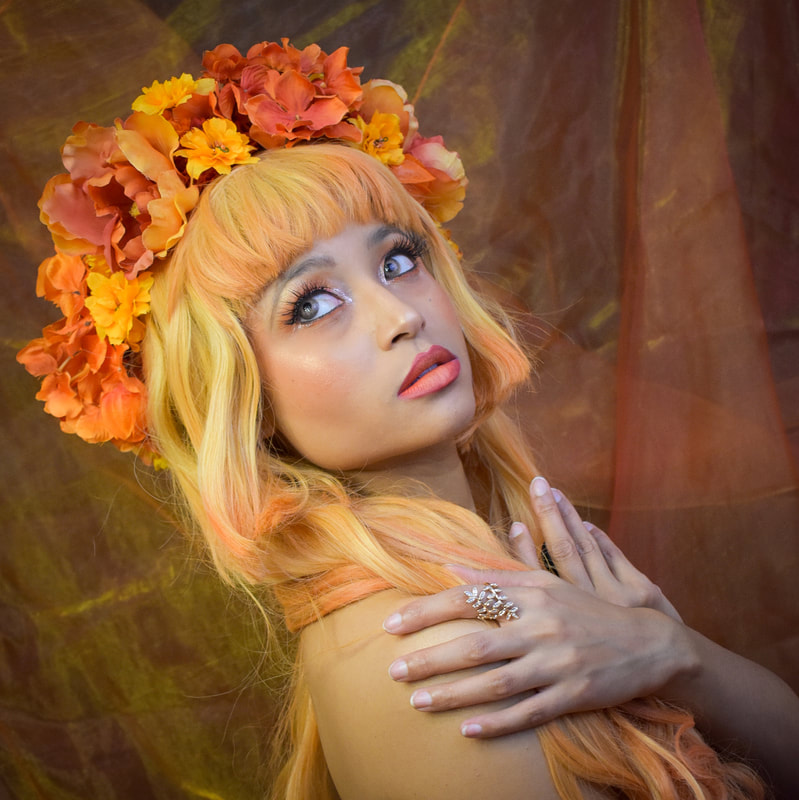
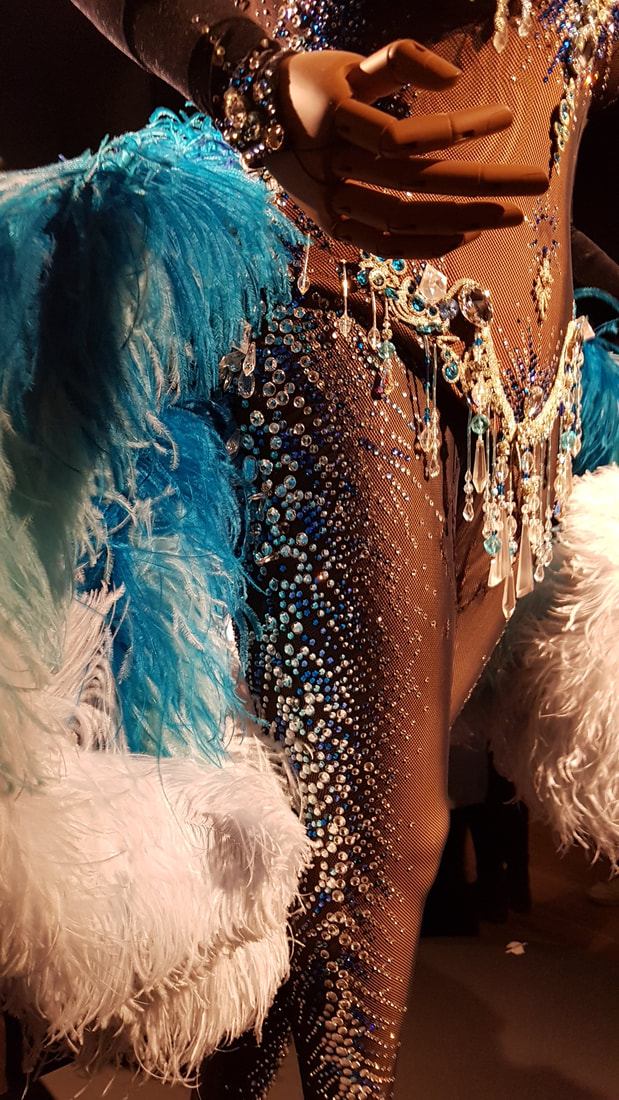
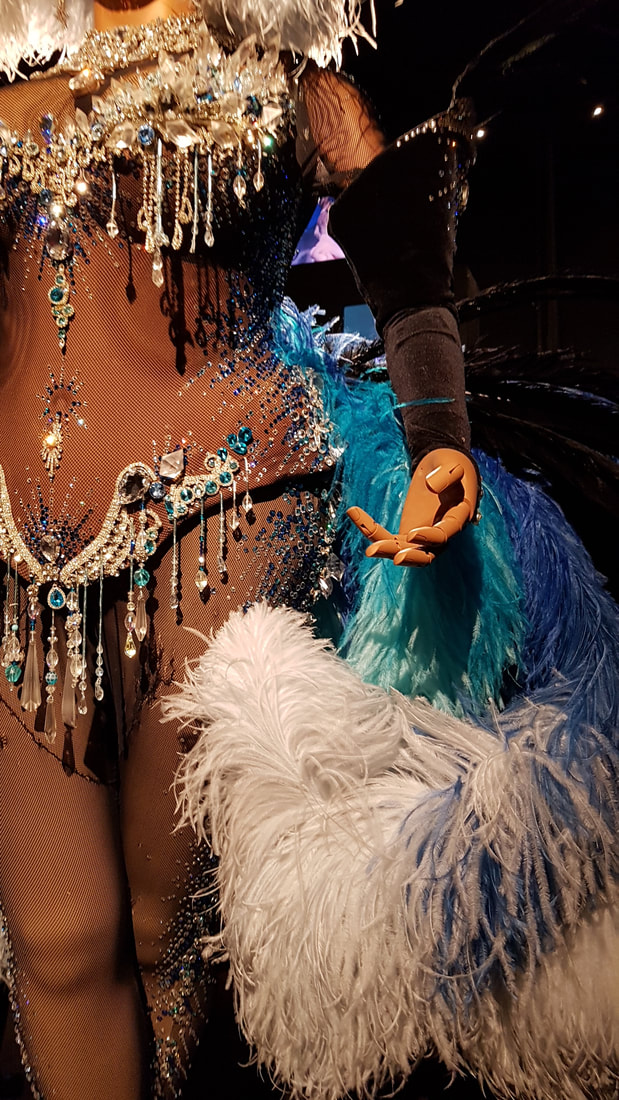
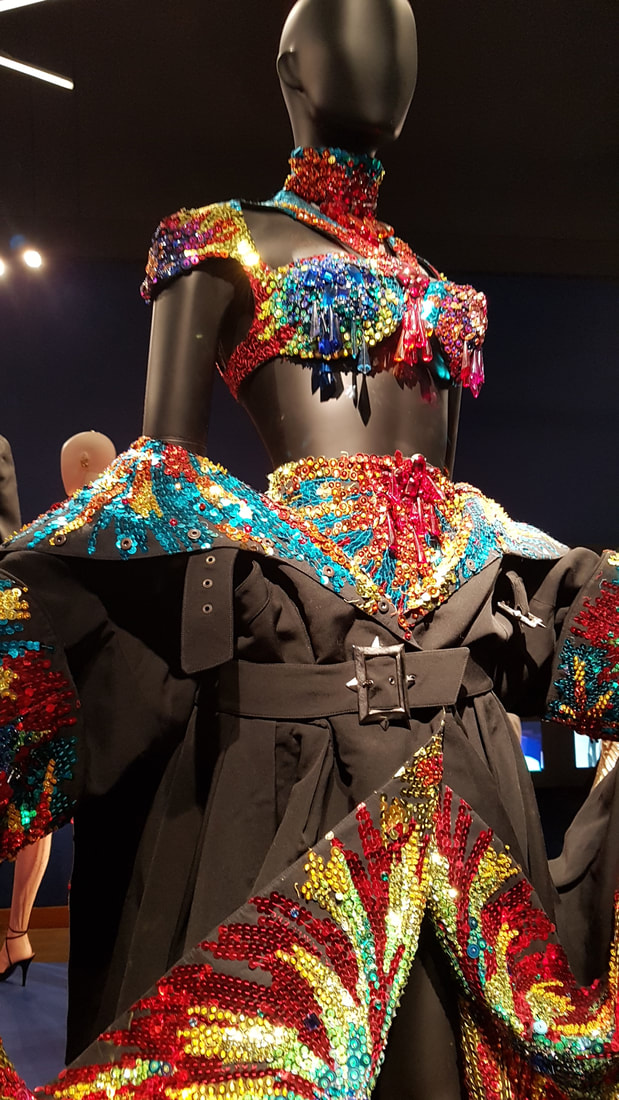
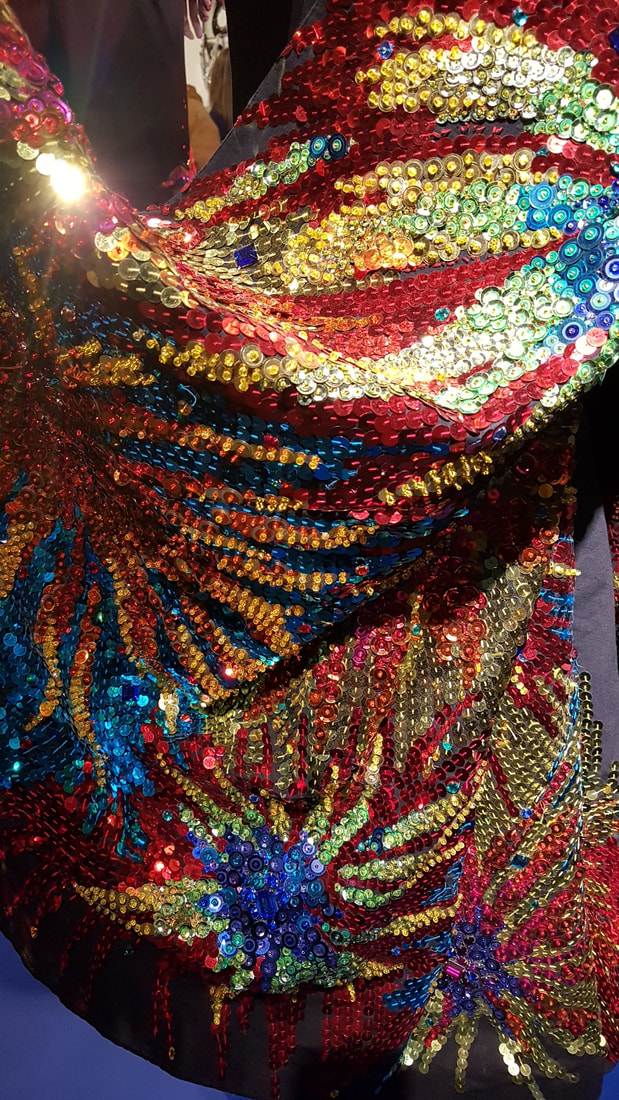
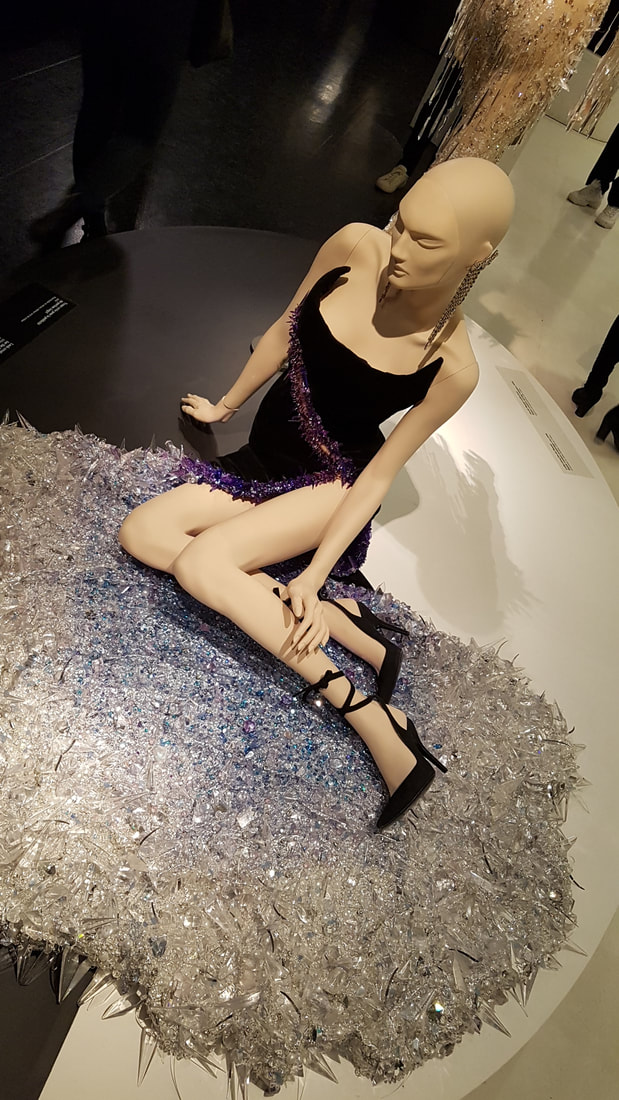
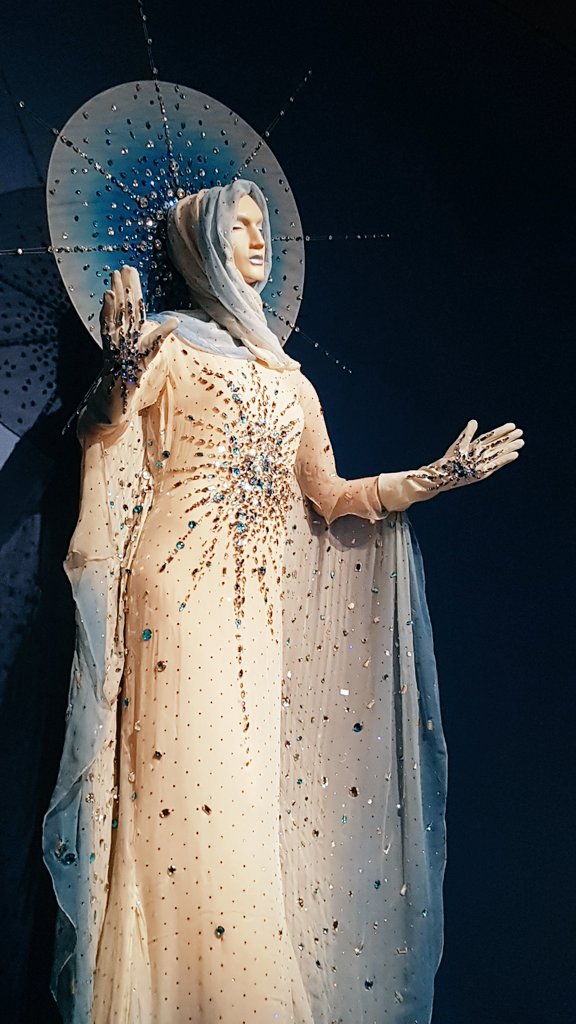
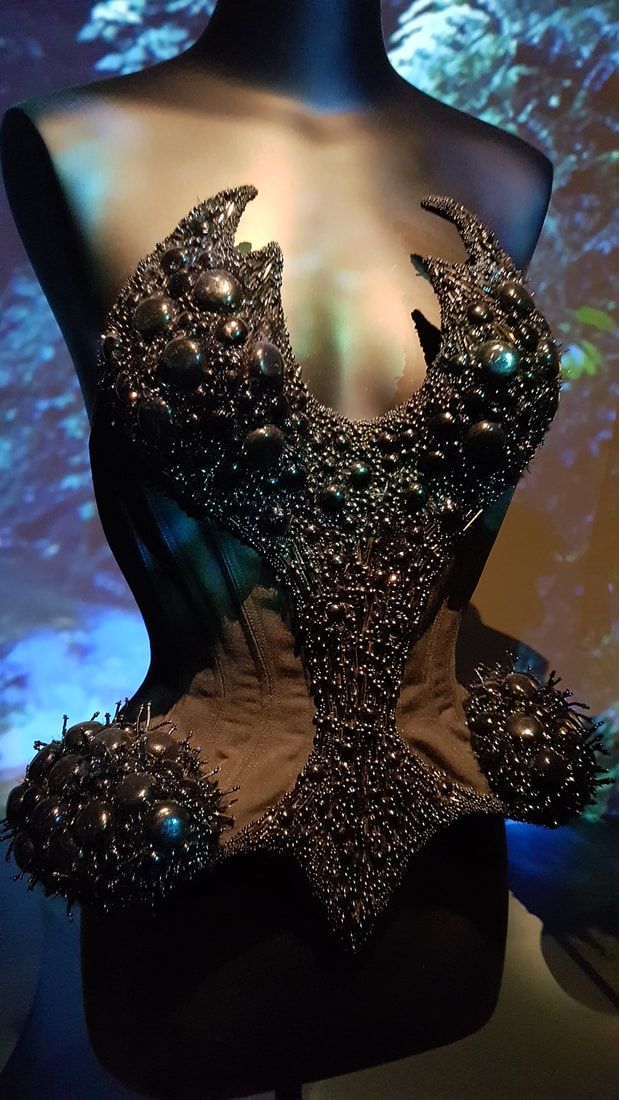
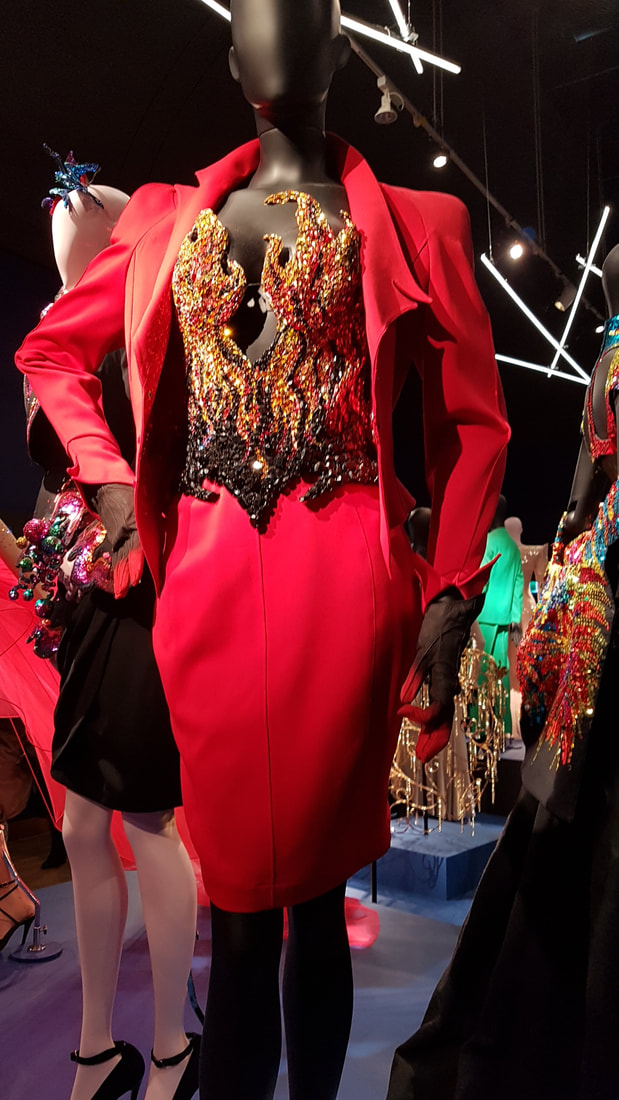
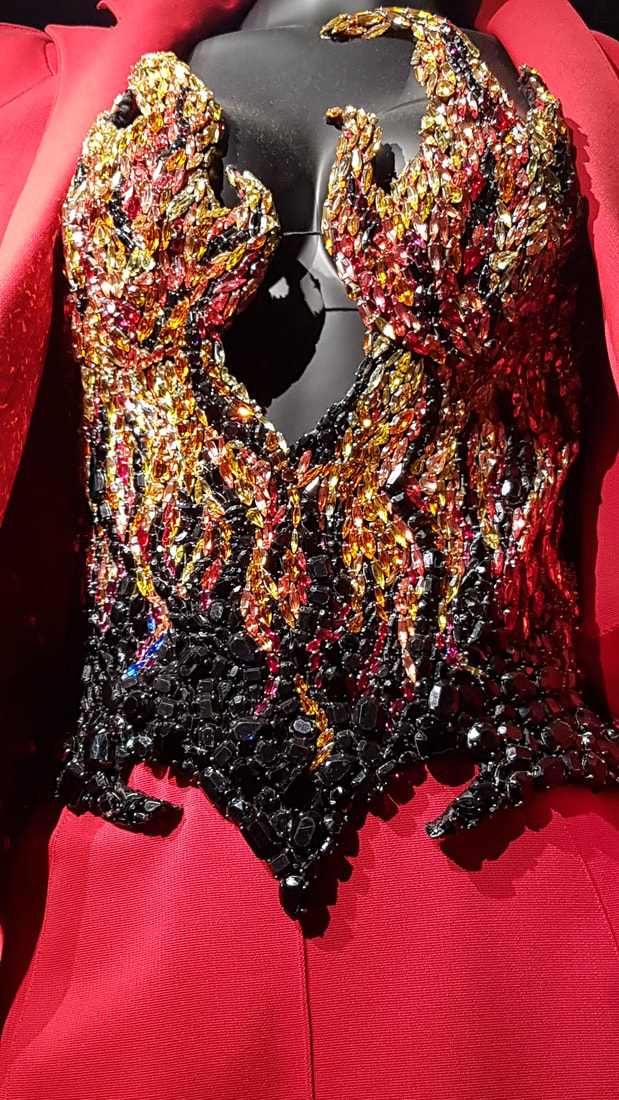
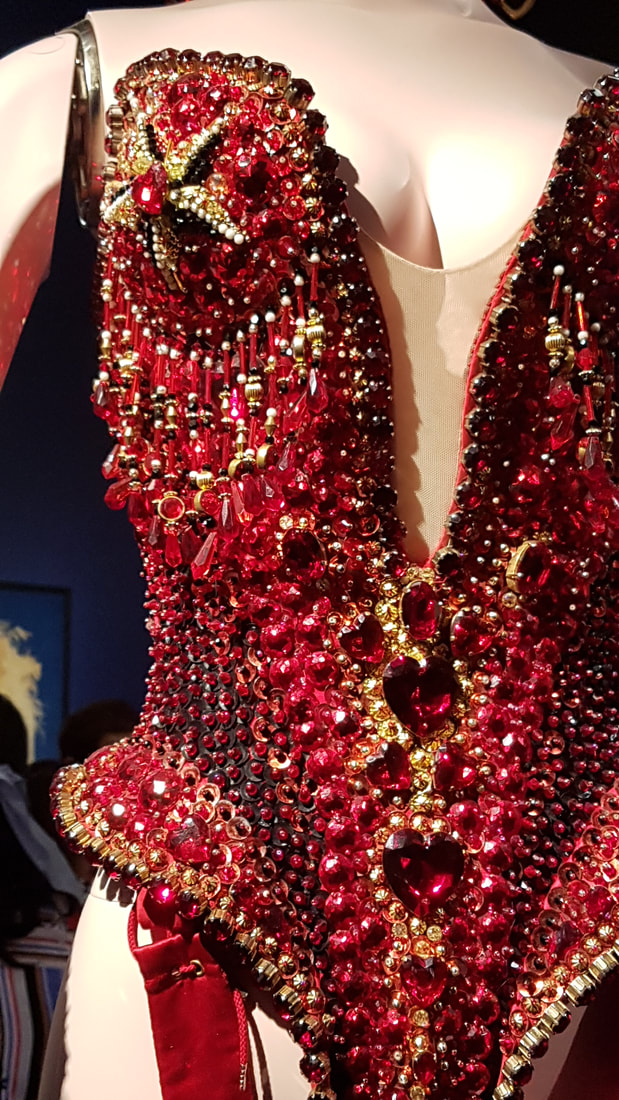
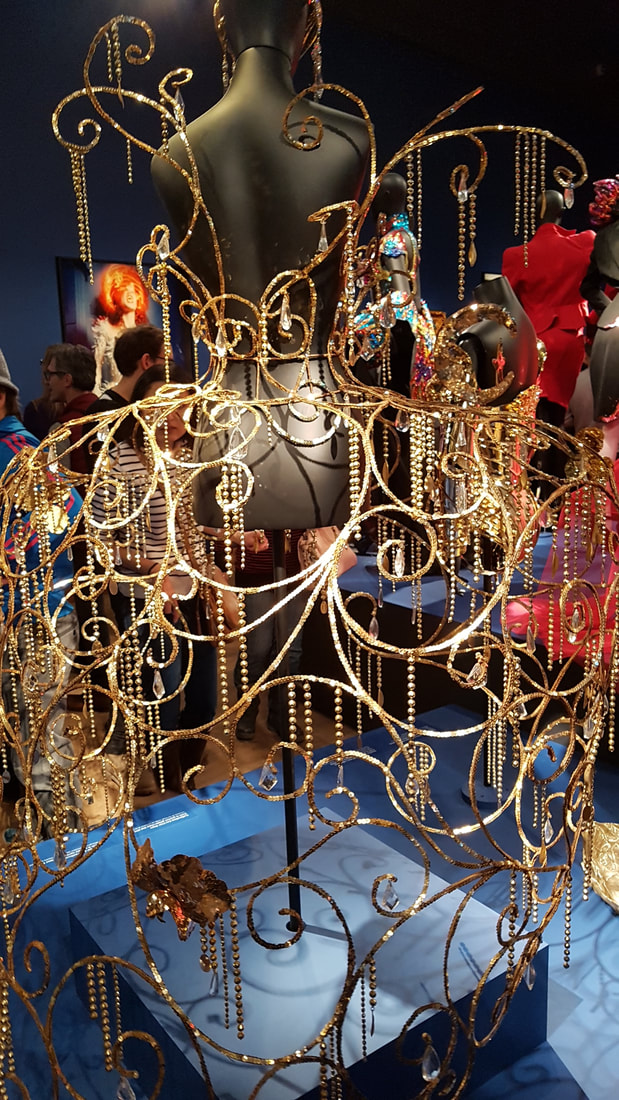
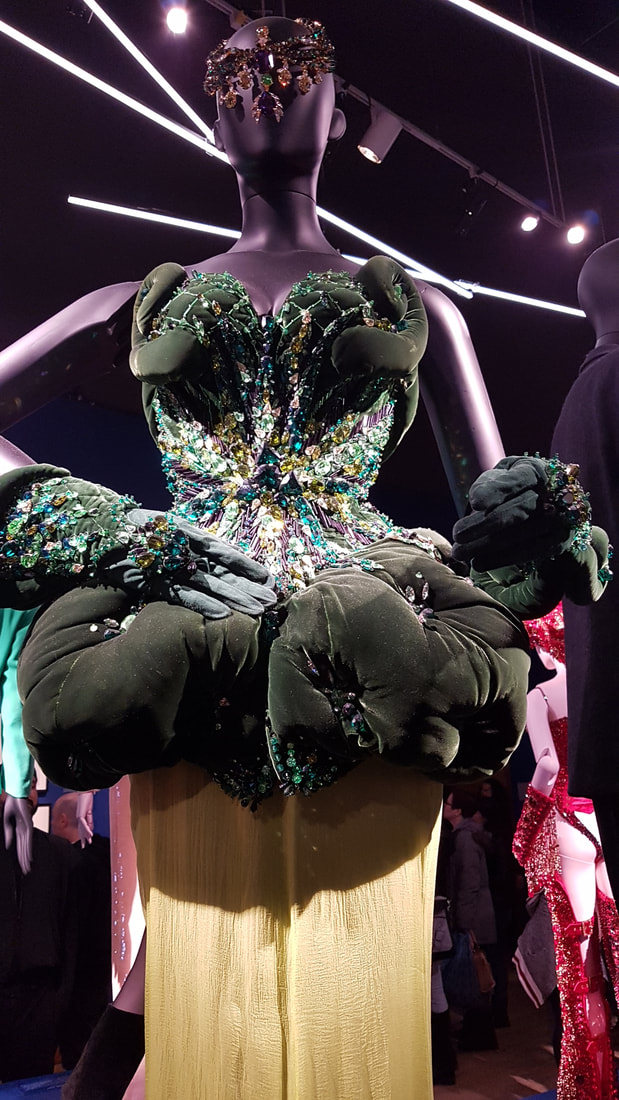
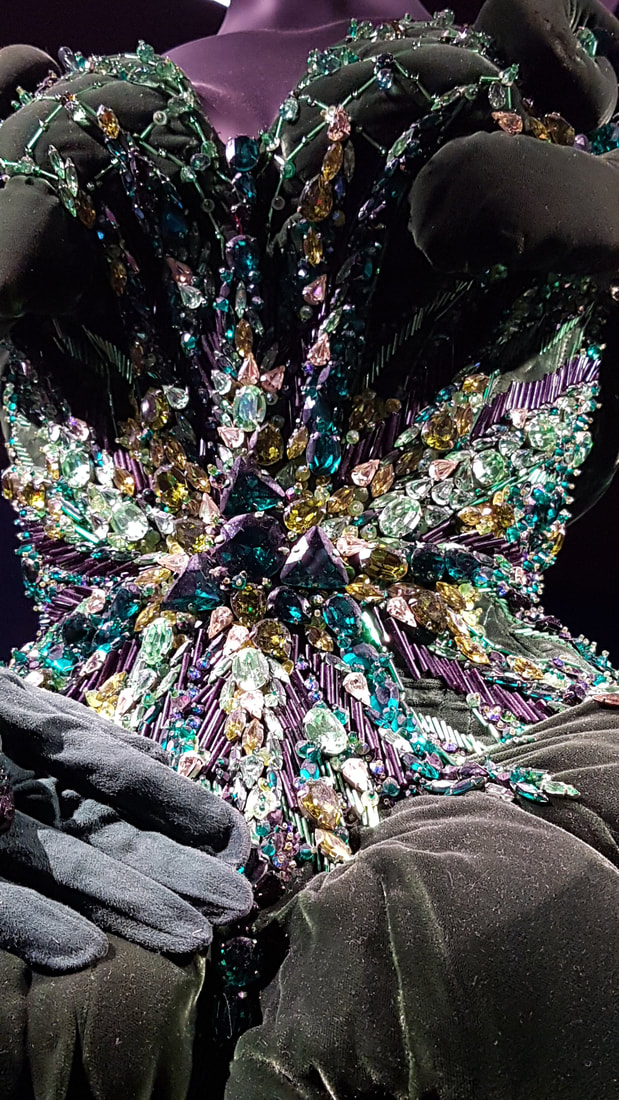
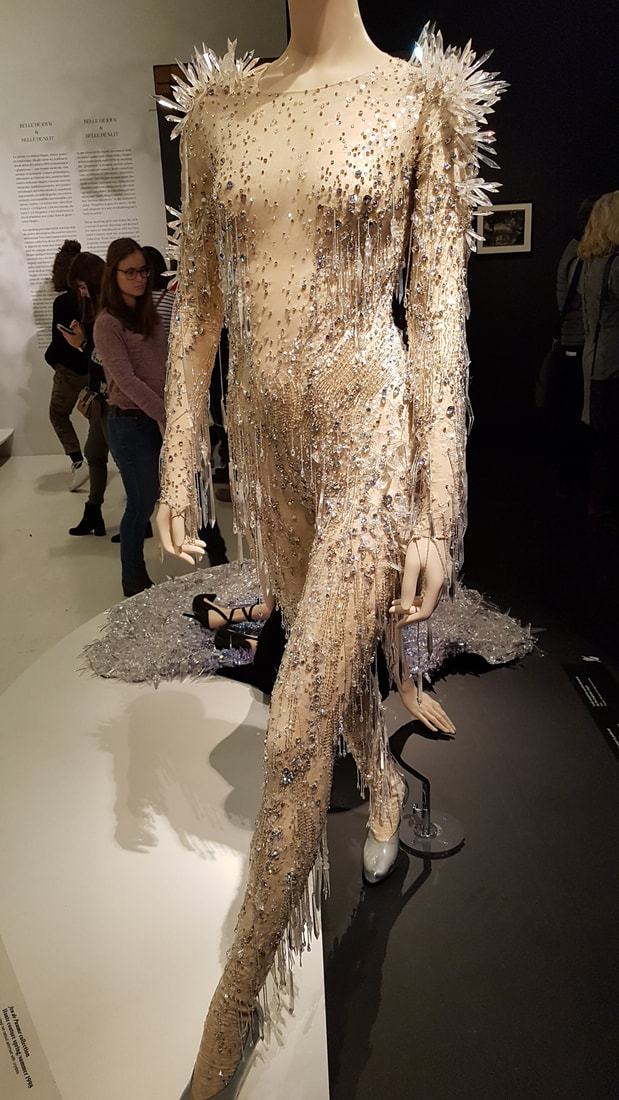
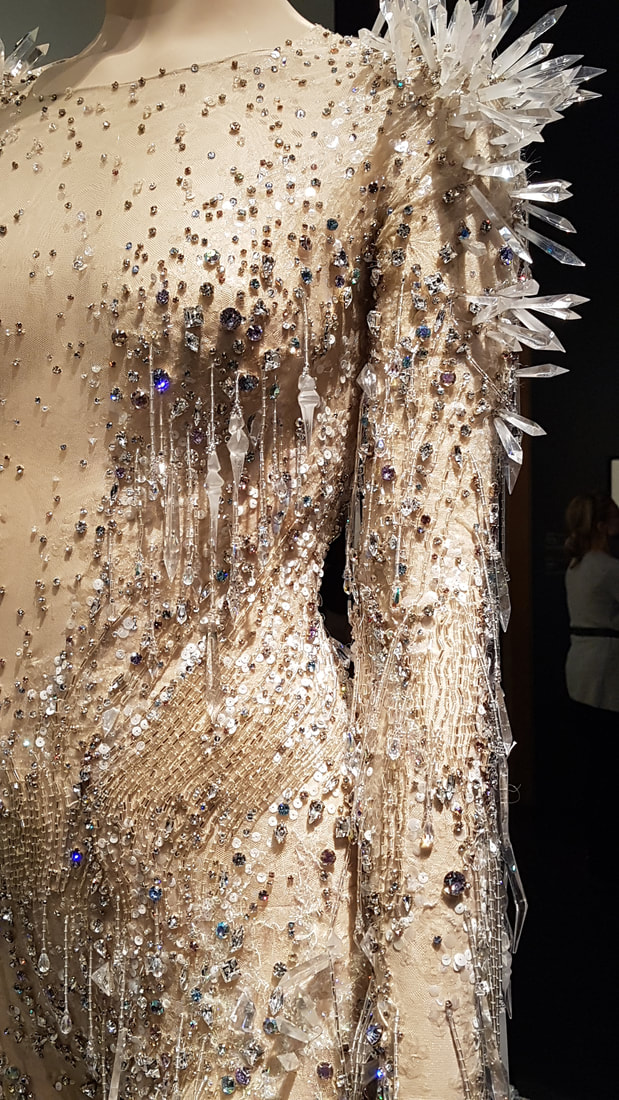
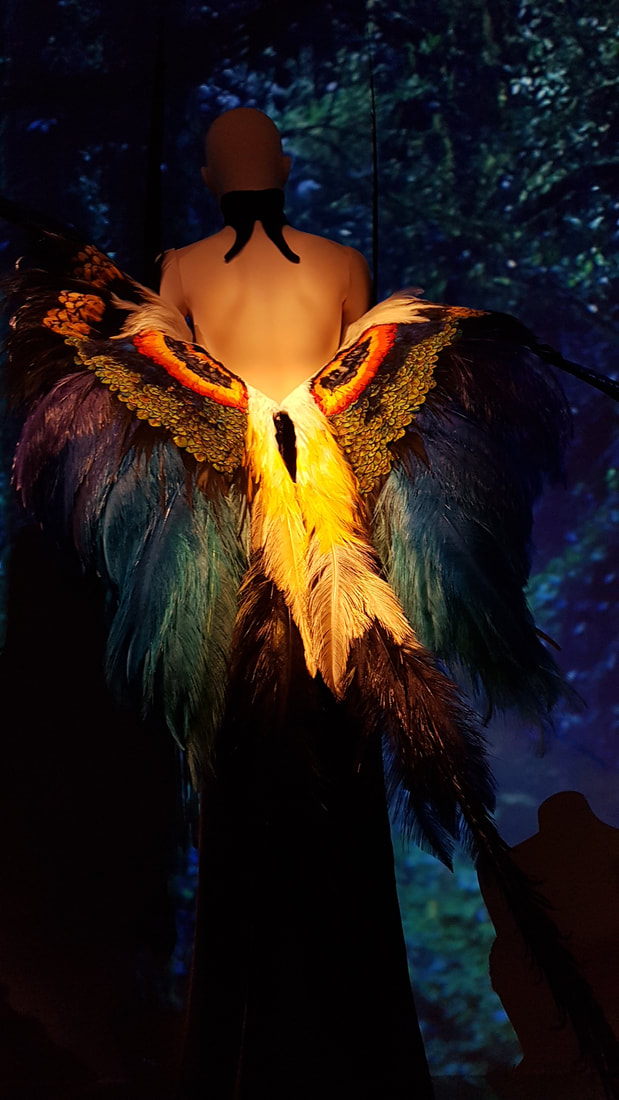
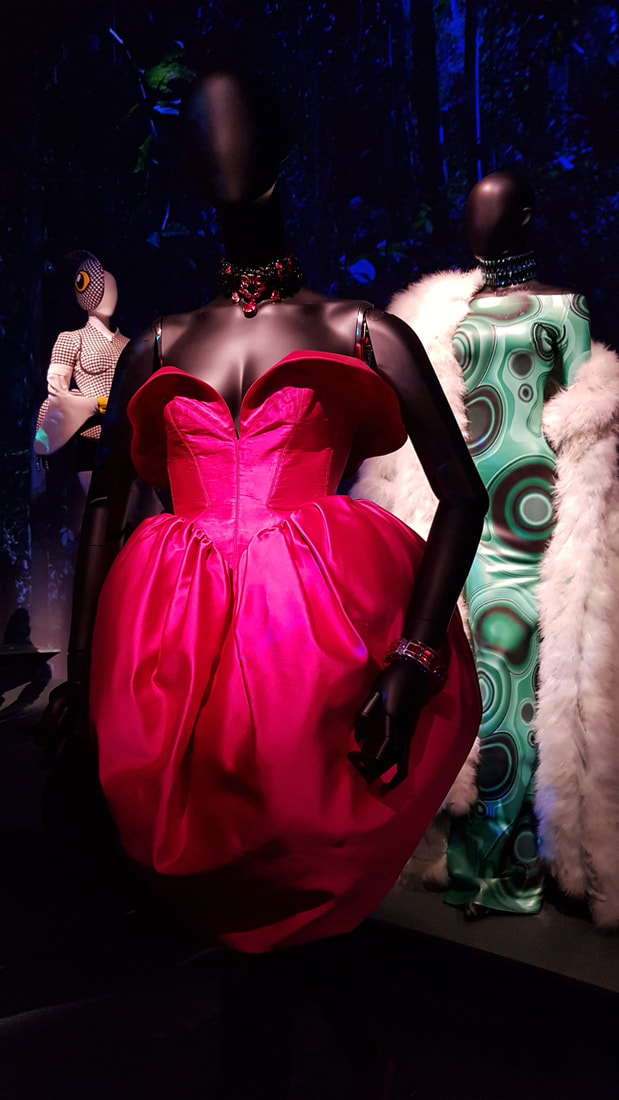
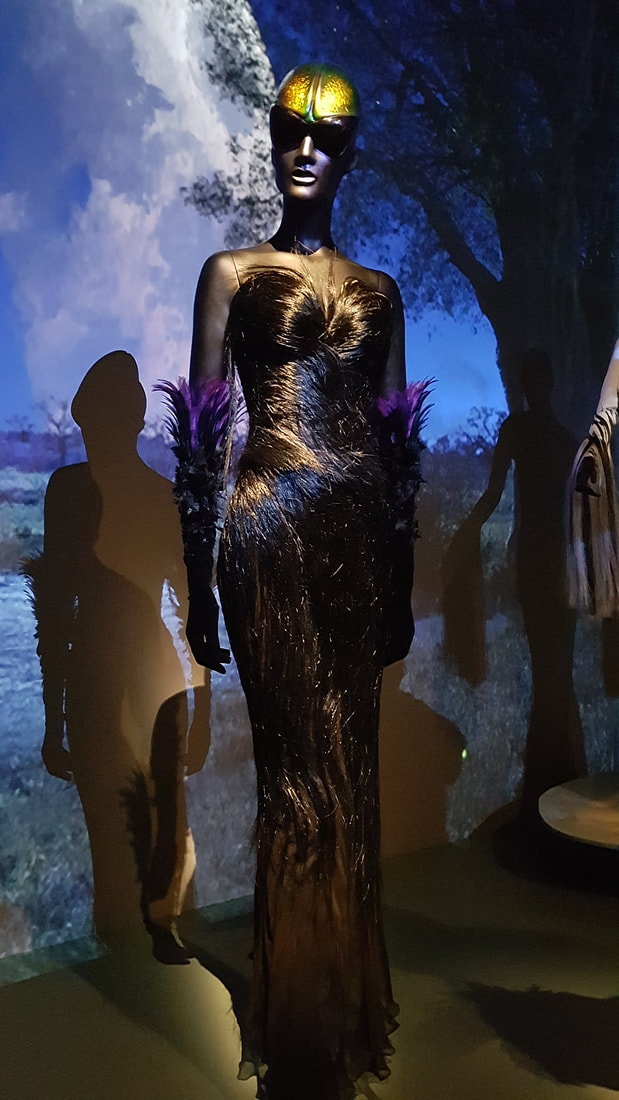
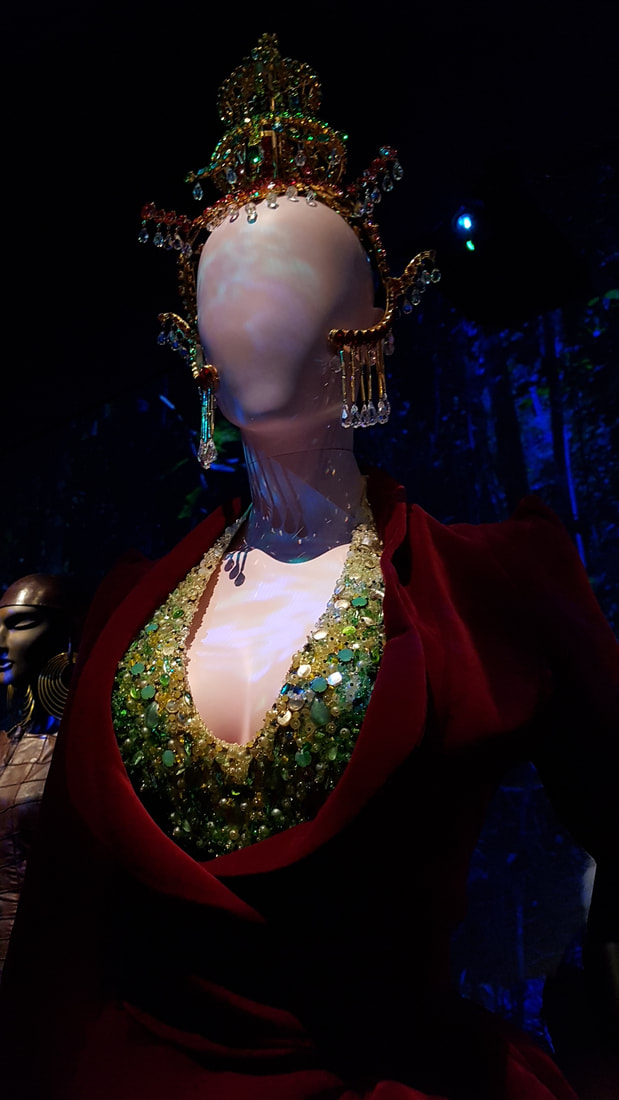
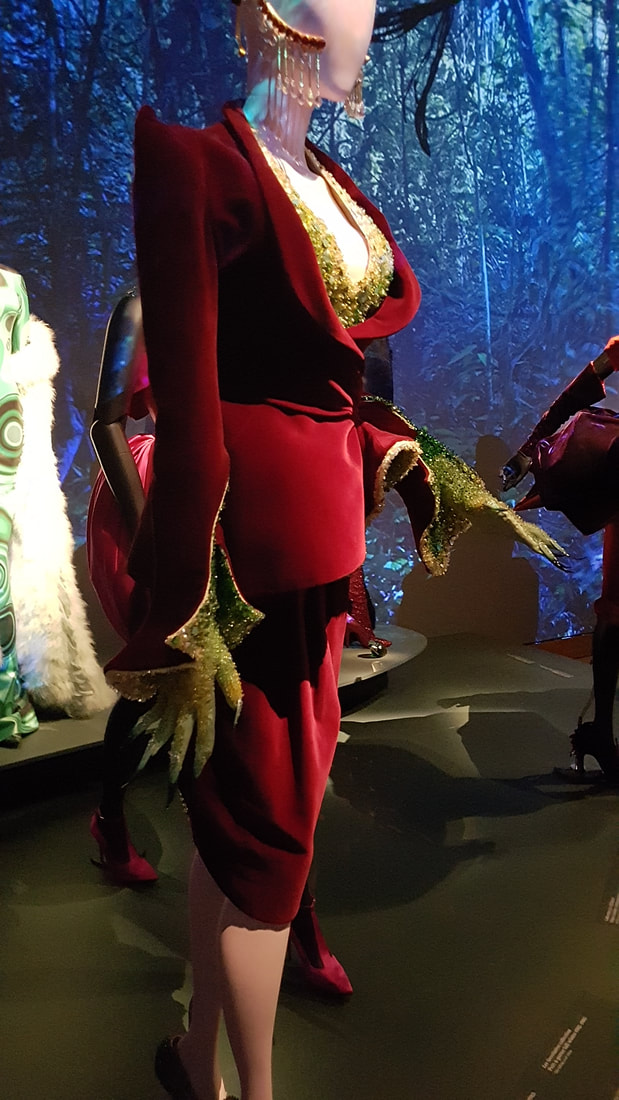
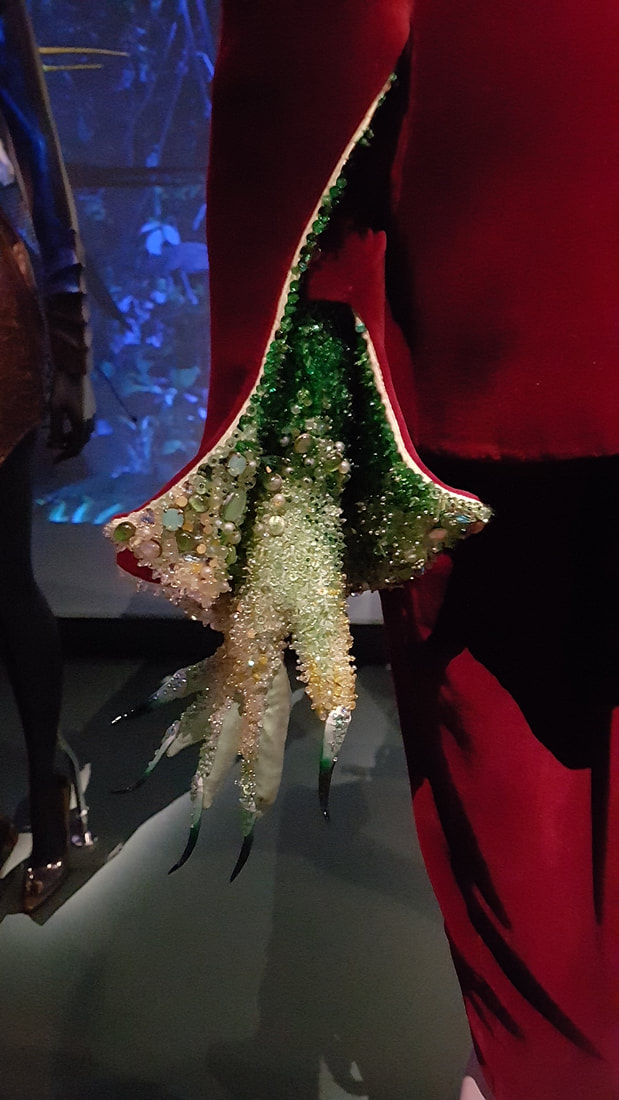
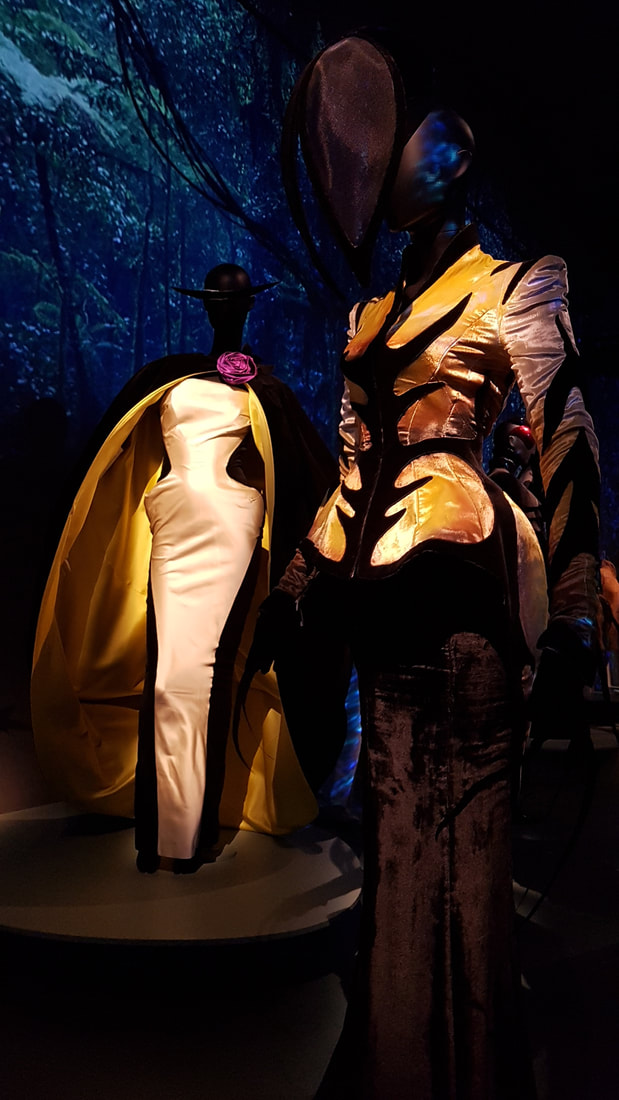
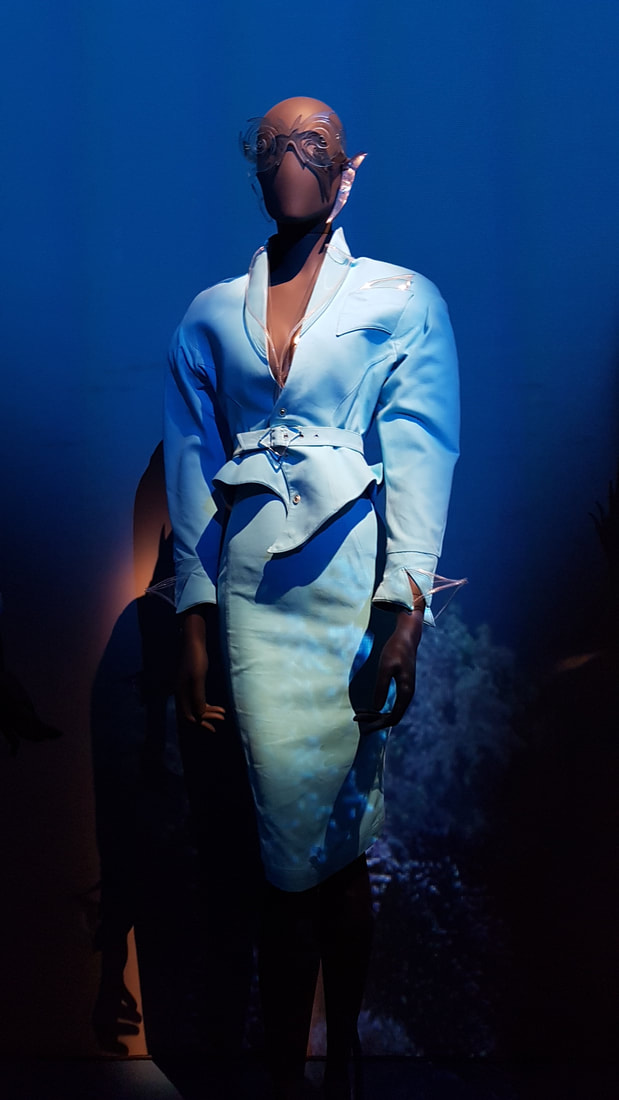
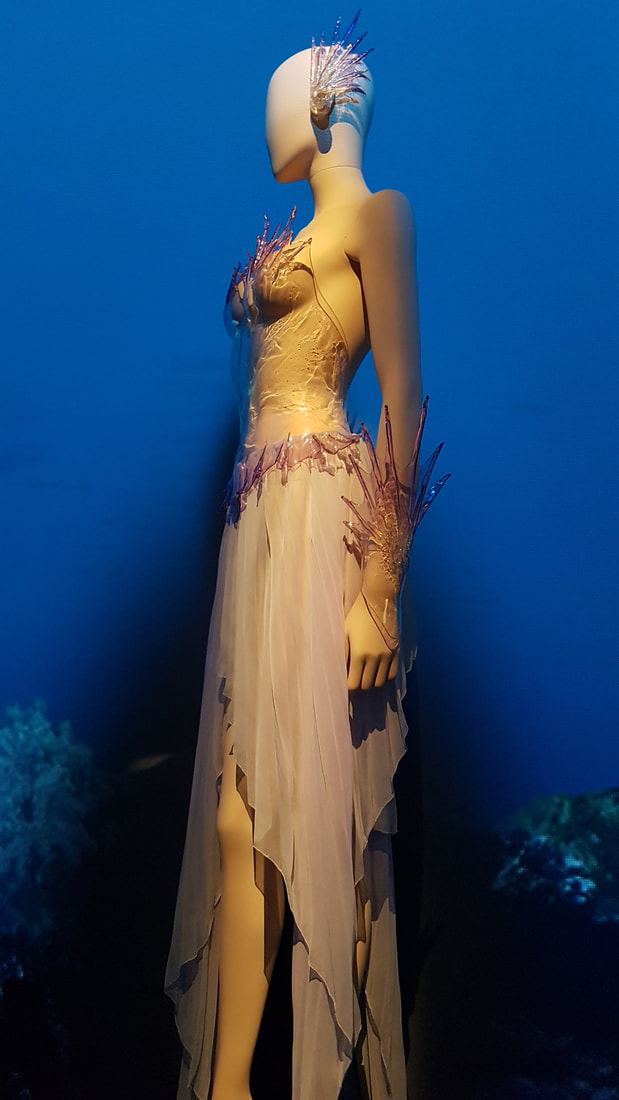
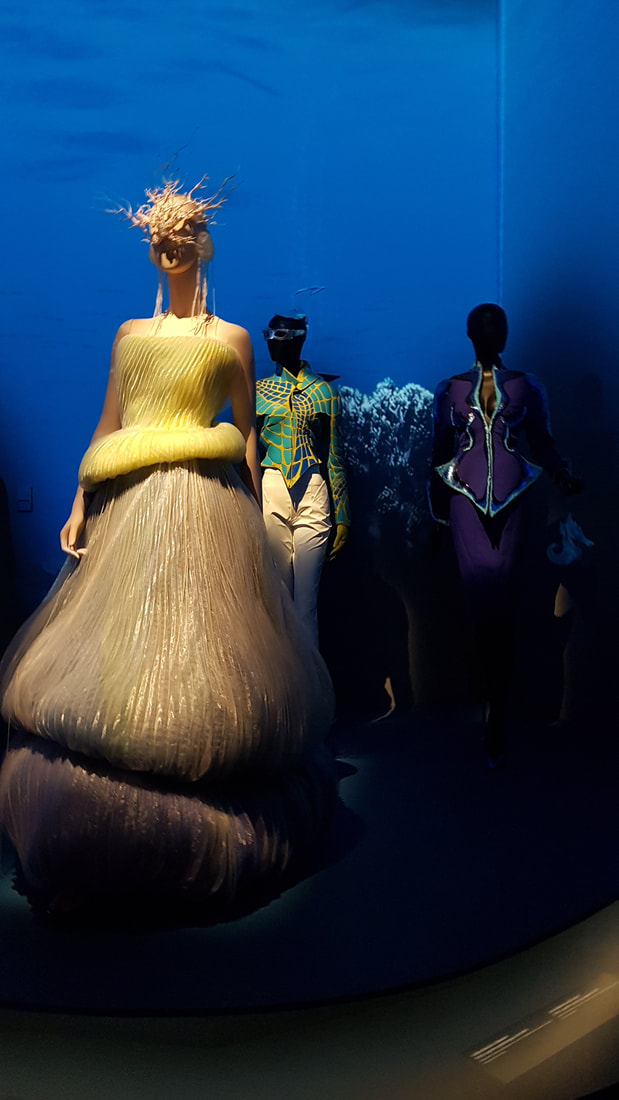
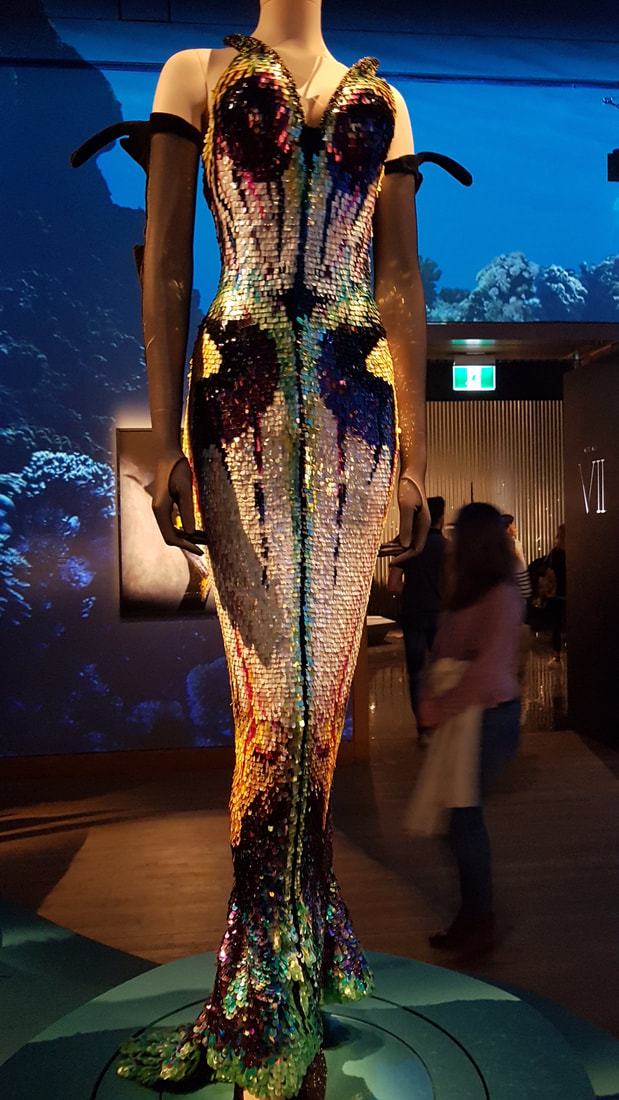
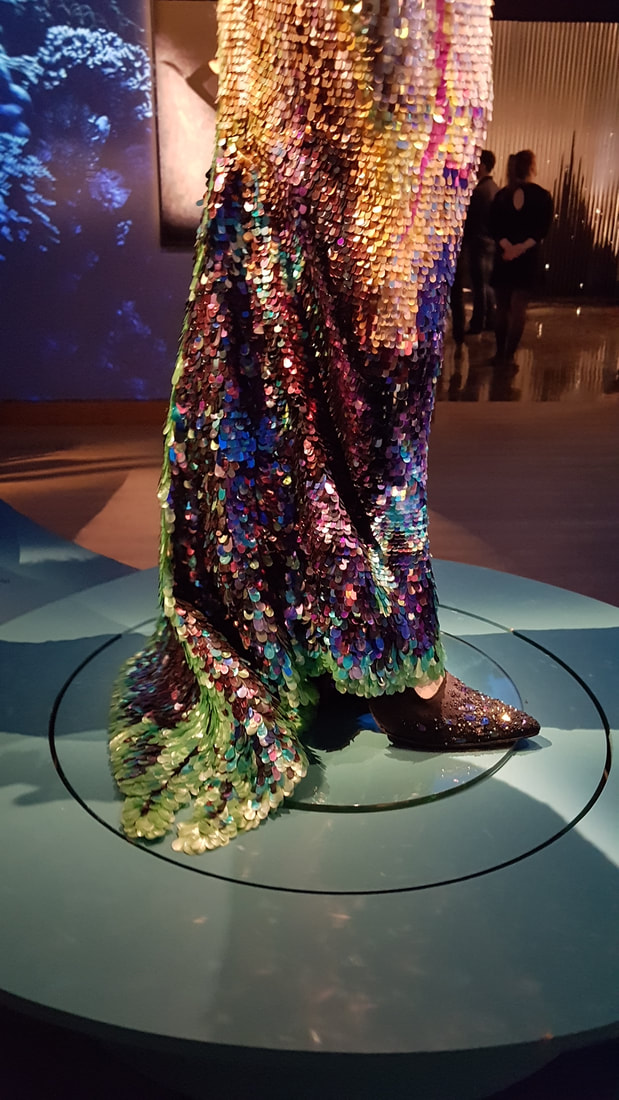
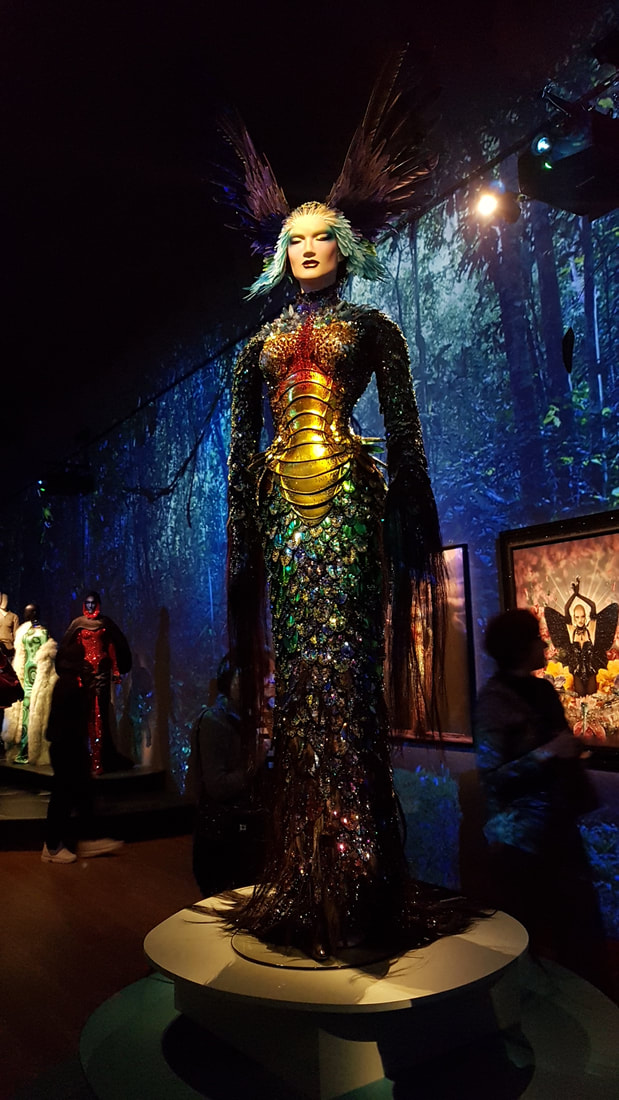
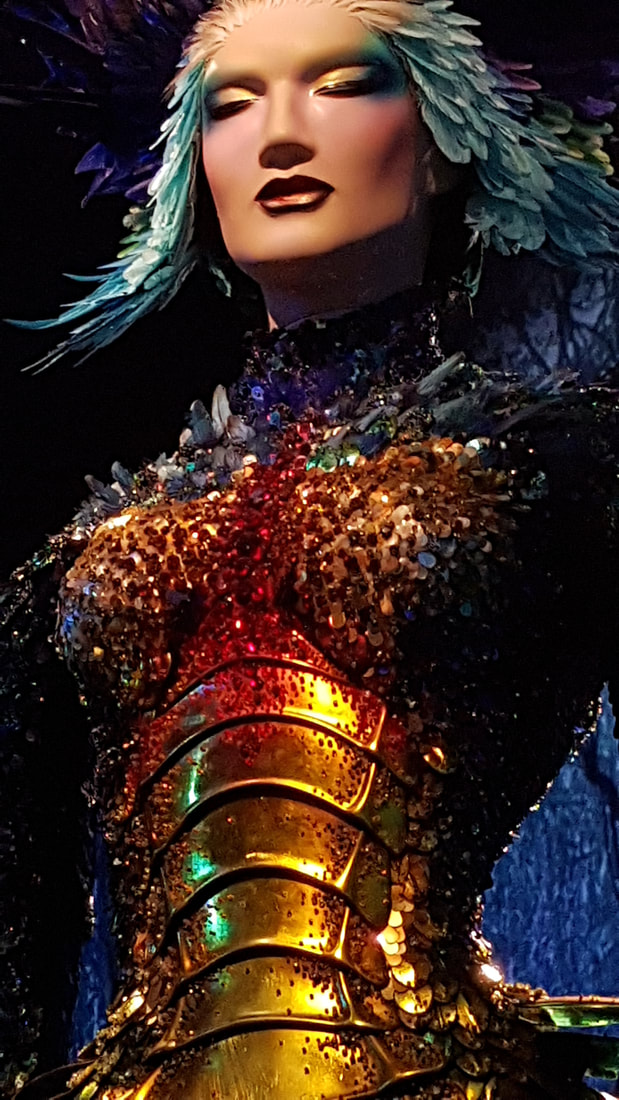
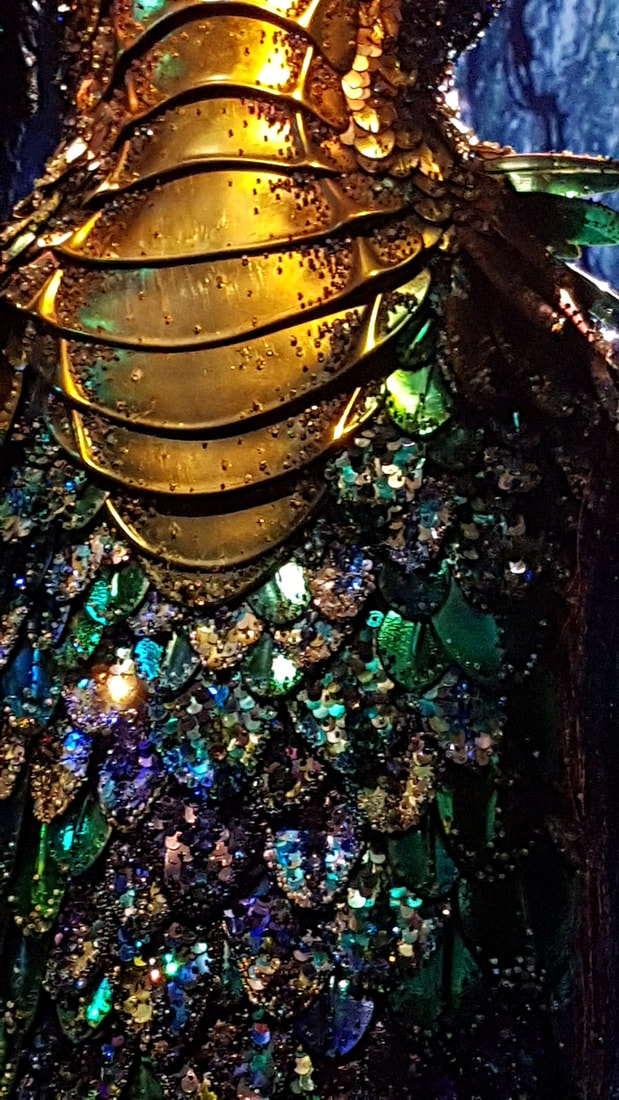
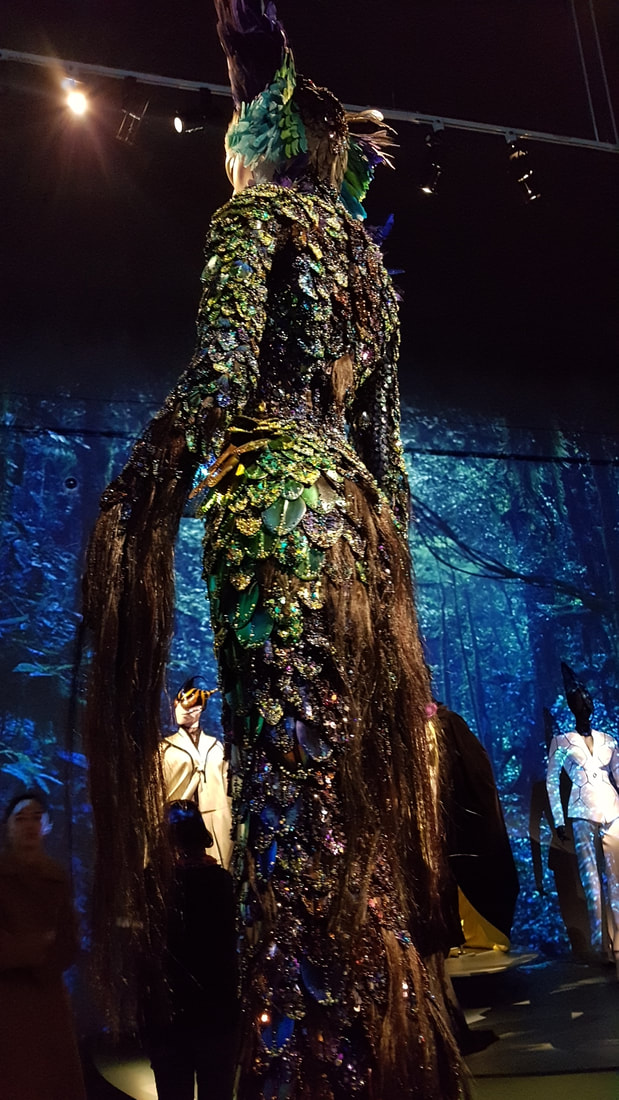
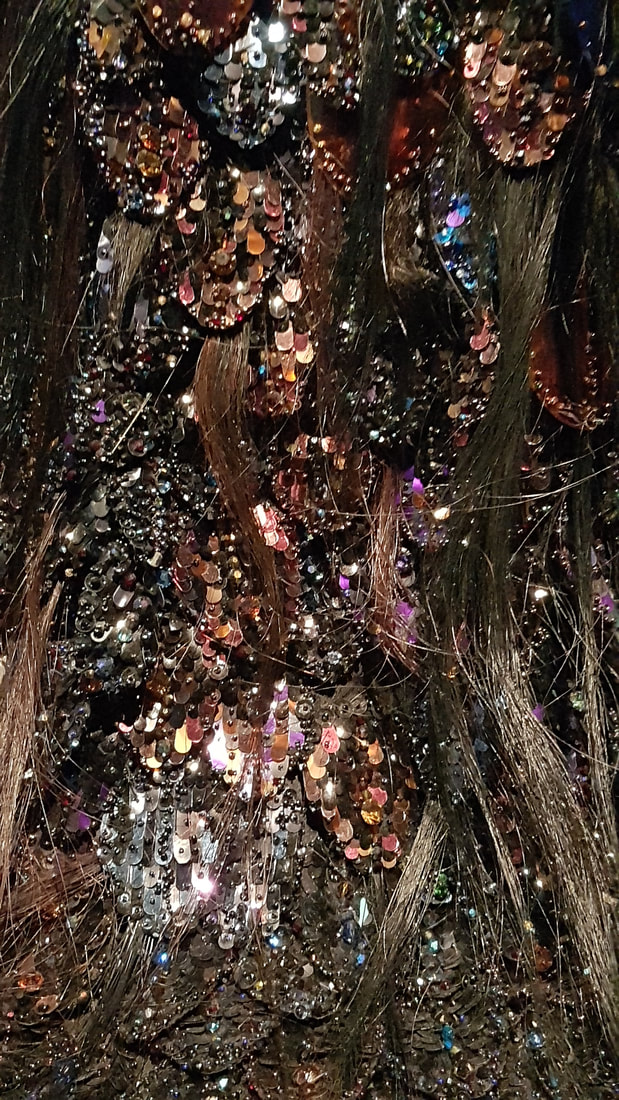
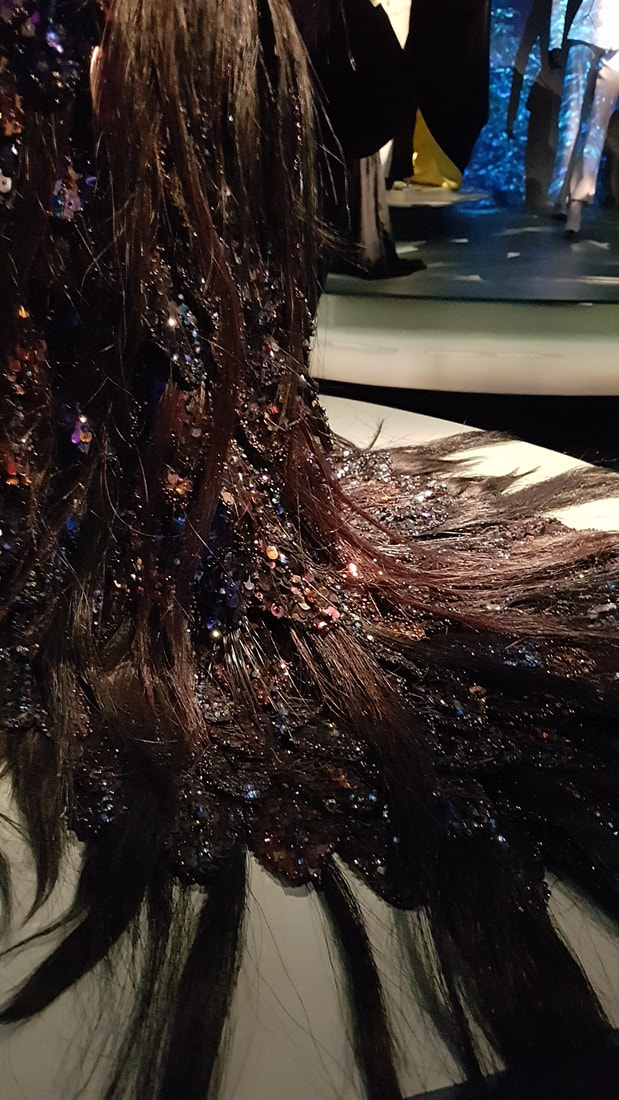
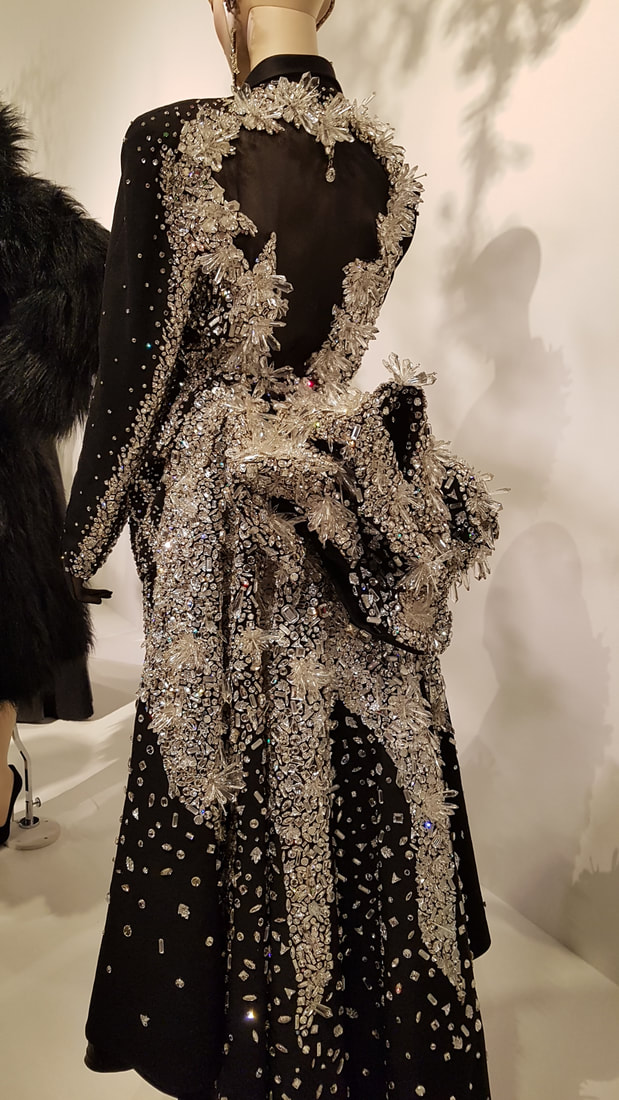
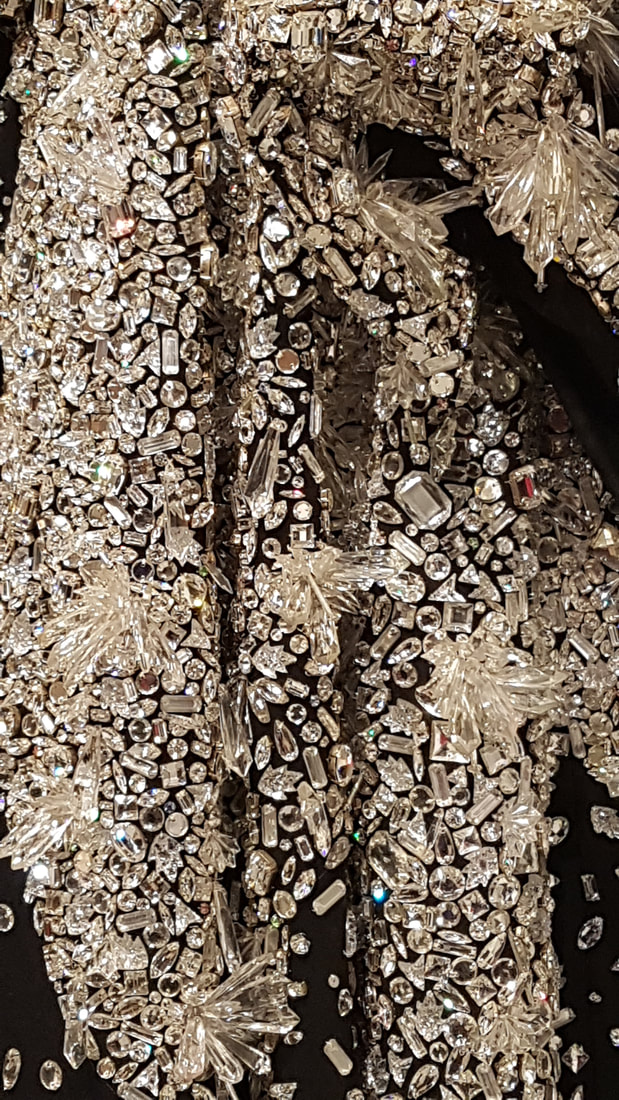
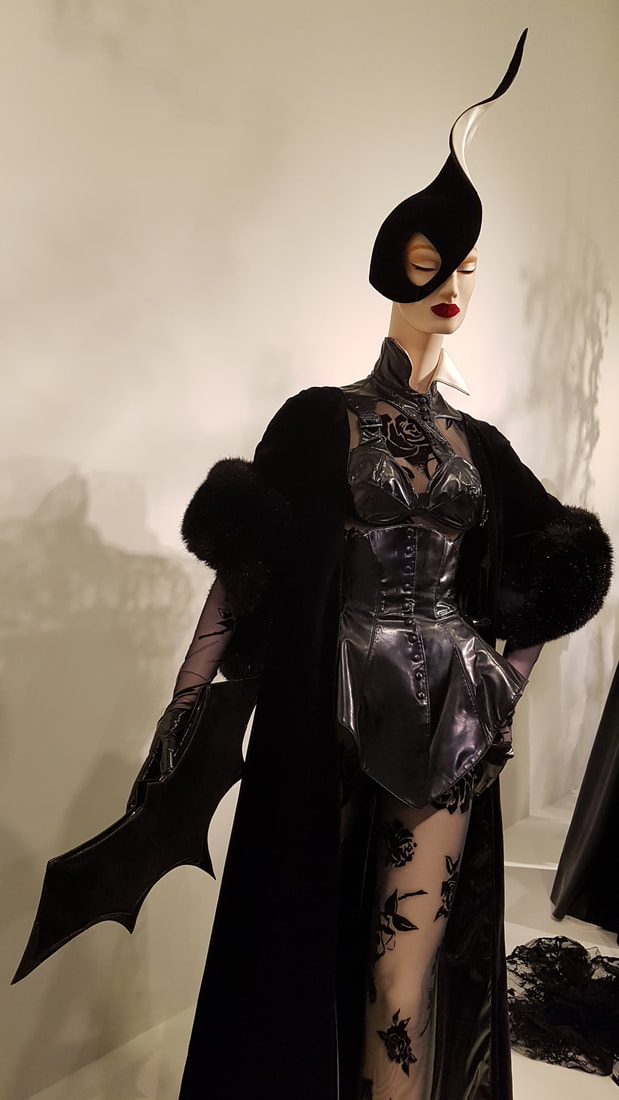
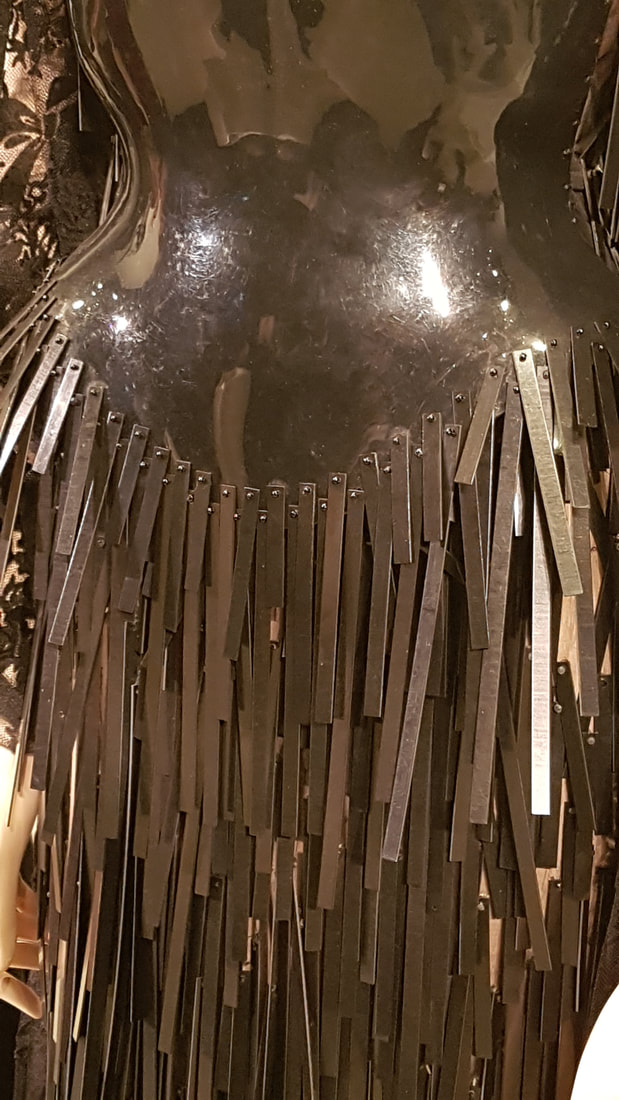
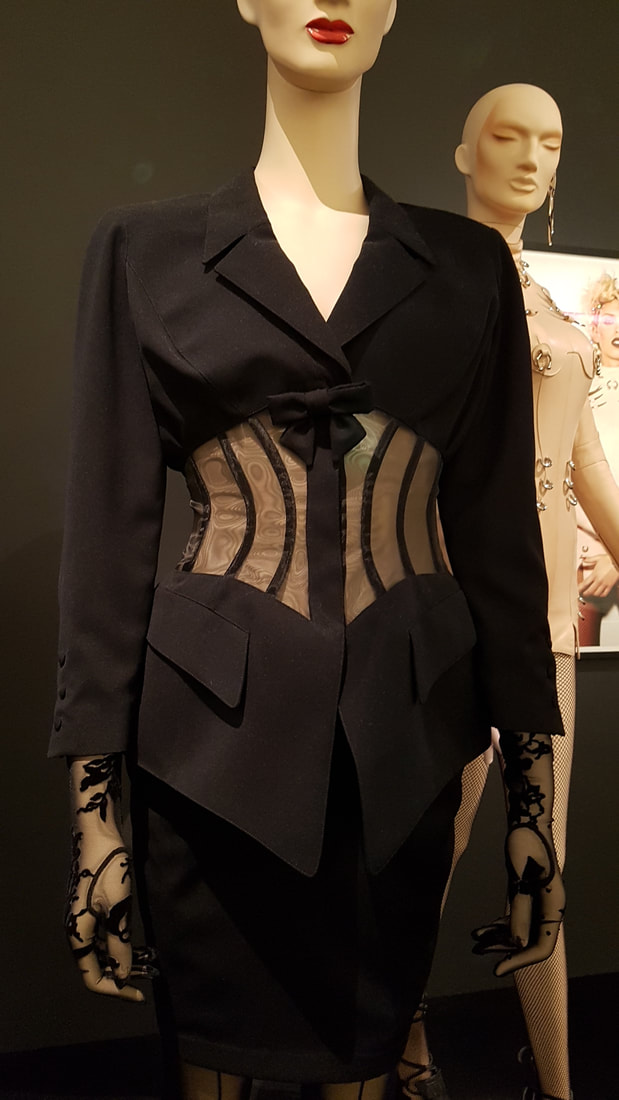
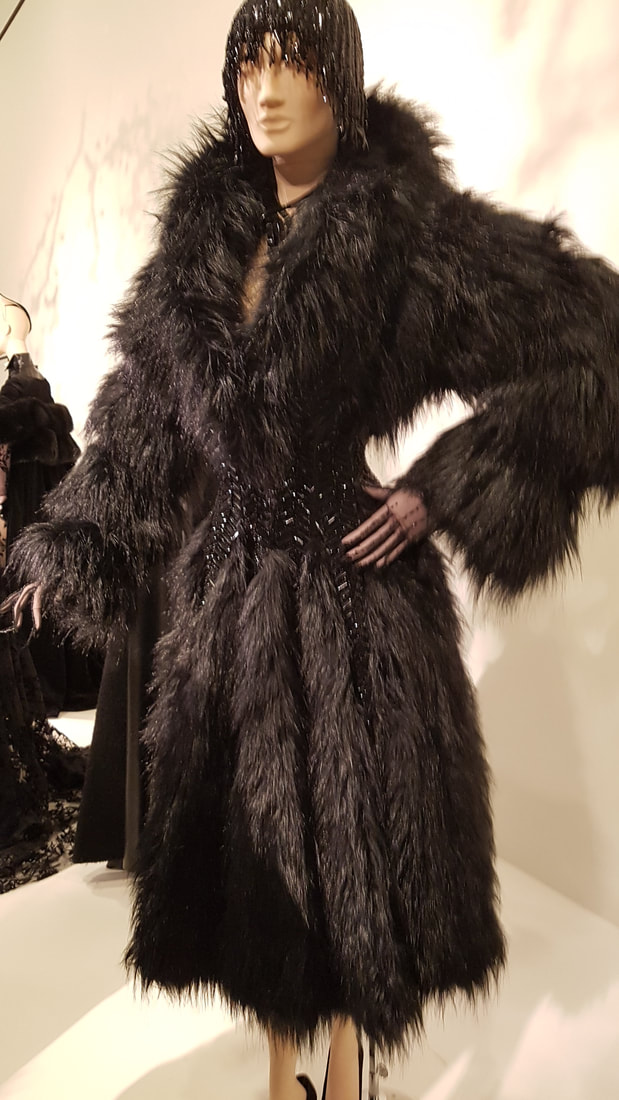
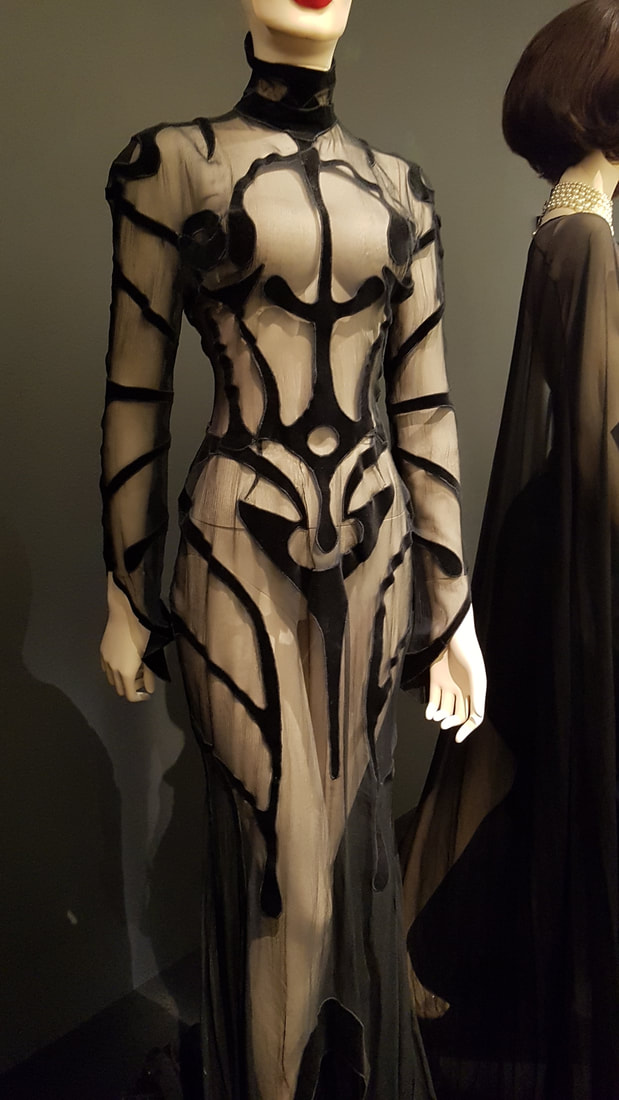
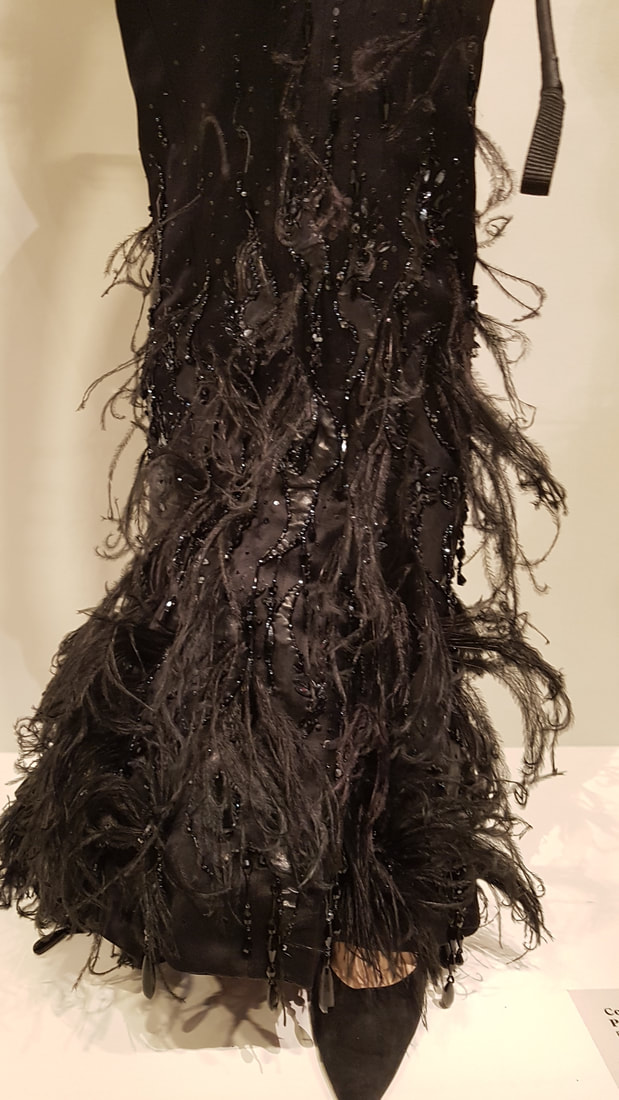
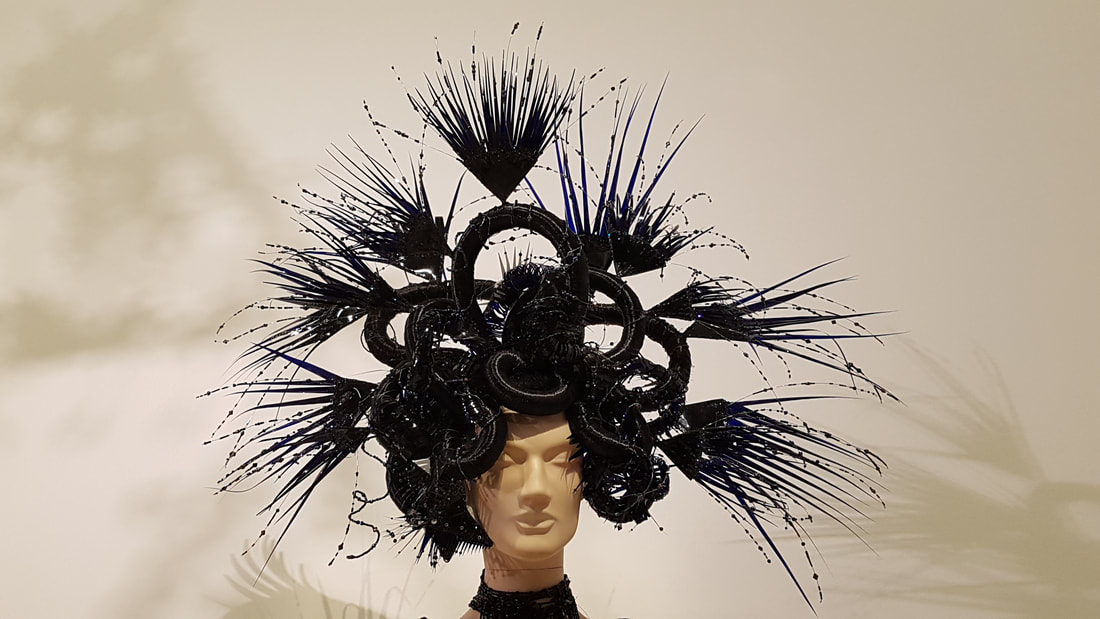
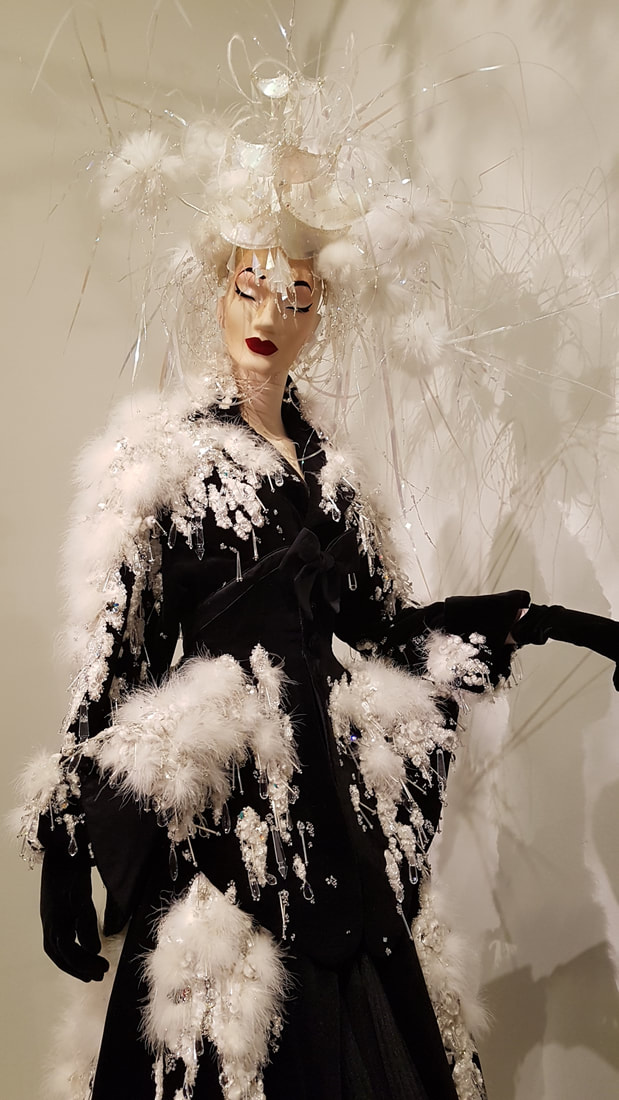
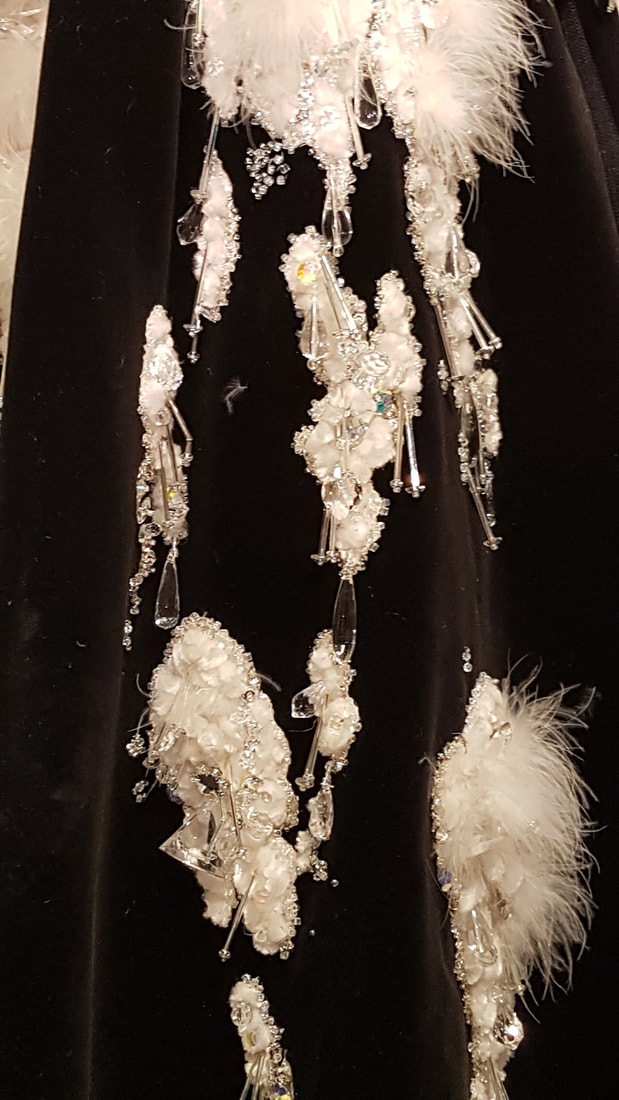
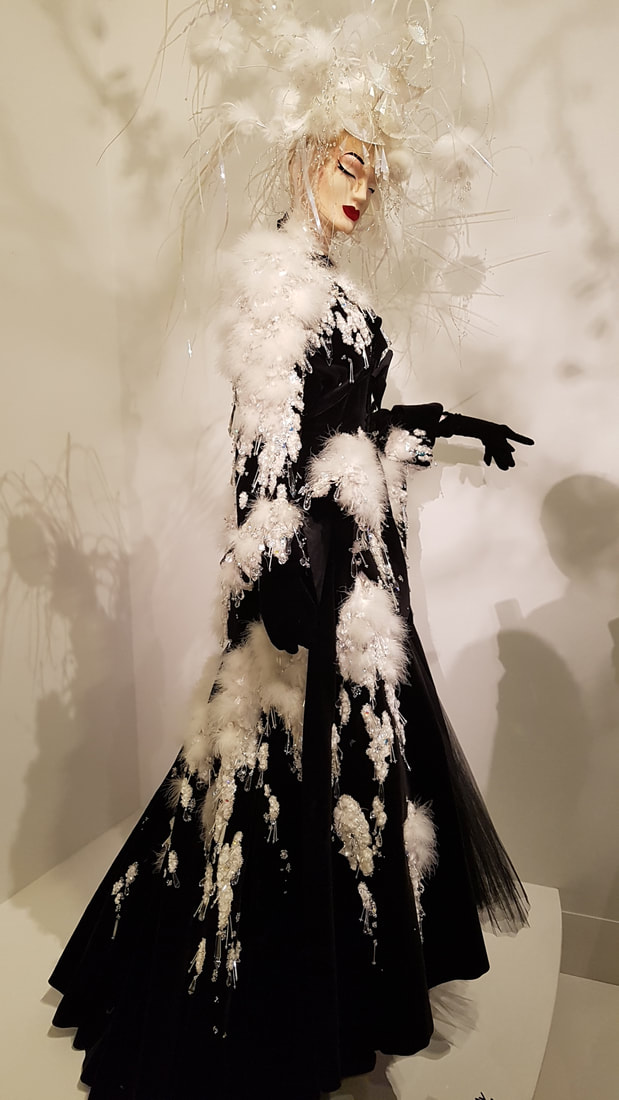
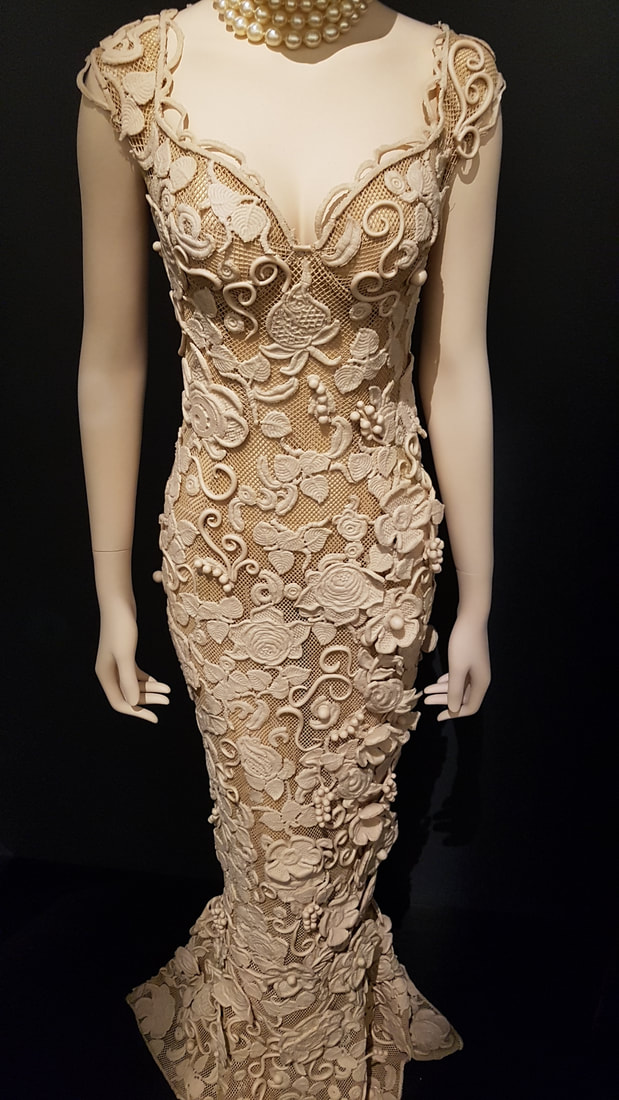
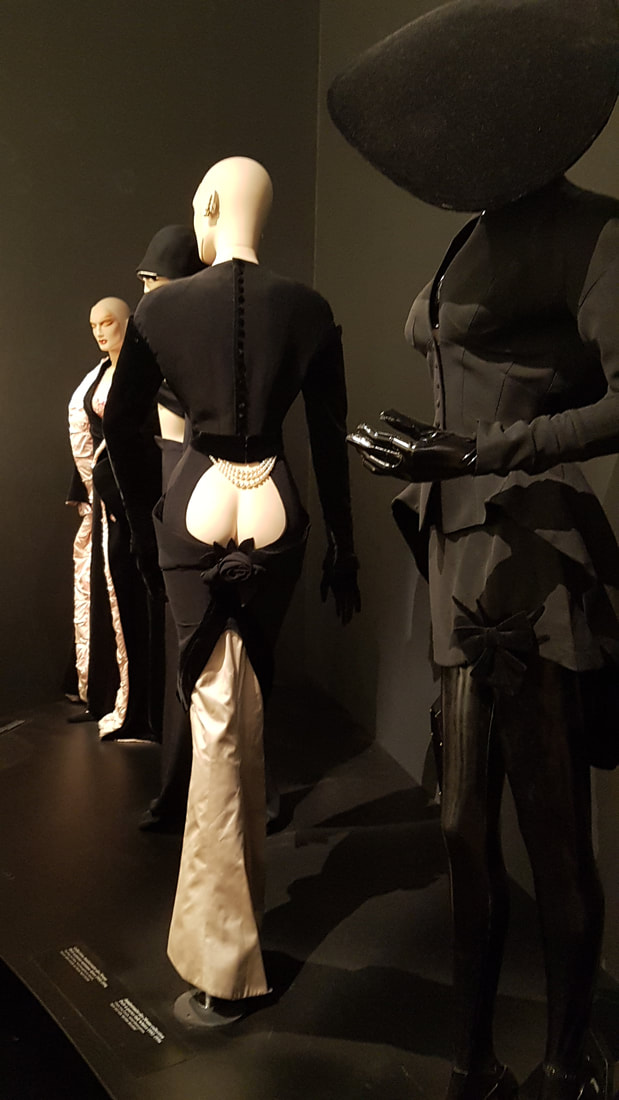
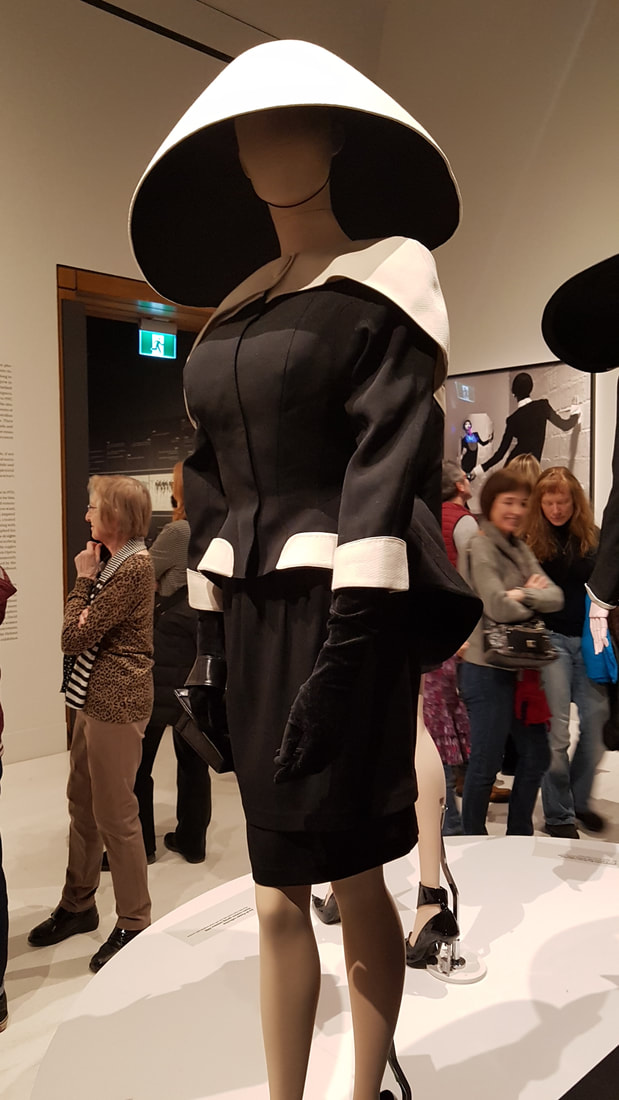
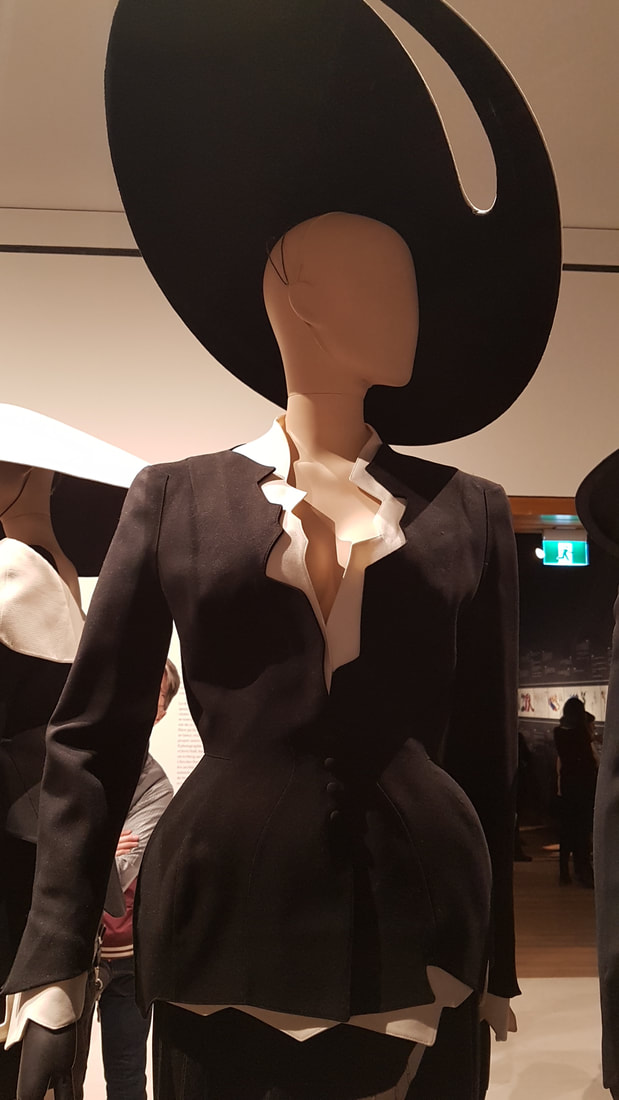
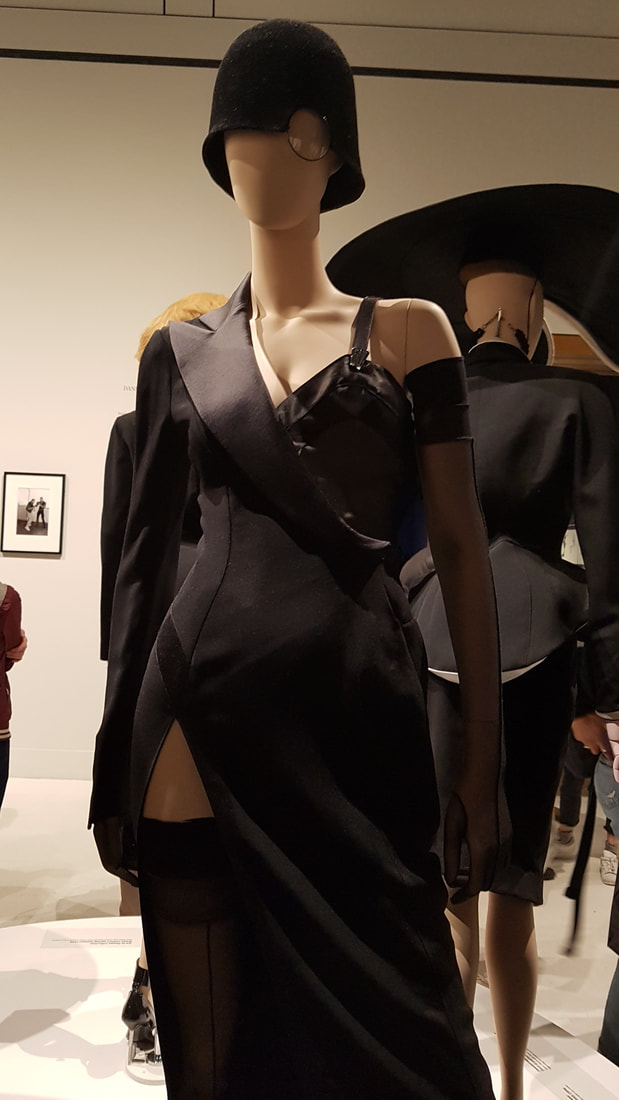
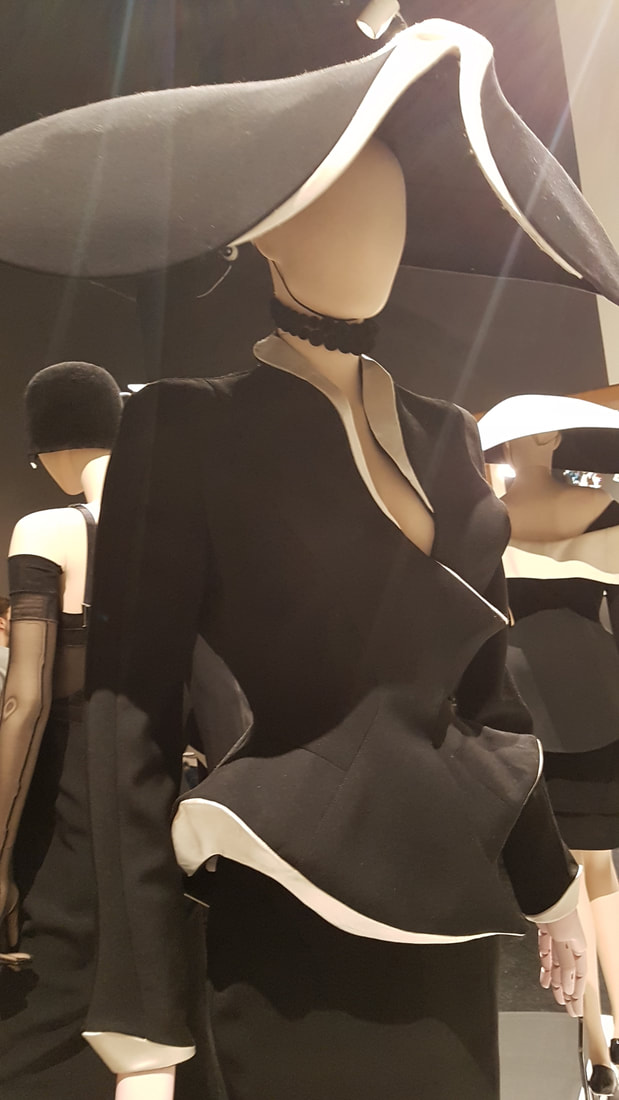
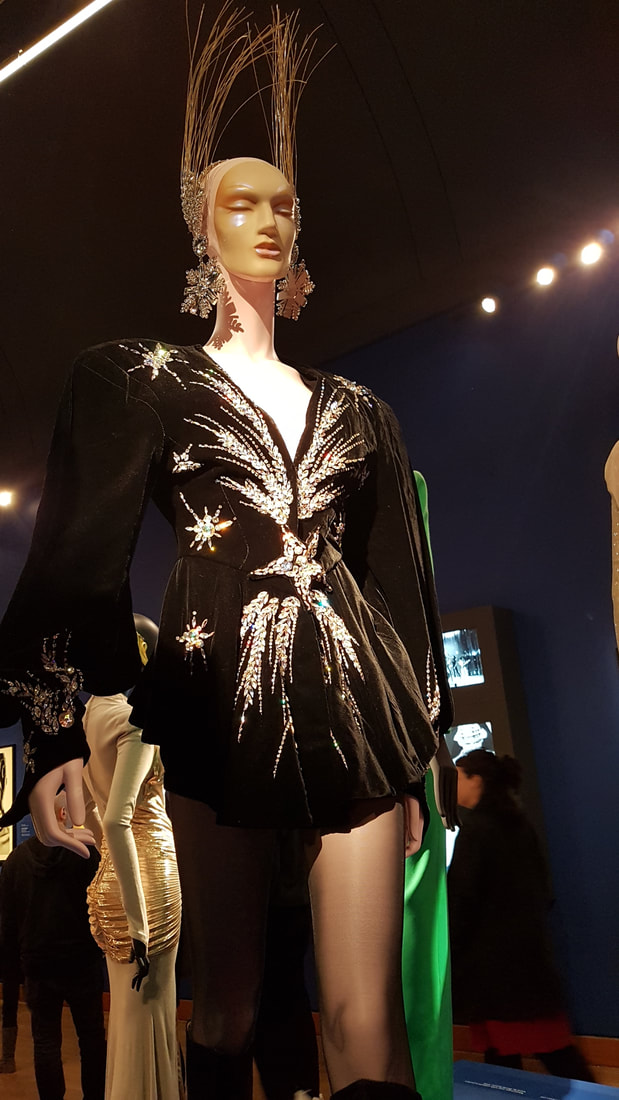
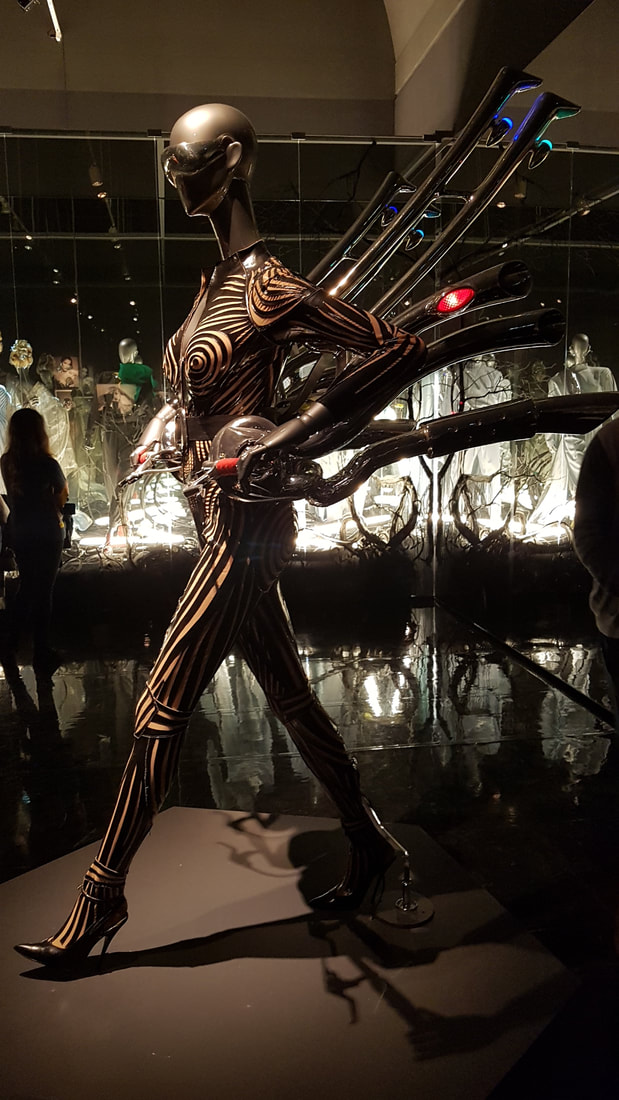
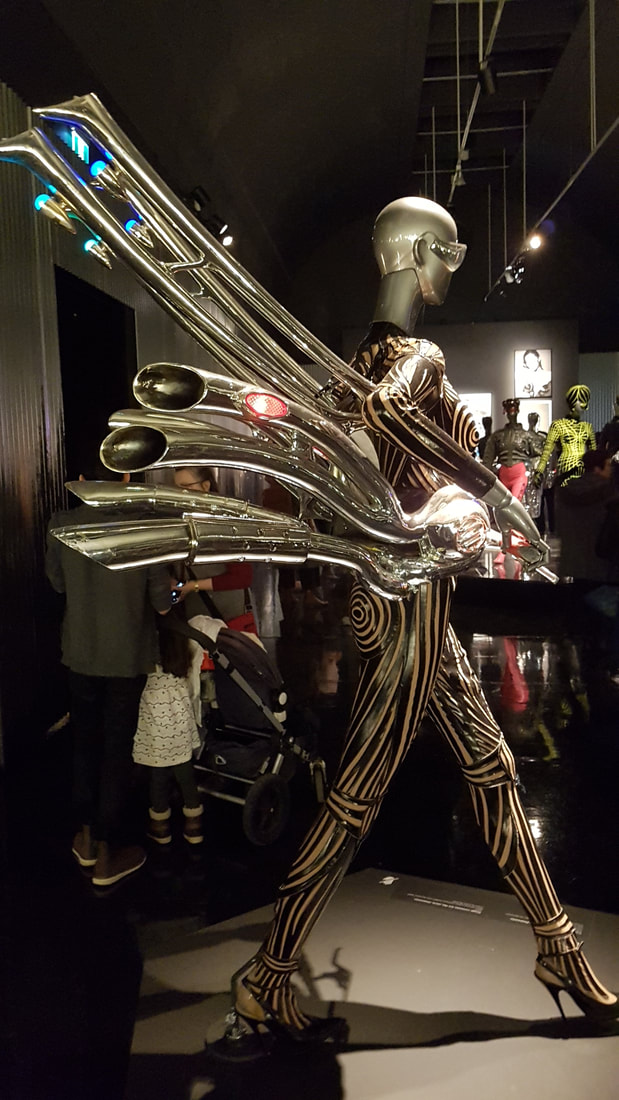
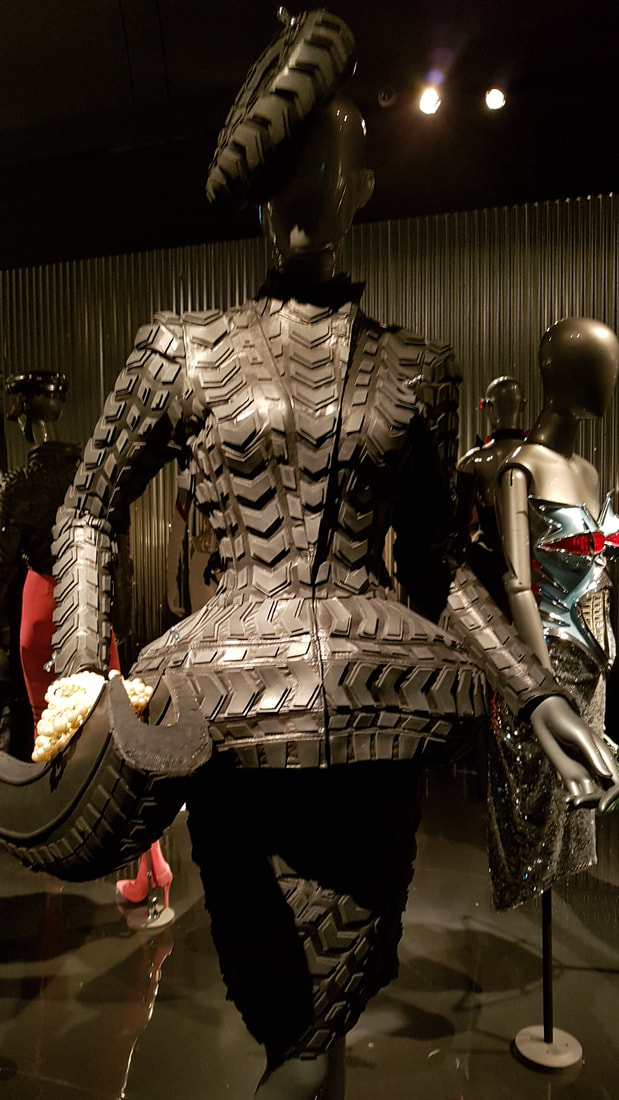
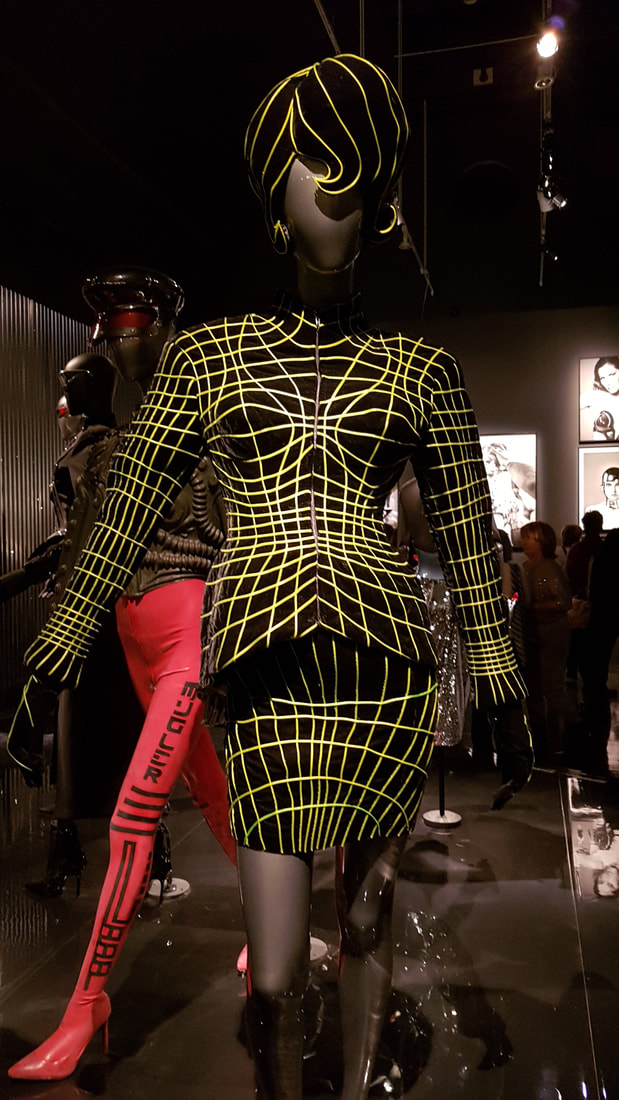
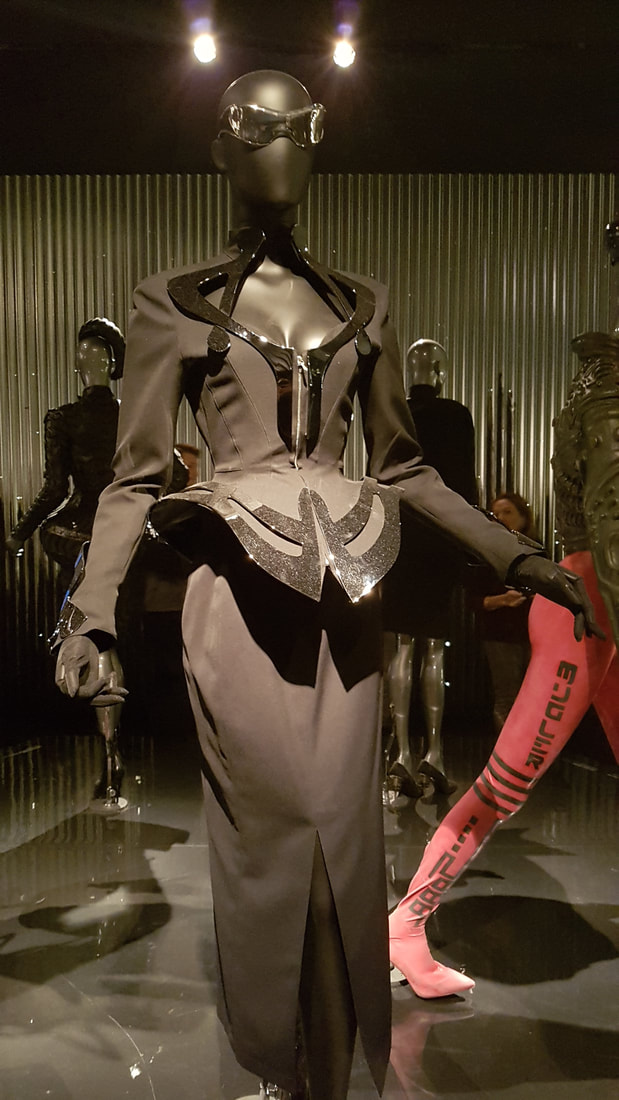
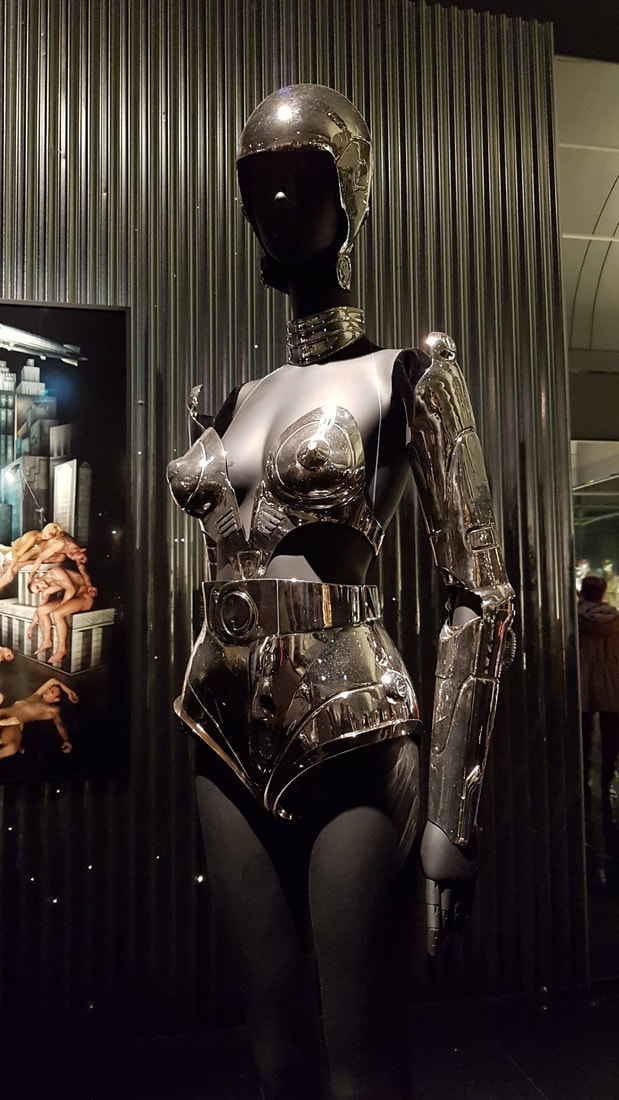
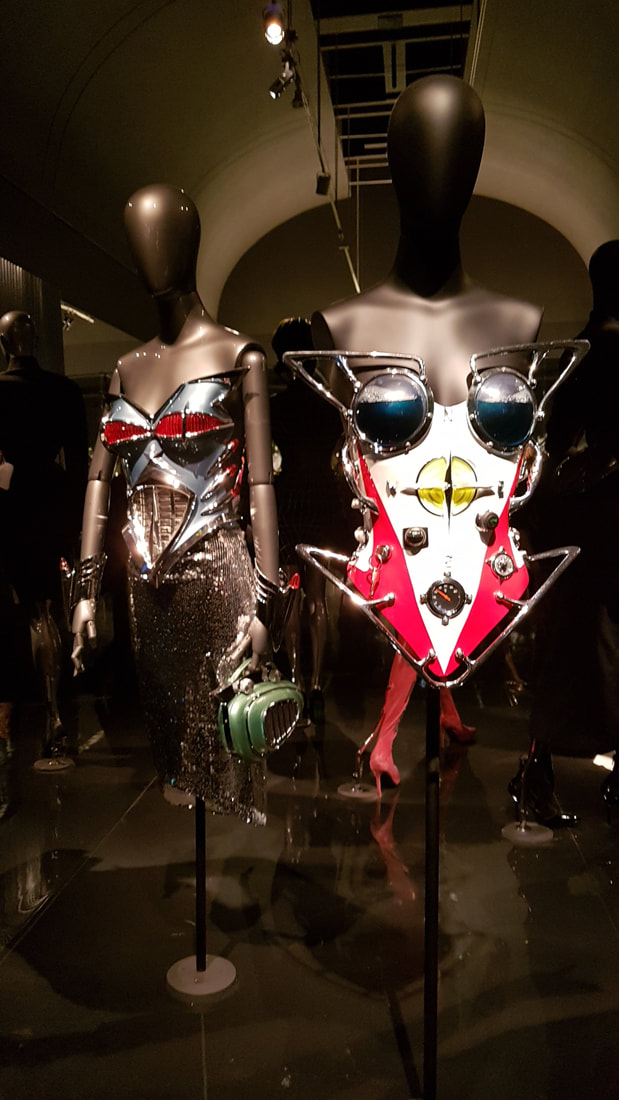
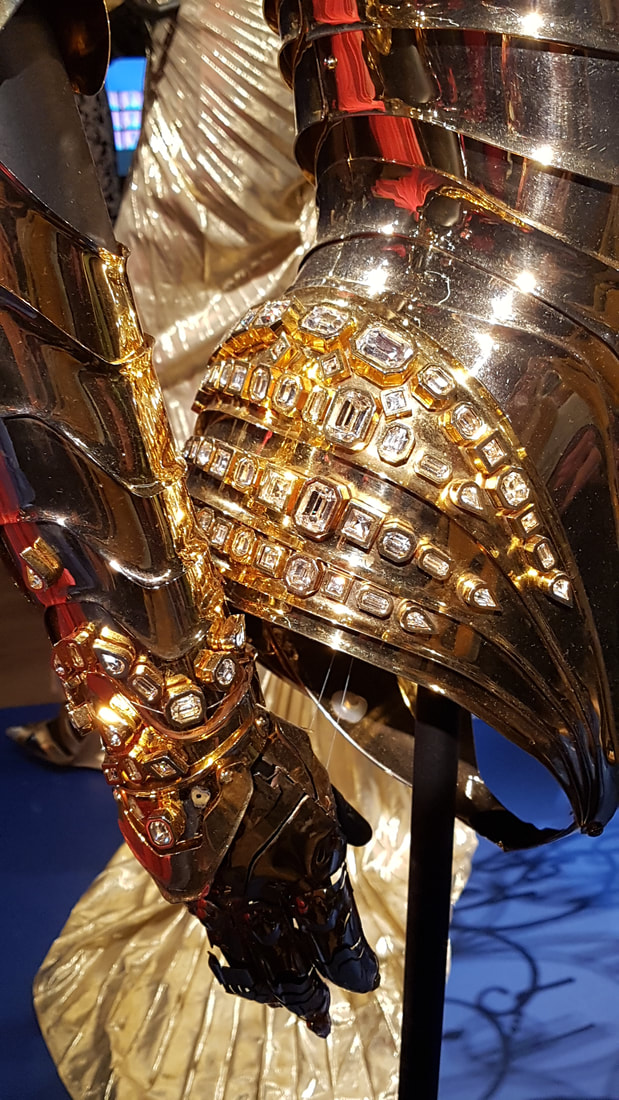
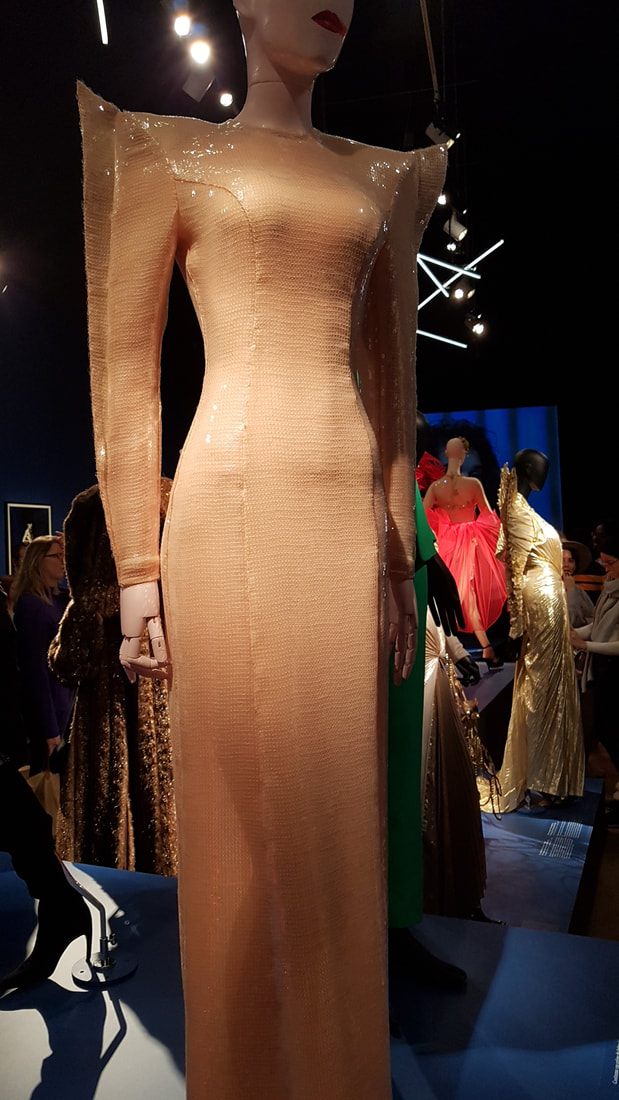
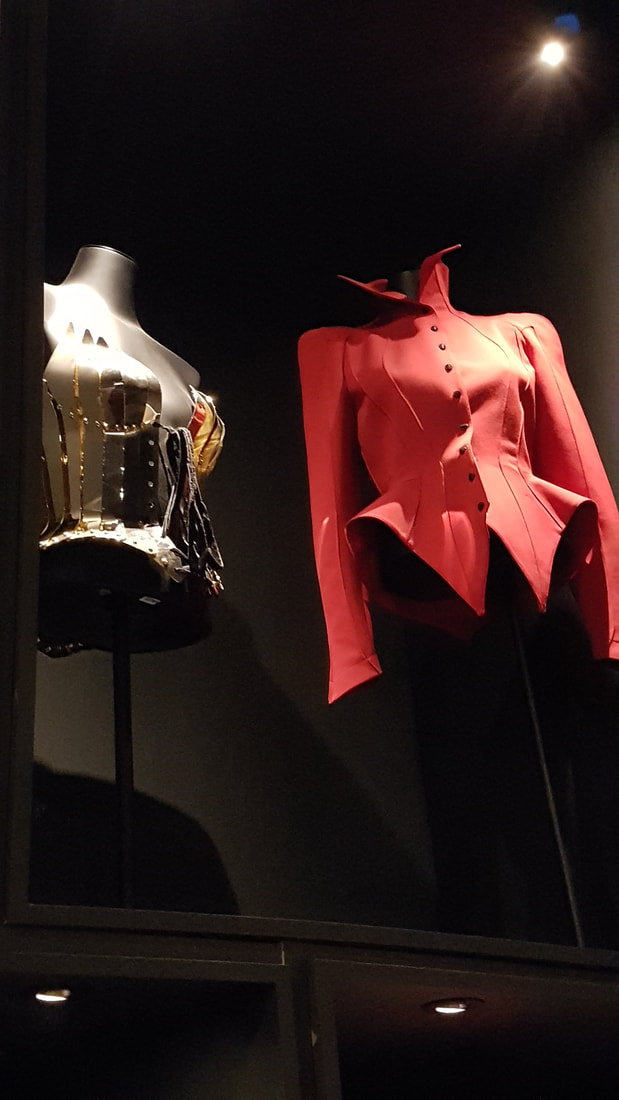
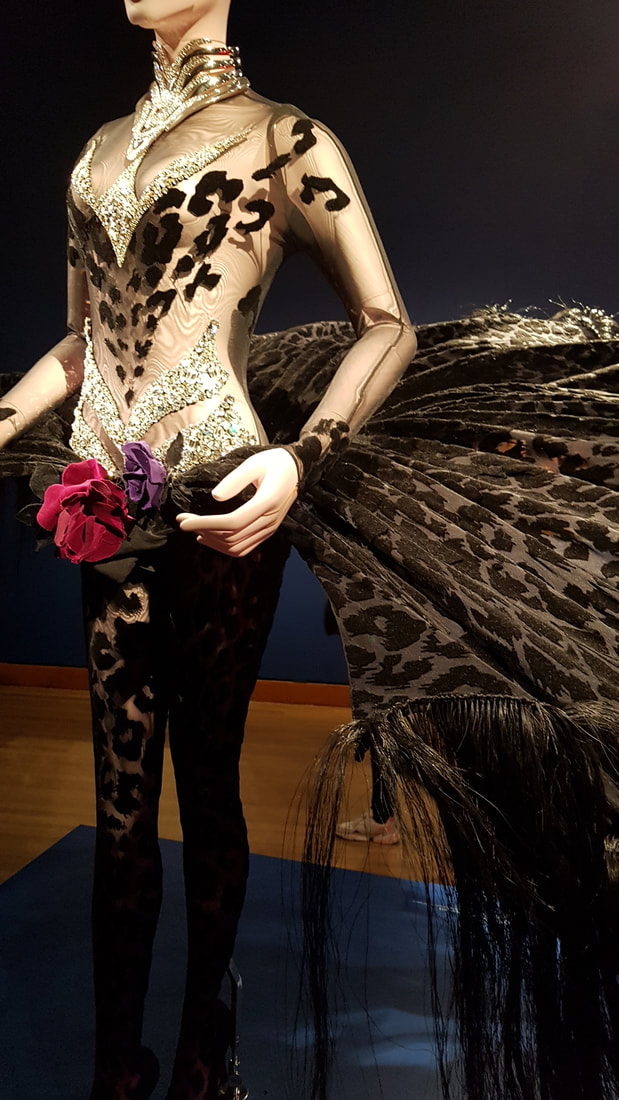
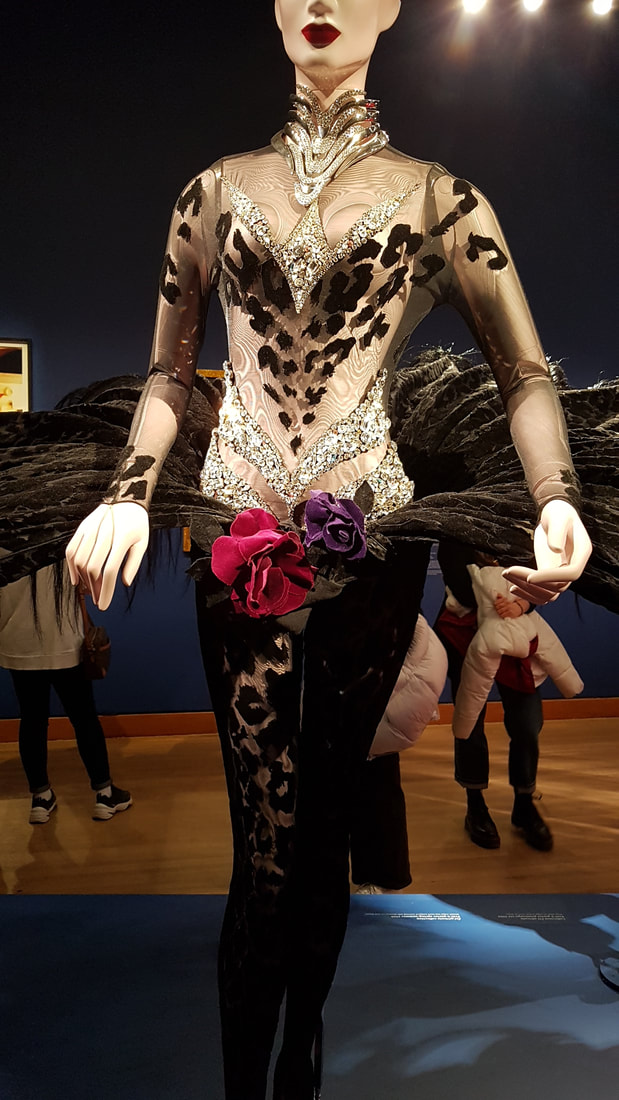
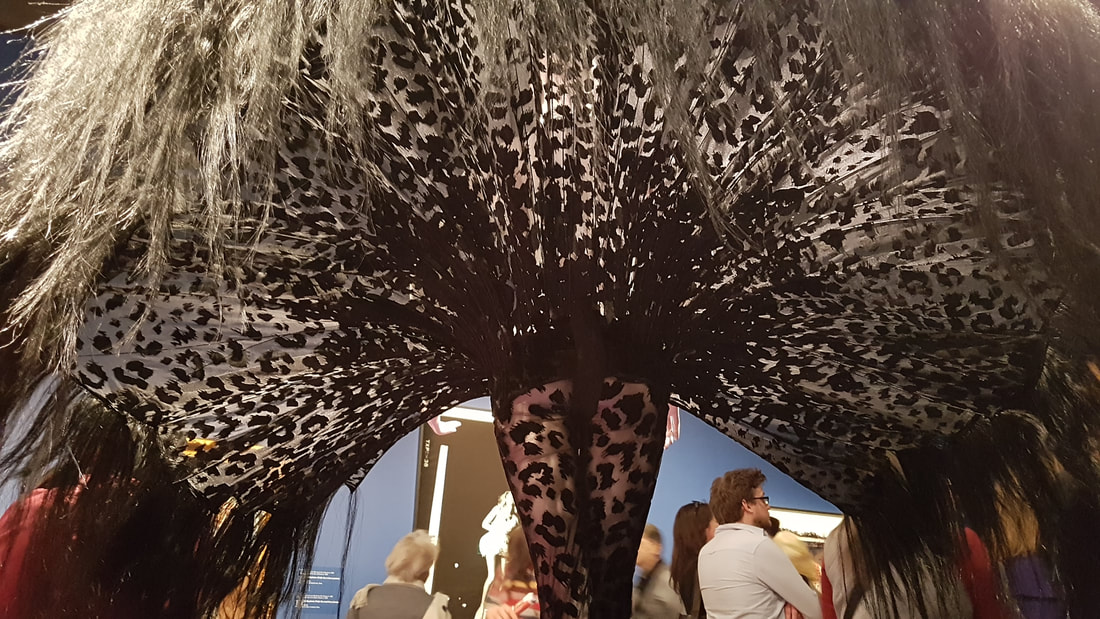
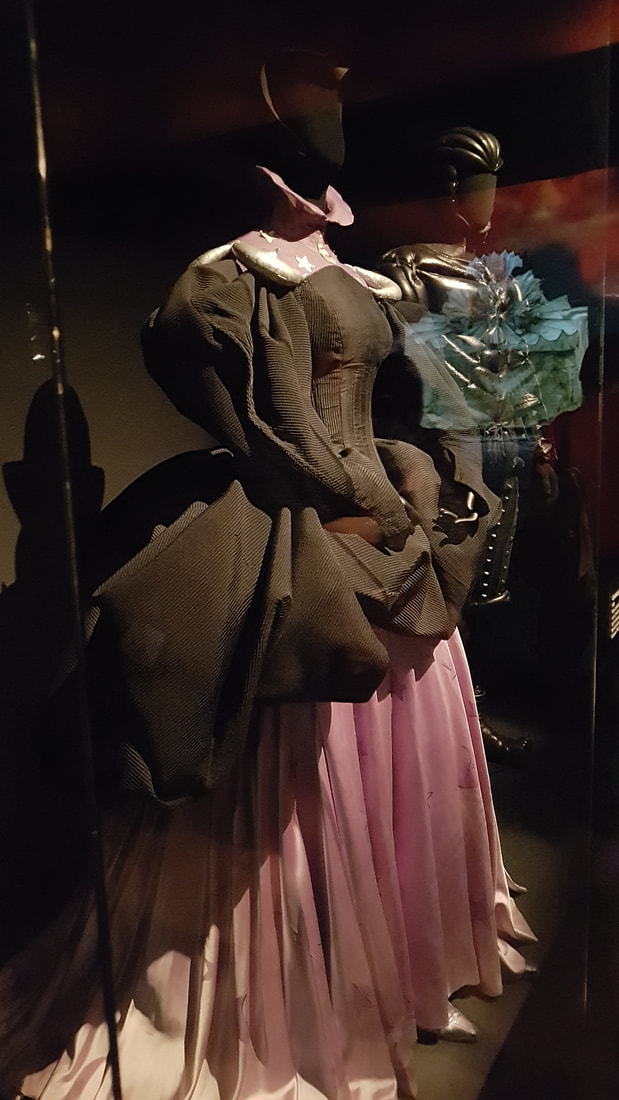
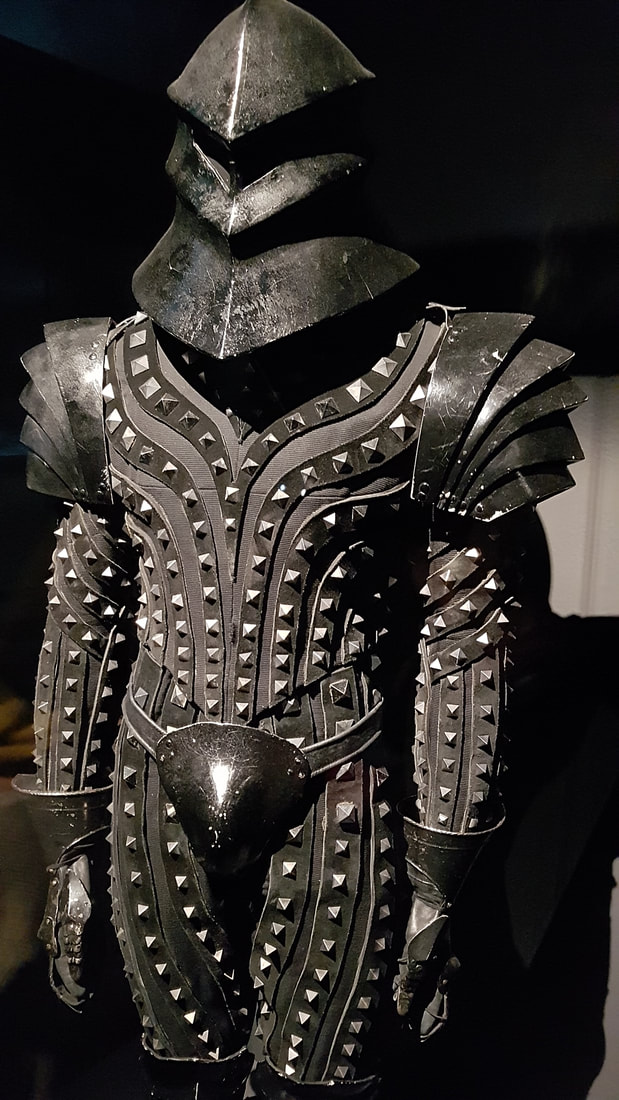
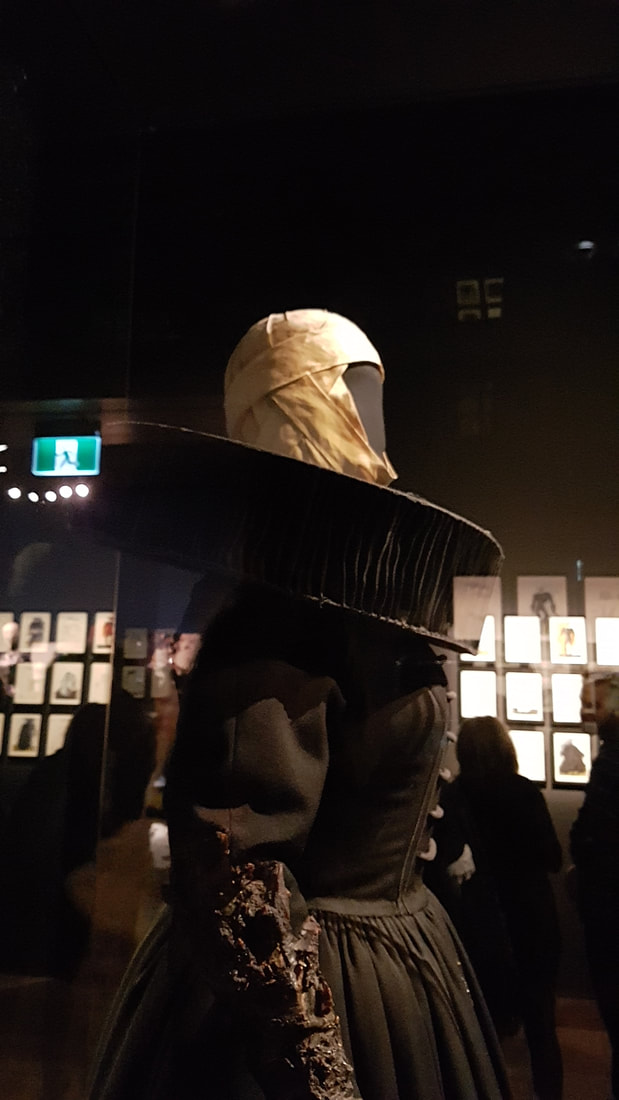
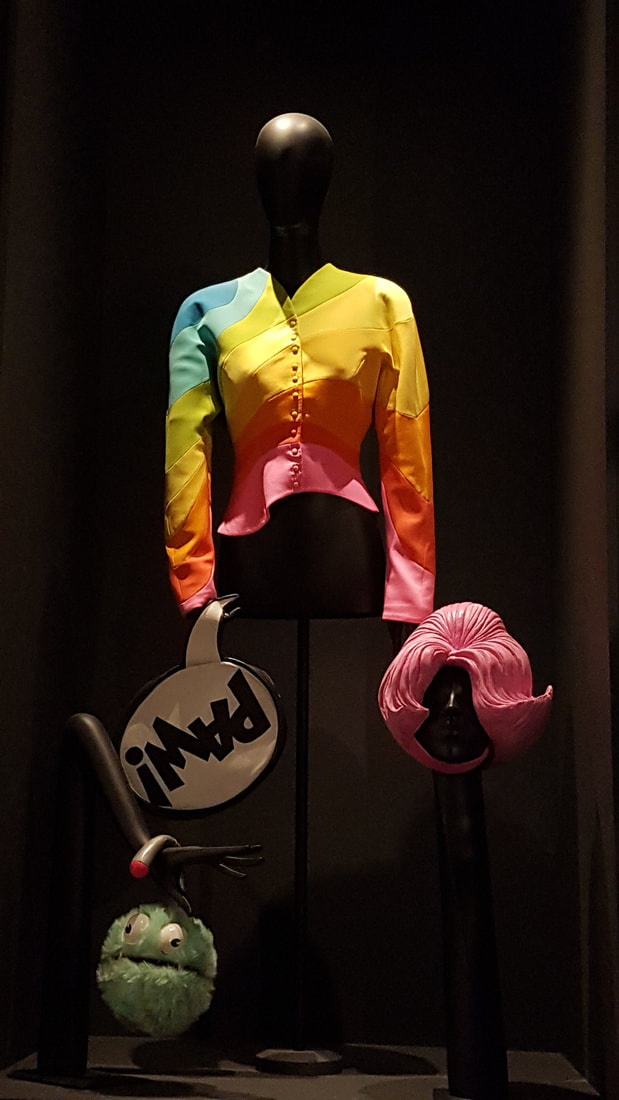
My goal is to produce more of my own content by shooting it myself. I already have a head start on this, so stay tuned. Everything in moderation though. I also hope to keep on top of my blog next year. I'm likely to take more recovery days after conventions and hopefully that will give me more time to publish my post-con blogs. For the latest in what I'm working on and where I will be attending, check out my Upcoming page. Thx you for the support and see you in 2020! This is me messing around with fall themed florals and practicing self shooting. I'm a sucker for warm tones. I'm also happy to put this wig to good use since I've only worn it once for a c competition and nothing else. 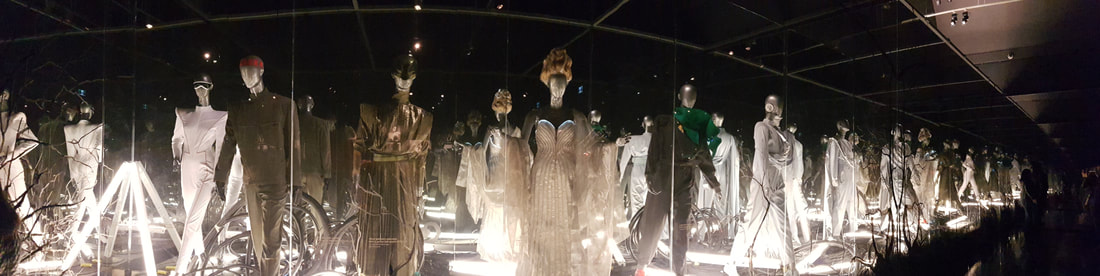 What a treat for the eyes if you like high fashion and enough embellishments to last you till eternity. For anyone who like fashion, creating garments, or sparkly things, then I can see you enjoying this exhibit. I broke down the photos I took by themes although they may not have been in the same rooms. Musings of a Cosplay Judge: The majority of the pieces were amazing and feats of construction, but there were also a few pieces that had okay construction that wouldn't win a best in class in certain competitions I've been to. This is crazy when you think about it but also a reminder to calm down and take it easy because even a high end fashion designer can make a few sewing mistakes. Who hasn't dealt with puckering seams. Occasionally you'll lose a few beads. Sometimes you need that applique on stat, which means 1cm wide stitches. Lastly, lamé is kind to no one. BeadingCreaturesBlack and WhiteRobots and mechanicalThe restWhich look or theme is your favourite?
 It was my sixth year at Katsu and it had it different vibe than usual. It felt less crowded, probably thanks to the new badge policy. It also gave me a nostalgic con vibe thanks to hanging out with friends and meeting many new people. As always, I didn't run into many of the people I knew were there over the weekend, a fact of life for modern cons. Luckily I was able to have quite a few good chats with some old friends that live far away and I miss them already. Another observation, Katsu always had a party vibe to it, but I feel as if it is becoming Dragoncon north with the partying (congregation of drunk people) in the lobby of the Gaylord which is leading to many memorable moments. See the DVD X It crossover, Mothman, or the Danny Devito shrine. I took it relatively easy over the weekend. I managed to finish all of my costume in time with minimal hotel finishing touches (adding a handful of rhinestones to my dress and sewing down some buttons). I kept it to 3 costumes for the weekend, 1 per day and I was maybe in them for maximum 4 hours each. I find this give me more time to enjoy the con, see the sights, and relax. I'm technically there on vacation so it should feel like it by the end of each day. 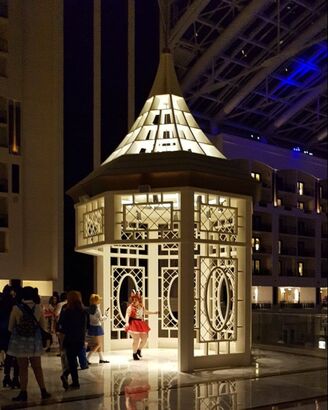 Some highlights of the weekend:
What were your highlights this year? Any memorable costumes?
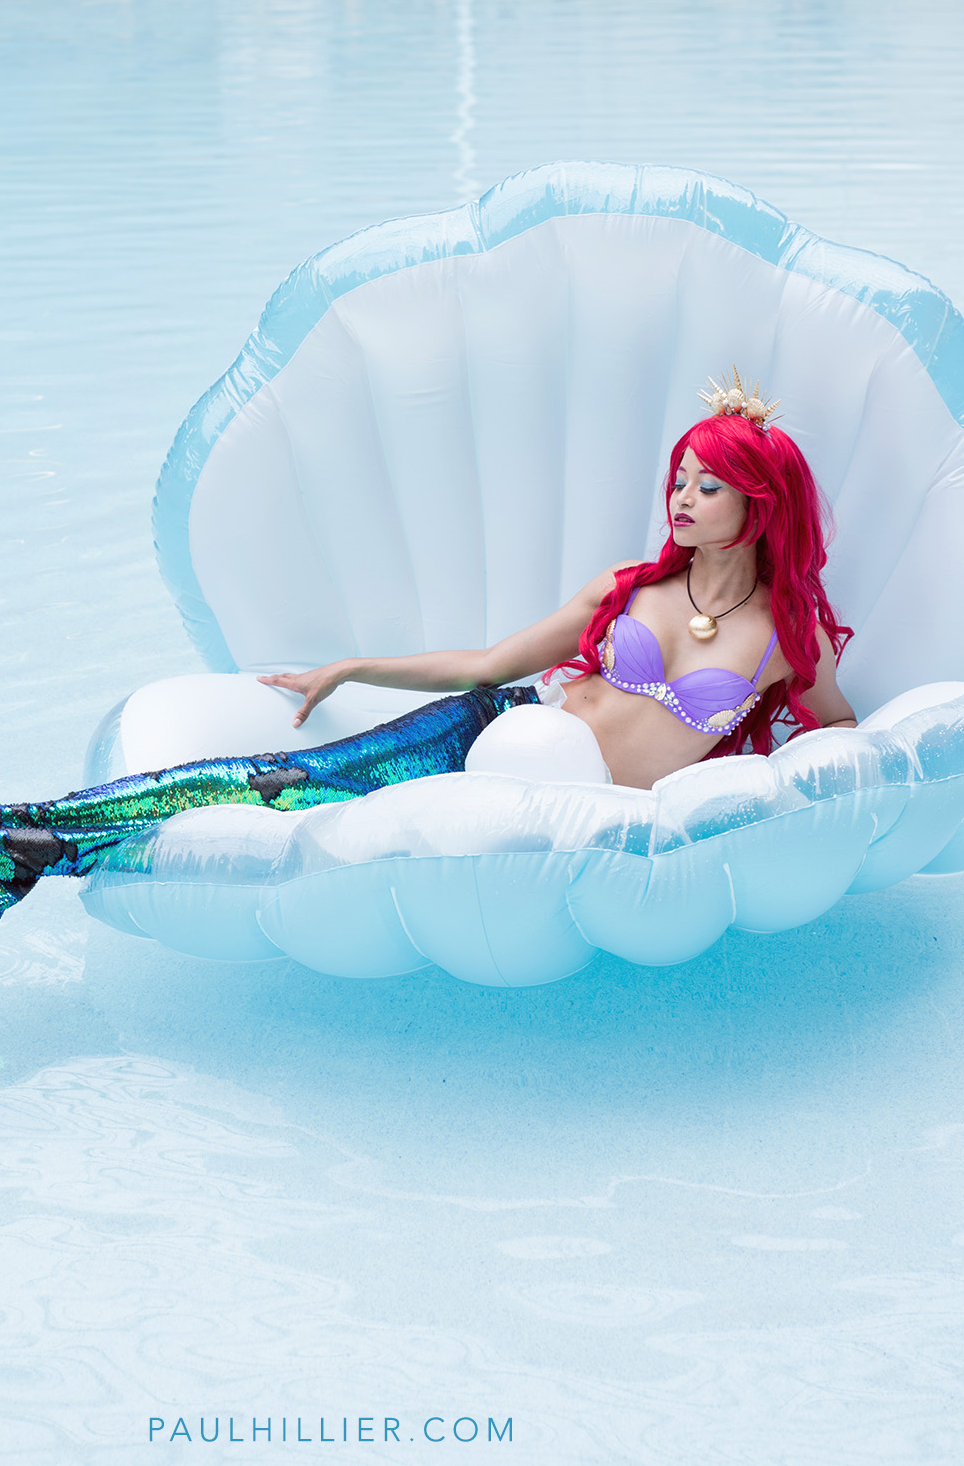
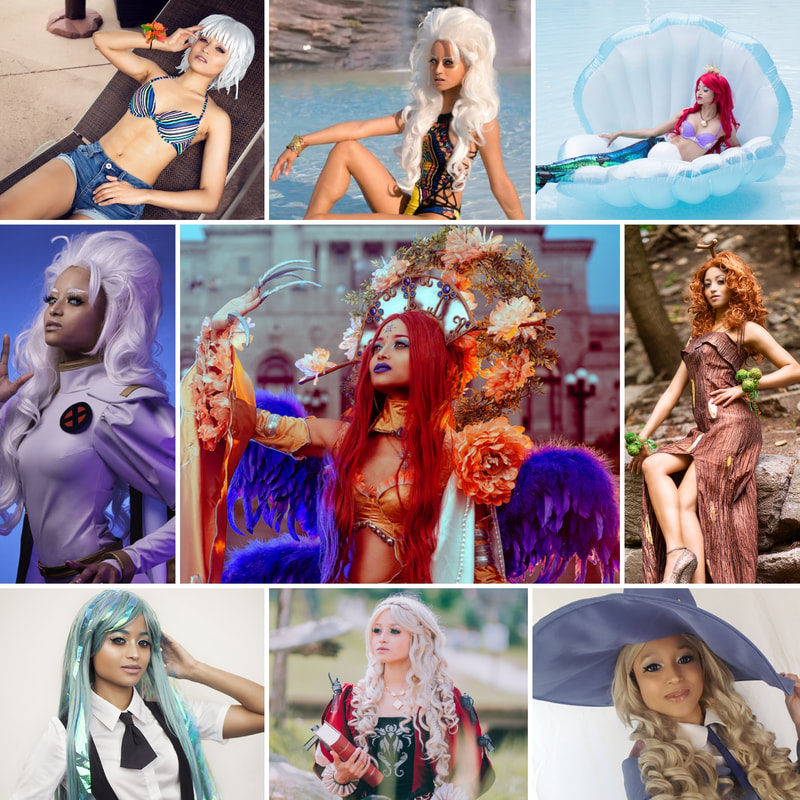 | Atilla (Swim) - Fate | Storm (Swim) - X-Men | Ariel - Little mermaid | |Storm - X-men | Lilith - Trinity Blood | Sudowoodo - Pokemon | | Alexandrite - Houseki no Kuni | Vivian - Dragon's Crown | Diana - Little With Academia | Another year of cosplay has gone by. Each year I feel as if I didn't produce enough work, then I look at what I've actually accomplished and realize that it is more than I initial thought. It's important not to get caught up in other people paces and keep moving forward at your own speed and on your own path. Many of the projects I was working on throughout the year were not completed (which is why I feel like I was lagging behind), but they are well on their way and they will be done when they are good and ready! Additionally, I didn't go on an elaborate cosplay photoshoot trip this year so I feel as if I was missing a part of my yearly activities, however, I had a great time at all the events I attended and made many lasting memories with friends. So let's jump right into it. 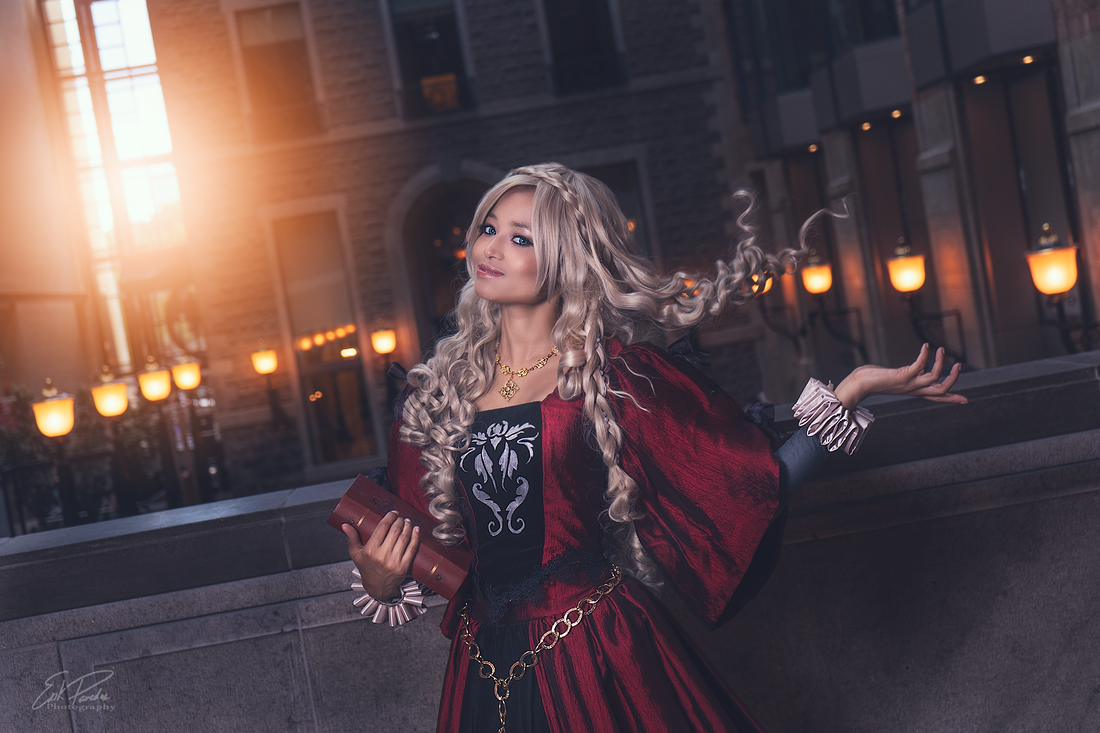 Erik Paredes Photography What I Learned
Tutorials
Events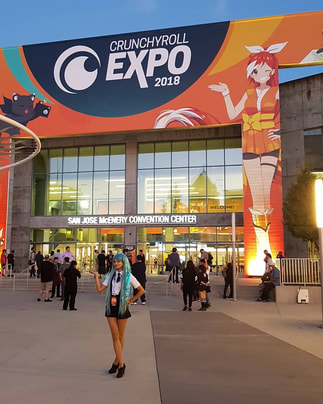 I went to quite a few events this year but with my busy day job I didn't have as much opportunity to write my usual con reports. If it is something you miss, let me know. I want to get back into it so long as people are interested in reading them.
A stand out event for me this year was Cruchyroll Expo. It a was such a great experience and I am so grateful for everyone who showed up to say hi at my table or came to my panels. It was my first time out in California and I hope I can make more trips out there in the future. Forward to 2019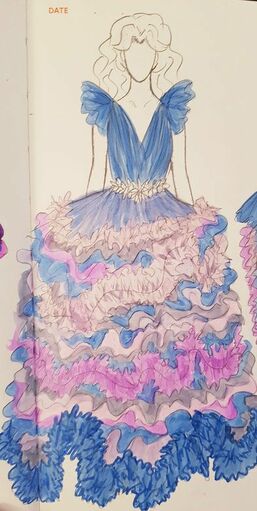 There will be more gijinkas and original designs. I love flexing those creative muscles in cosplay. I'll also be dipping my toes in Fate with a few costumes I've wanted to make for awhile now.
My biggest challenge will be the usual time management while balancing work, life, and hobby. I am very excited about multiple projects that I am working on and I can't wait to share them. New for 2019: I have invested in some resources to snap some of my own photos and so far so good. I'm having fun with set ideas and I can't wait to see where I can take things. I will be attending my usual events, however, if you want to see me at your local convention, please let them know that you want me as a guest. I have a several open weekends and I would be more than happy to run some panels and judge a few costume contests. Cheers to a new Year! |
MeltingMirror's Cosplay BlogLearn more about my experiences in the cosplay world, from conventions to photoshoots and everything in between. Categories
All
|


 RSS Feed
|
© MeltingMirror. All rights reserved
|

|