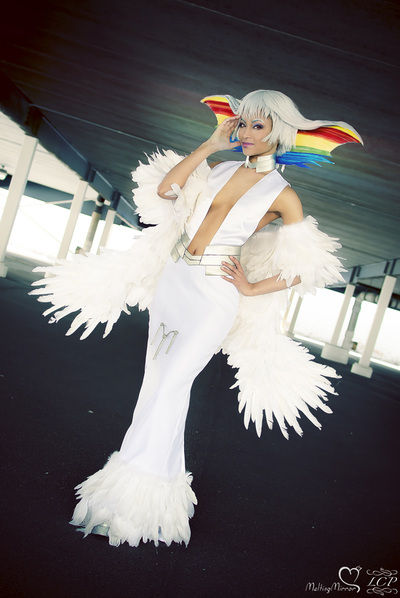
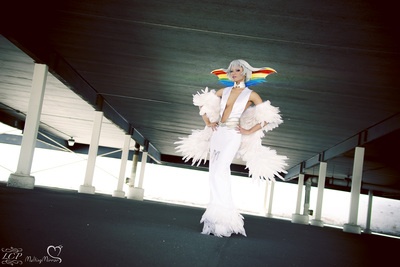
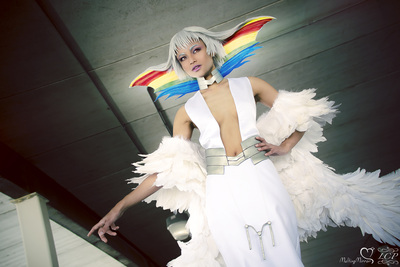
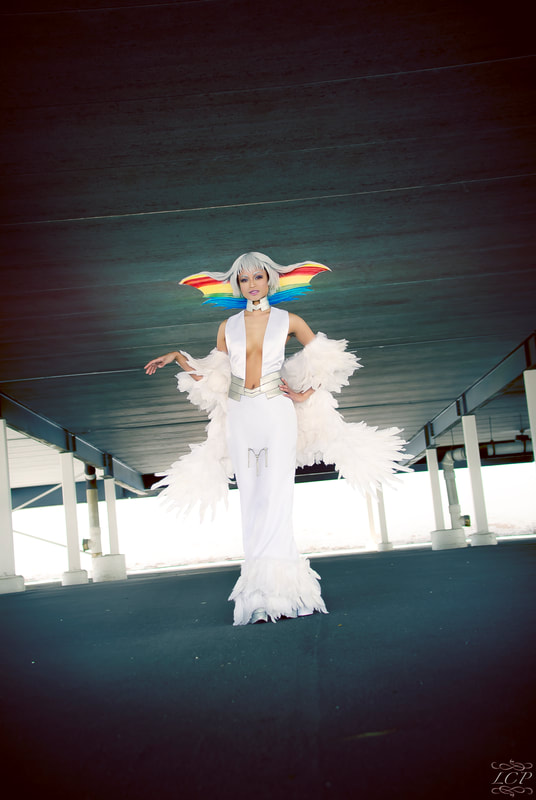
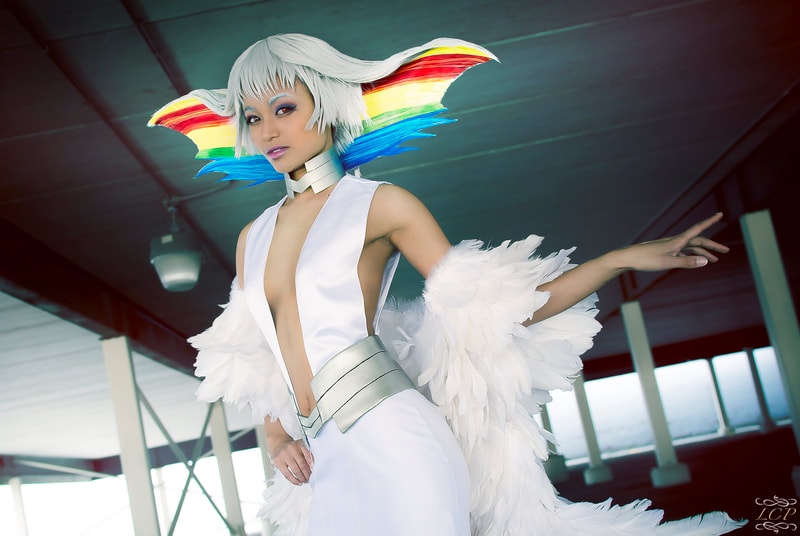
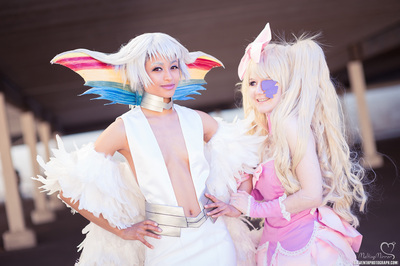
Ragyo Kiryuin - Kill La Kill
-
Photos
-
Work-in-Progress
-
Videos
<
>
I didn't take many photos unfortunately so here's some video showing the costume elements.
|
|
|
|
Video
- G-anime 2015 Masquerade - by Elemental
Worn at:
Anime North 2014 - Toronto
G-anime 2015 - Gatineau
Description:
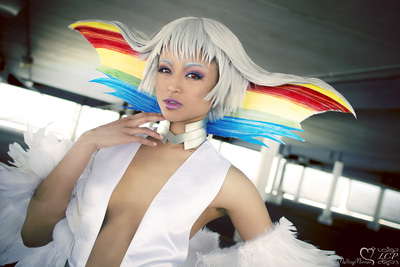
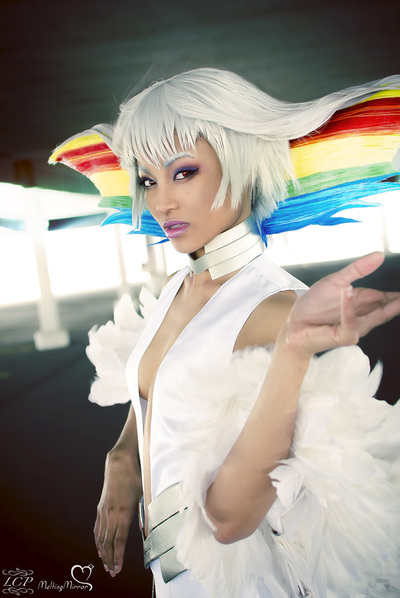
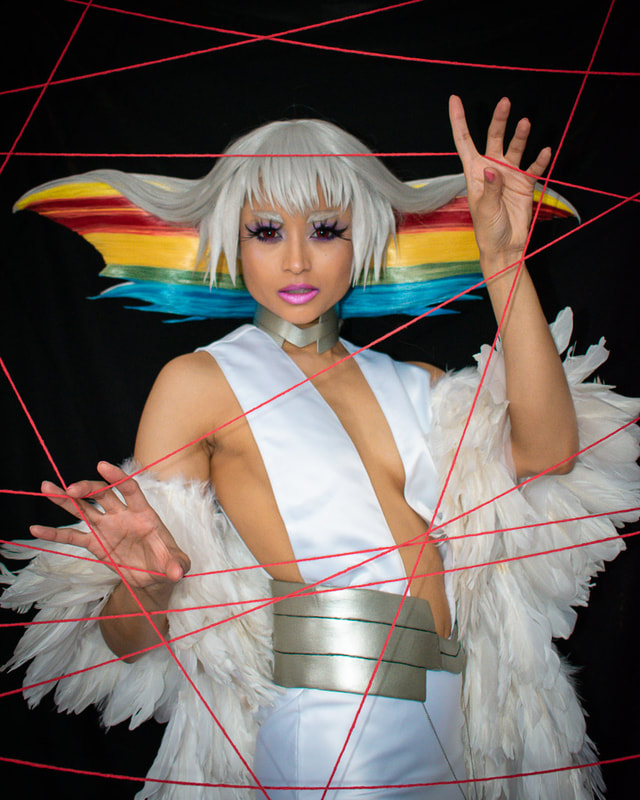
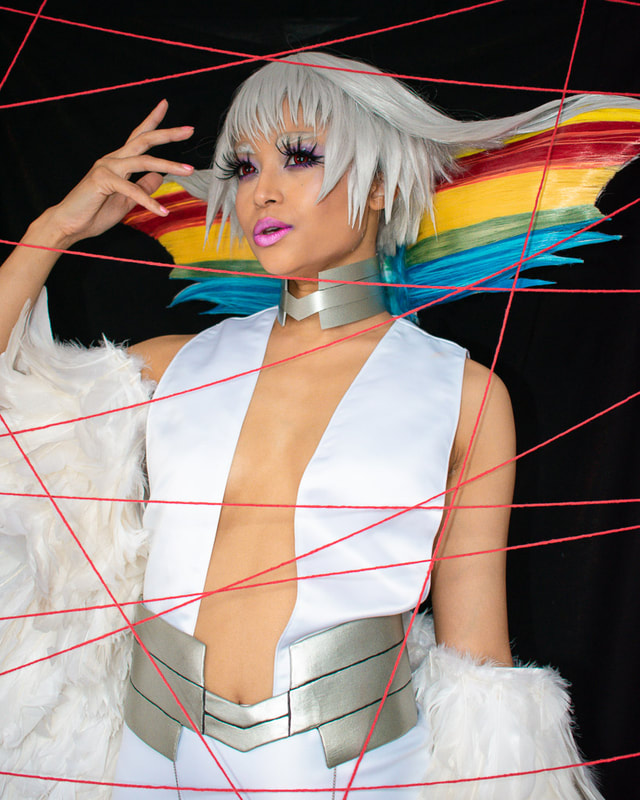
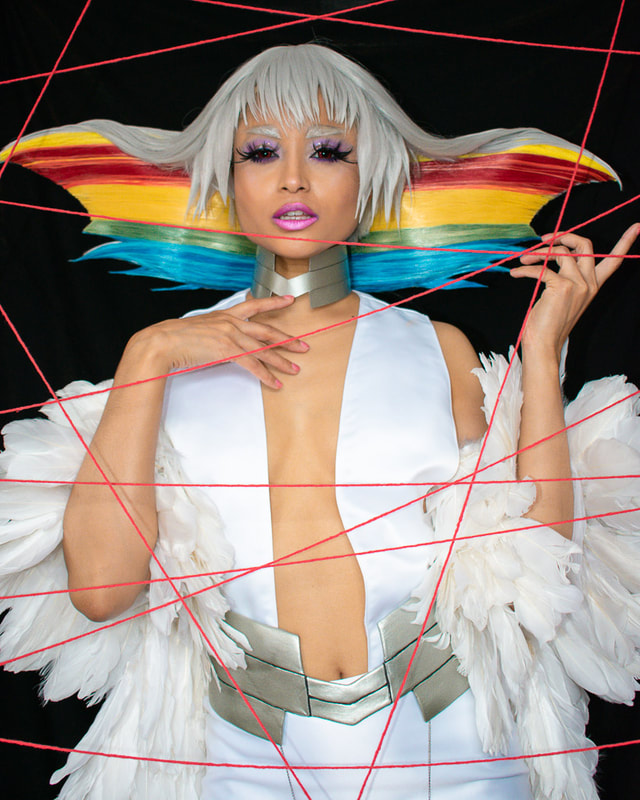
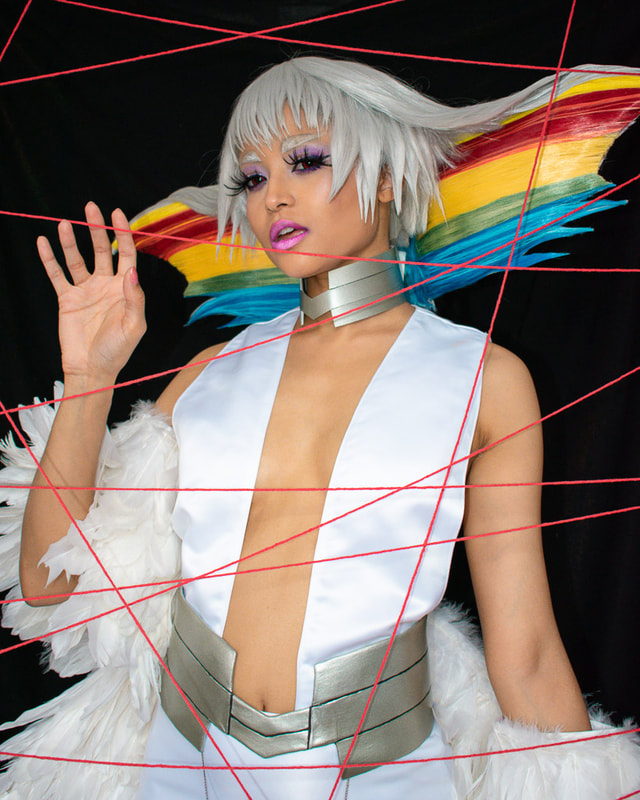
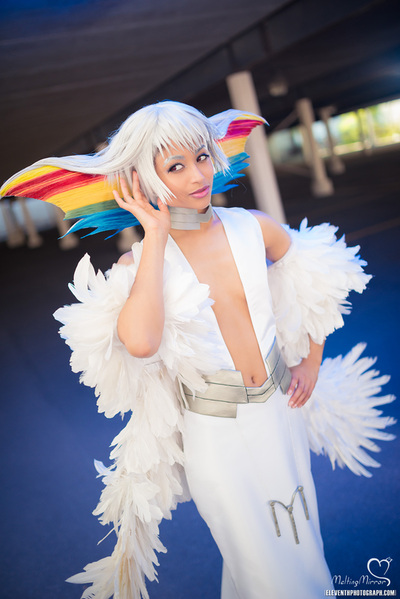
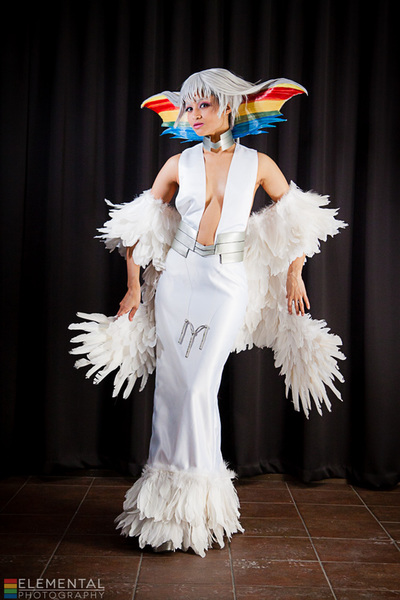
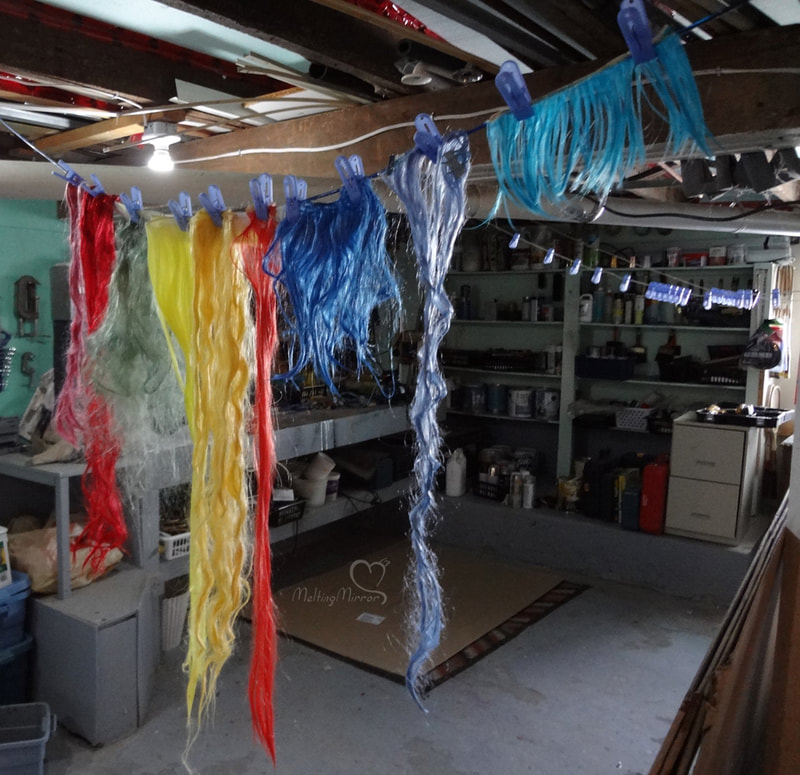
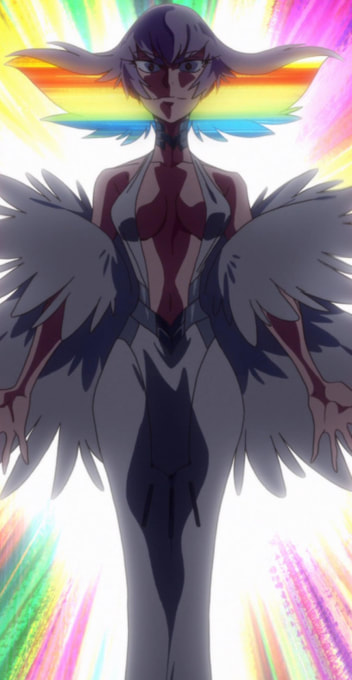
Wig: My most ambitious wig yet and it will be hard to top this crazy feat. I bought a long silver wig from Epic Cosplay as a base, in addition to 2 sets of long wefts. Left over white fibres from other wigs were custom dyed for all the rainbow colours using various techniques. From the top of the wig rainbow:
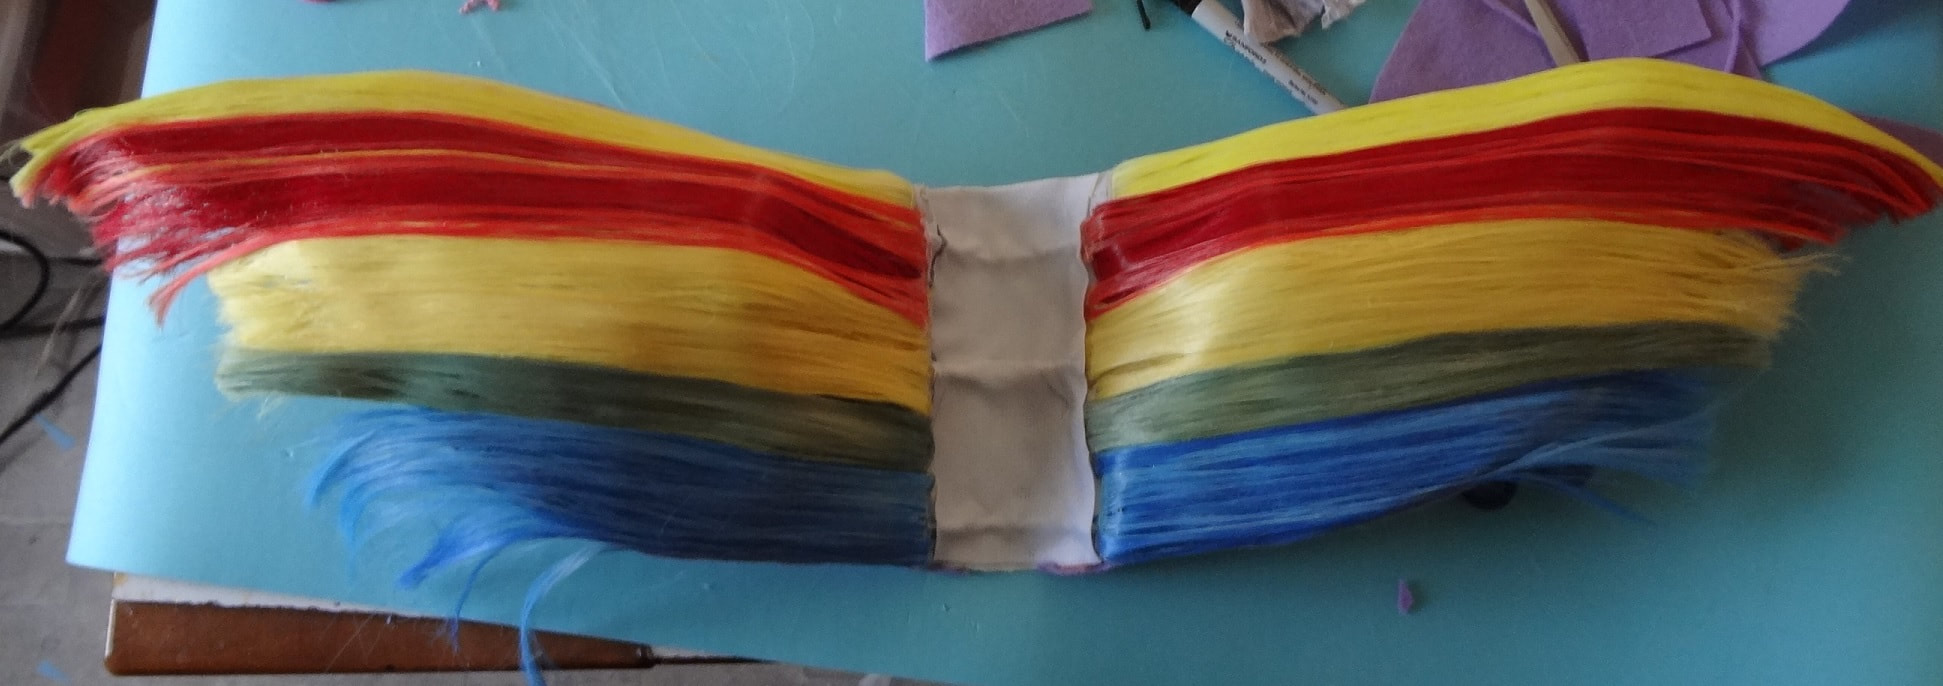
Applying the wefts: The base layer was glued down with clear silicone caulk. All subsequent layers were added using clear Elmers glue. I used about 2 bottles of caulk and 2 bottles of glue - which added some weight. The same technique was used in the back with the silver wefts.
The base with all the coloured wefts was attached to an understructure 'helmet' made of Kroblacast. I made a bare bones helmet - a 1 inch strip around the hairline and another from the centre of the forehead to the back. I added felt to cushion my ears as some weight pushed down on them. It supports most of the weight but it needs to be heavily pinned to keep in in place.
I removed most of the wefts from the back of the base wig and trimmed all excess off the sides by the ears. The long silver pieces that connect to the 'rainbow' were heavily covered in Got2Be freezing spray then covered in clear Elmers at the ends to glue them in place.
For more info on wig dyeing, check out my blog.
Dress: I used a matte white satin for the dress. I wanted something luxurious but not too shiny. I modified a fishtail/mermaid skirt pattern for the skirt and improvised the top. I added ruffled tulle at the bottom of the skirt to prop up the feathered trim which is removable by Velcro. The dress is entirely lined with white polyester.
Coat: I made a base out of twill and stiffened it with heavy interfacing. I lined it with white polyester lining then added several layers of ruffled tulle to add some body to the shoulders and bottom layer. [WIP/Ref Photo #2] I then sewed down an insane amount of Velcro pieces to attach the feathered trim. I wanted it to be removable for easy transit since feathers are fragile. There is about 16 metres of goose feather trim on the coat.
Since her coat is wide, I made removable extensions - also with velcro - so that I can manoeuvre through crowds.
Necklace: It is made of one layer of craft foam and one layer of styrene. The line detail is the result of cutting out a small piece of the styrene to expose the foam that was dark washed with black acrylic paint. It is attached in the back with Velcro.
Belt: The inner layer is craftfoam, the outer is one layer of Worbla. The recessed lines were created by pressing in the worbla with a wood knife. I added several layers of wood glue then finished it with silver spraypaint. I defined with lines by hand painting them black with acrylic. It attaches to the dress with Velcro. She has these weird floating beads on her outfit. I made mine out of Worbla and attached it to the belt with chains and lobster clasps.
Awards & Features:
G-Anime 2015 - Gravity-defying Awards (Craftsmanship)
In Cosplay Mode Magazine issue #4
鬼龍院 羅暁
キルラキル
Anime North 2014 - Toronto
G-anime 2015 - Gatineau
Description:
Wig: My most ambitious wig yet and it will be hard to top this crazy feat. I bought a long silver wig from Epic Cosplay as a base, in addition to 2 sets of long wefts. Left over white fibres from other wigs were custom dyed for all the rainbow colours using various techniques. From the top of the wig rainbow:
- FW ink in canary yellow - Mixed with alchohol and sprayed onto wefts. It almost looks neon, very crisp and bright colour
- Hand-dyed orange Sharpie - This took a long time and the colour rubs off a bit even after rinsing it
- Idye poly dye in red - left in boiling water for 3mins with half a packet of dye and it matches the packaging
- Yellow-gold Dylon dye - Left in boiling water for about 9-10min with the full tin to make sure the colour stayed.
- Two shades of green Tintex dye in boiling water for 7 mins
- Royal blue Tintex - left in boiling water for about 8 min.
- Hand dyed light blue Sharpie
- FW ink Cyan blue
Applying the wefts: The base layer was glued down with clear silicone caulk. All subsequent layers were added using clear Elmers glue. I used about 2 bottles of caulk and 2 bottles of glue - which added some weight. The same technique was used in the back with the silver wefts.
The base with all the coloured wefts was attached to an understructure 'helmet' made of Kroblacast. I made a bare bones helmet - a 1 inch strip around the hairline and another from the centre of the forehead to the back. I added felt to cushion my ears as some weight pushed down on them. It supports most of the weight but it needs to be heavily pinned to keep in in place.
I removed most of the wefts from the back of the base wig and trimmed all excess off the sides by the ears. The long silver pieces that connect to the 'rainbow' were heavily covered in Got2Be freezing spray then covered in clear Elmers at the ends to glue them in place.
For more info on wig dyeing, check out my blog.
Dress: I used a matte white satin for the dress. I wanted something luxurious but not too shiny. I modified a fishtail/mermaid skirt pattern for the skirt and improvised the top. I added ruffled tulle at the bottom of the skirt to prop up the feathered trim which is removable by Velcro. The dress is entirely lined with white polyester.
Coat: I made a base out of twill and stiffened it with heavy interfacing. I lined it with white polyester lining then added several layers of ruffled tulle to add some body to the shoulders and bottom layer. [WIP/Ref Photo #2] I then sewed down an insane amount of Velcro pieces to attach the feathered trim. I wanted it to be removable for easy transit since feathers are fragile. There is about 16 metres of goose feather trim on the coat.
Since her coat is wide, I made removable extensions - also with velcro - so that I can manoeuvre through crowds.
Necklace: It is made of one layer of craft foam and one layer of styrene. The line detail is the result of cutting out a small piece of the styrene to expose the foam that was dark washed with black acrylic paint. It is attached in the back with Velcro.
Belt: The inner layer is craftfoam, the outer is one layer of Worbla. The recessed lines were created by pressing in the worbla with a wood knife. I added several layers of wood glue then finished it with silver spraypaint. I defined with lines by hand painting them black with acrylic. It attaches to the dress with Velcro. She has these weird floating beads on her outfit. I made mine out of Worbla and attached it to the belt with chains and lobster clasps.
Awards & Features:
G-Anime 2015 - Gravity-defying Awards (Craftsmanship)
In Cosplay Mode Magazine issue #4
鬼龍院 羅暁
キルラキル
