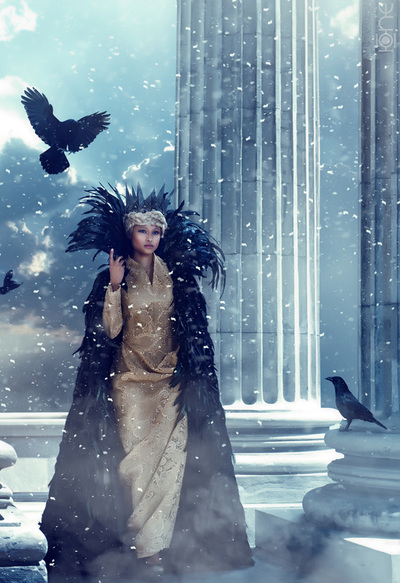
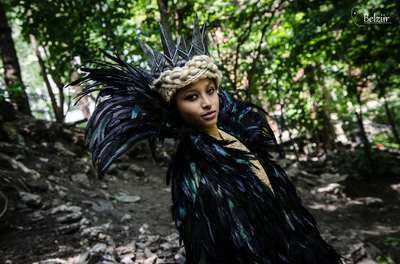
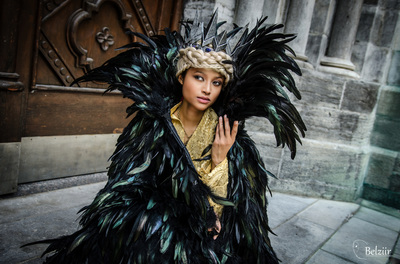
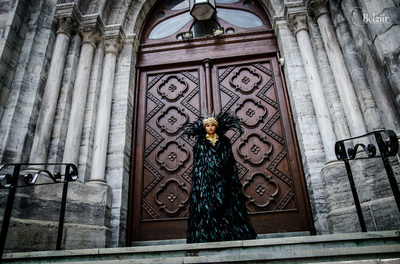
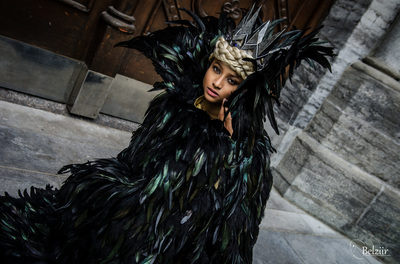
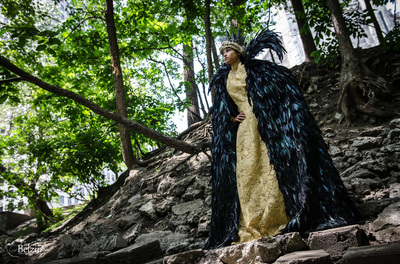
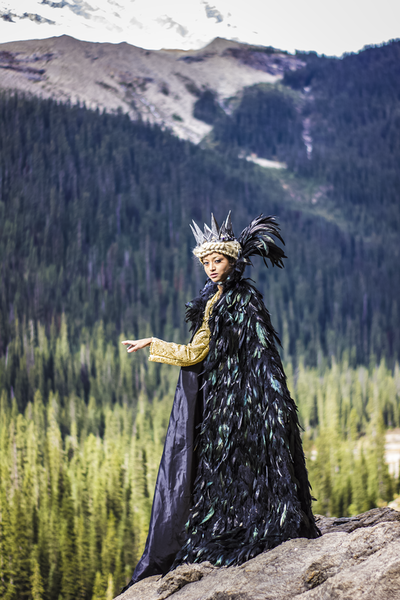
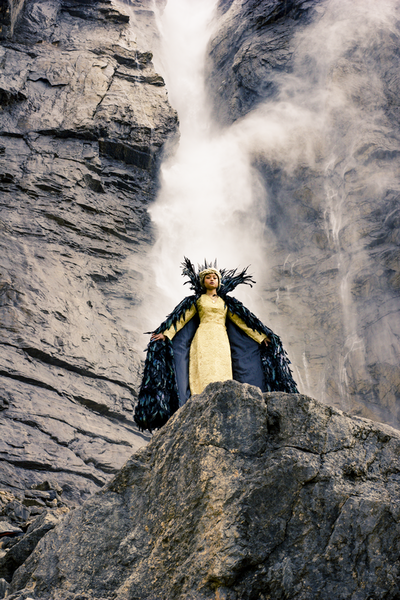
Queen Ravenna - Snow White and the Huntsman
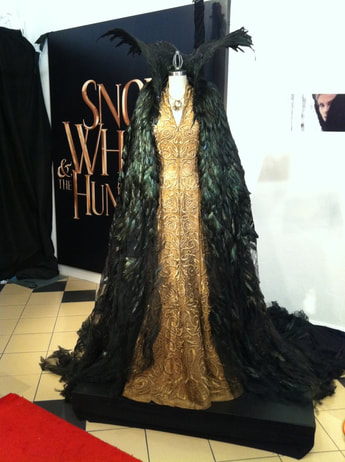
Worn at:
Montreal ComicCon 2015
Why this costume?:
1. Because 2015 was my evil queen year, obviously?!
2. Actually, I just love all the costumes in this movie. Coleen Atwood is an amazing costume designer. She has won and been nominated for many Oscars. I heard about the costumes before I even watched the movie and was convinced I would make one in no time.
3. I decided on the feather cape costume because I wanted to work with feathers. I've done smaller feather work in the past [see Sharla and Ragyo] but nothing as big as this. Also my Ragyo costume was a great starter costume before upgrading to this big project.
4. Also, the original cloak cost an estimated $32,000US and I wanted to exercise my "cosplay on a budget" skills. It was a success since this costume cost me about $360 CAD. Plus it took one milliner 4 weeks to apply all the feathers, so the costume would also test my patience.
Description:
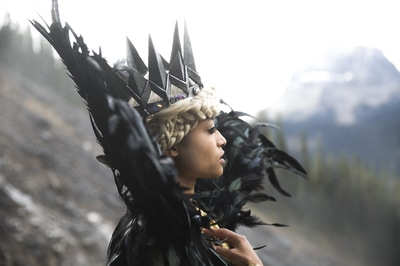
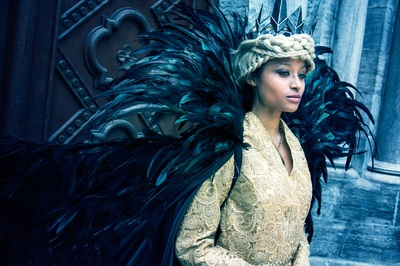
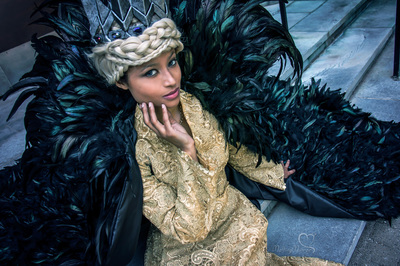
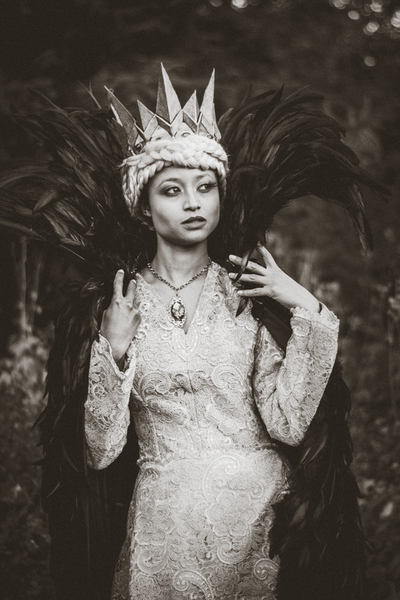
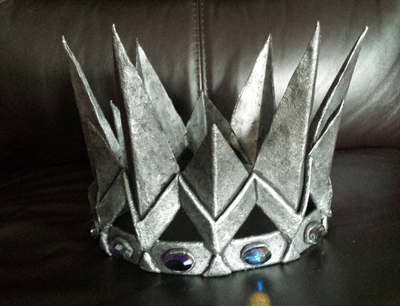
Crown: I measured the circumference of my head then added some extra room for the wig and used that measurement to make the base band. I then took that measurement and divided it by 12 (The number of spikes- 6 short & 6 long) to determine the measurements for the base of the spikes. The base of the crown is craft foam covered in worbla. The spikes are bristol board with one layer of worbla. It needed to remain thin like a sheet a metal, plus folding the bristol board made for a sharp fold. The gems were bought at Michael's and placed on hand sculpted bezels made of model magic.
The crown was then painted with black gesso then a light layer of silver scrylic paint. For the hammered metal look the final layers of paint (in black and silver) were applied with a sponge. Silver highlights were added to the points and folds and shading in the crevasses. (Pic before gem application) The gem were glued with E6000.
Contact me if you would like to commission her crown. Even though I am closed for commissions, I'll make an exception for this crown.
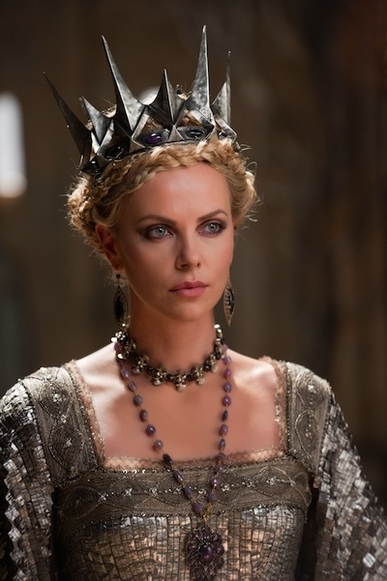
Wig: I used a titanium blonde Matilda lace front from Arda Wigs. This wig is very thick. I had a lot to work with. To darken the shade, I tea dye it with Twinning earl grey, soaking it over night. The initial heat of the water made the hair a little frizzy which is great for braiding and if you look at references in the film, the character's hair is not pristine, it is also a little frizzy and has fly-aways. I made two lace braids along the hair line so that it would extend past the wig hairline and cover my hairline. I did an additional 2-3 other lace braids to handle the bulk of the rest of the hair. Finally, I did medium to small braids to fill in the gaps. Clear elastics were used to tie the ends of the braids and blonde bobby pins so that the styling magic was more or less hidden. See this photo for the final look on a wig head.
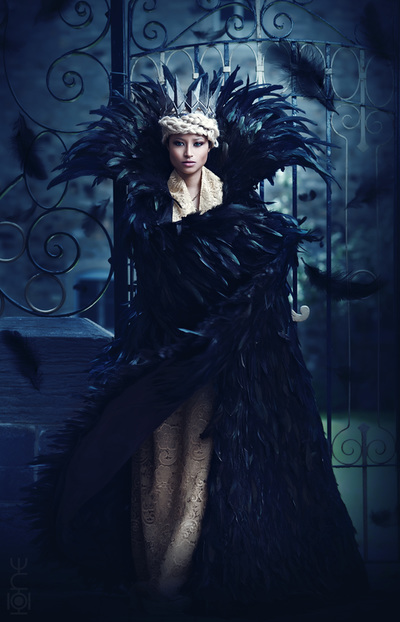
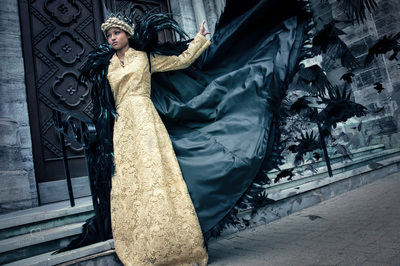
Dress: I did some research and read some interviews that people have done with the costume designer regarding the dress. This is how she described it to Vanity Fair, "It’s two embroidery patterns over each other to give it a really crusted, royal scale. This dress also goes through an oil slick and when that happens, the dress’s texture makes Ravenna look dark and wrinkled." This two sentences gave me a lot of information. Most importantly it told me that the dress' fabric is custom made (mainly the embroidery) so I will not be able to buy the fabric anywhere. I do not own an embroidery machine (you would need something high-end to handle this kind of project) and I do not have the patience to hand embroider metres of fabric. So my goal in fabric shopping was to find a swirly gold fabric with raised details. I was lucky enough to find some in a store that was closing in NYC's fashion district, along with a matching synthetic gold taffetta because the lace I found was sheer.
I modified a Simplicity pattern (#1487 - It's the Cersei/Sansa GoT one - Dress option C) and used that as the base for figuring out the dress. I used the entire width of the fabric for the skirt and pleated it in the dips of the scalloped edges to keep the nice look of the lace edging. The dress zips up the back.
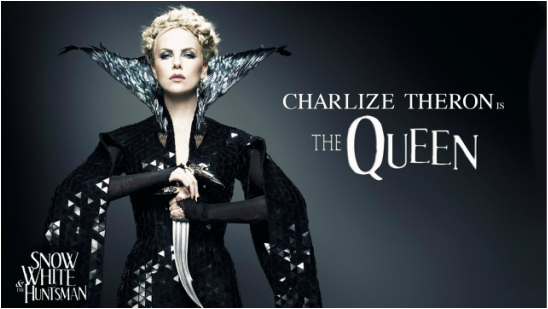 The hairstyle I was going for. Lots of braids and little messy.
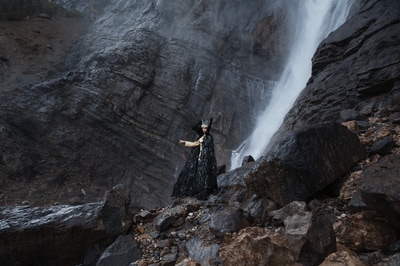
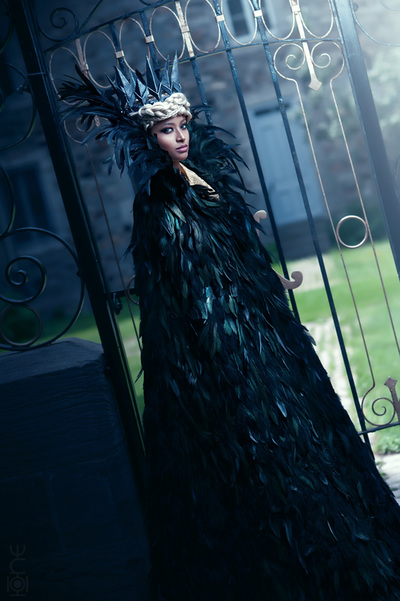
The Cape: I used the discontinued Simplicity cape pattern#2513 (Which I also used for Costumecon 32) and modified it by making it floor length. I used black twill for the outer layer because I wanted something that could hold weight but could take glue easily and black synthetic fabric for the lining.
I bulk ordered iridescent rooster feathers from AliExpress: 100 loose 10+inch tail feathers, 700 loose 3-5inch feathers, and 30 metres of 3-7inch tail feather trim.
I sewed down the trim at 9cm intervals which were marked with a fabric pencil. All the trim was stitched down using three point zig-zag stich for extra security. The feathers are already glued and stitched to a ribbon to make the trim but I could not stitch through the ribbon because the glue is still tacky and would mess up the needle/thread while sewing. Instead I sewed through the feathers and fluff. Somehow I ran out of feathered trim. Who would have guessed 30 metres wasn't enough! For a 1.5 foot section at the bottom I had to hand apply loose feathers (whatever I had left) and reclaim feathers from my last 3 metres of trim, plus add black craft feathers as filler. Somehow it worked out and it blends in.
For the shoulders, I had to hand apply the feathers for about 6 inches down from the shoulder seams.E6000 fabric fuse was used for all the feathers glued to the cape. Notes on the glue: Works great, dries clear but shiny, dries stretchy but not tacky, precision nozzle, I still have lots of glue left after hand applying over 1000 feathers, and can be sewn through once dry!
The collar base was made of fosshape -a thermoplastic/fabric that can be stitched through - so that I could have a nice curved edge to lay the feathers on. I emptied an entire can of black spray dye and in the end it looked dark grey. The problem was the material is absorbent. It was good enough since it was just to make sure that any gaps between the feathers wouldn't appear as white. I wanted it to be easily transportable so I stitched down 5 little synthetic straps to attach the collar to the cape, which I eventually hand sewed when I arrived at hotel for the convention.
All 100 of the 10inch tail feather were used on the edge of the collar. An additional 250+ feathers were hand glued to cover the rest of the collar. I used hot glue instead of the E6000 for the collar since it adhered better to the fosshape.
Harness: For something so heavy and that would be flung around I wanted to make it didn't fall off my shoulders. I integrated soft cotton strapping at the shoulder seams to loop under my armpits and to tie behind my back.

