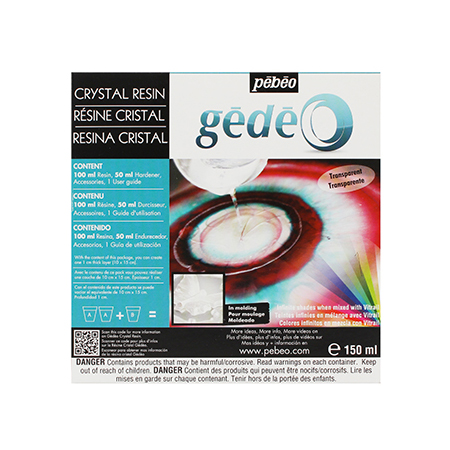
 Being able to make your own gems for projects can be a good way to save money plus get the exact look you are aiming for. You can buy resin casting sets in custom colours, however, colours are limited (red, green, blue and that's all folks) and resin dye can be expensive or hard to come by. You can also cast clear gems and paint the backs, but the colour is not visible from sharp angles. After some testing I found this method works great. Casting resin with acrylic INK! The colour options are limitless since you can mix your own shades and you can control the opacity of the gems. It's also cheap since a bottle of ink costs about $6(CAD). In addition, the ink can be used for many other purposes such as dyeing wigs, whereas resin dye has one specific purpose. I've made a video tutorial below but you can also find all the steps and materials listed below. Materials
Instructions
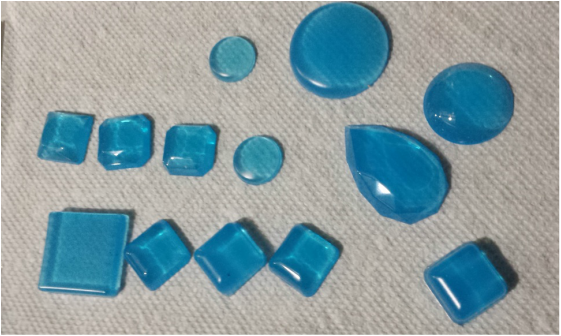
ResultsAt 1 drop per 10ml of mixture the gems are relatively clear. At 2 drops per 10ml, the gems were more opaque or milky in appearance. The thicker the gem the more opaque it was. For the glowing gem look, place a metallic backing to the gem. In the 2nd and 4th photos, as well as the completed armour below, I use metallic wrapping paper. Embossing foil and silver foil will also work. The effect is very nice and noticeable at 1 drop per 10ml and visible but not as vibrant at 2 drops. 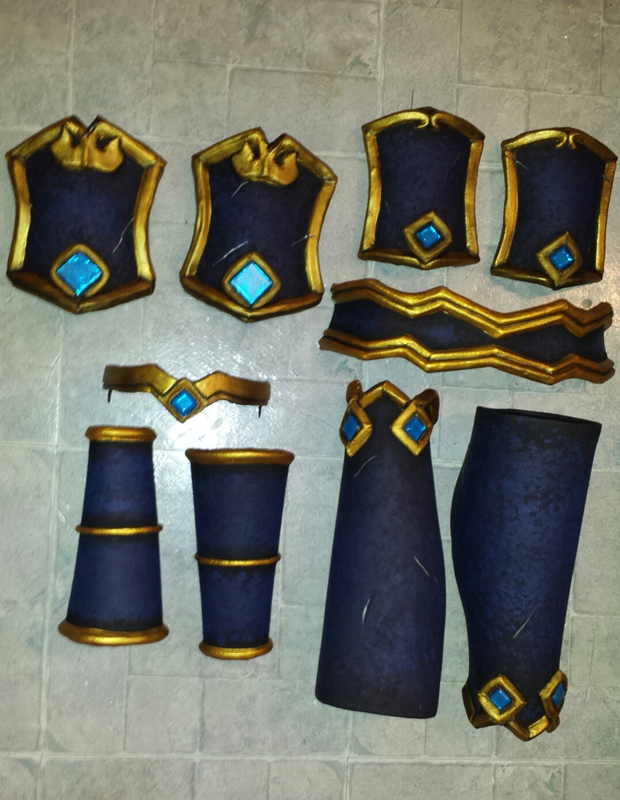 1 drop per 10ml gems installed in worbla armour with blue metallic paper Tips
Here are the gems in action. Happy crafting! 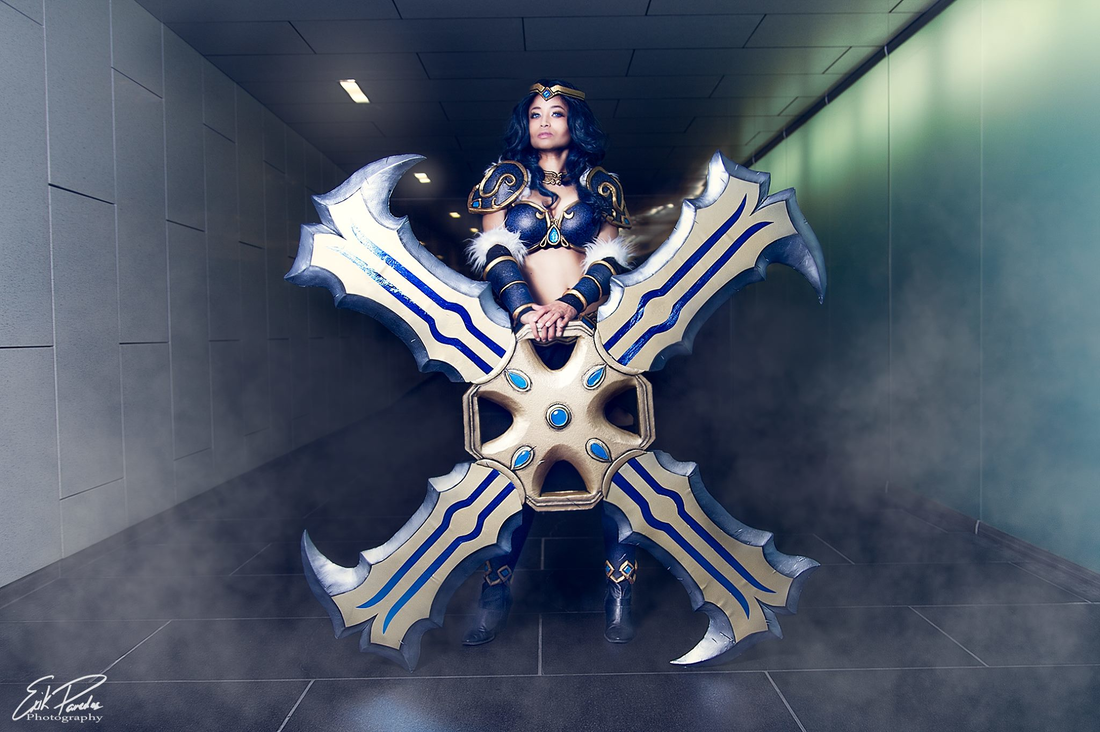 Sivir cosplay - Photo by Erik Paredes
1 Comment
28/6/2017 10:36:38 am
Wow that's one intimidating cosplay showing the gems in action! I mean that in the best way possible. I aspire to create such amazing costumes! Thanks for this tutorial too. I'm sure it will come in handy many times. ;) Leave a Reply. |
MeltingMirror's Cosplay BlogLearn more about my experiences in the cosplay world, from conventions to photoshoots and everything in between. Categories
All
|

 RSS Feed
|
© MeltingMirror. All rights reserved
|

|