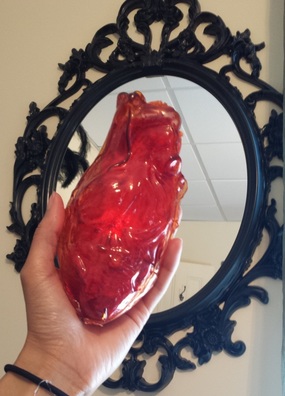
 Want to be a villain in the Once Upon a Time universe but you don't want to get your hands dirty? Well, I have to tutorial for you! MATERIALS
STEP 1 - Dye the TranspArt Cut two pieces of TrasnpArt large enough to cover half the heart. An extra 2 inches on each side is plenty. In a pot - specifically used for dyeing and not one you'll eat in later - bring water to a boil, add dye and intensifier. Mix contents until dispersed then bring to a simmer. Add one sheet of TranspArt and let soak while keeping it submerged. Keep in water for about 10 mins or until TranspArt is properly tinted. Then repeat for the second piece. 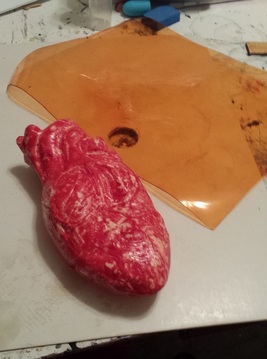 STEP 2 - Vacuumforming Check out this video by Naruvien Art & Design as a primer for the process. Cut a circular hole slightly smaller than your vacuum hose opening into some stiff cardboard. Apply some Vaseline to your fake heart and to the cardboard to prevent sticking. Preheat the TranspArt till it's soft. Start up the vacuum and place the hose below the hole, place the heart over the hole and the TranspArt above that. Use the heat gun to continue to soften the TranspArt. It will reach a point where the plastic will stick to the cardboard on all side and the last of the air will be sucked out causing a tight seal. Continue heating till all the folds and creases are defined. Be careful not to overheat the plastic or else it will bubble and melt.
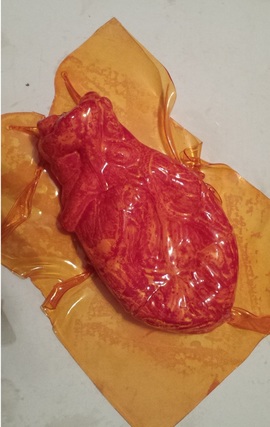
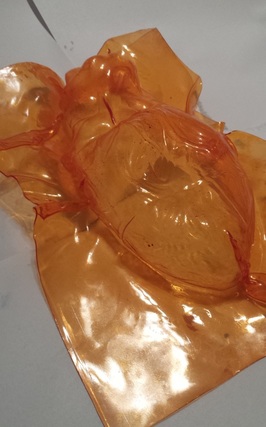
Let the plastic cool a little before popping the heart out. Repeat this process for the other side of the heart. 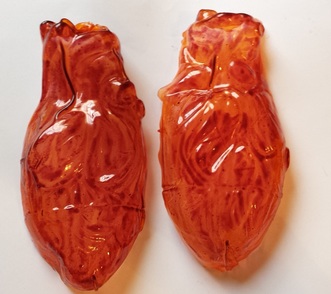 STEP 3 - Trim and Paint Cut off all the excess plastic around the edges. For one piece cut the plastic along the halfway point of the heart. For the other piece leave a little extra so that you can overlap the pieces essentially snapping them together so that you don't need to glue them together. Paint the inside of the TranspArt with glass paint - I use Pebeo Vitrail paint - to define the details. I used a dusty pink colour, but anything pink, orange, or red will do depending on the look you are going for. Let dry for 8 hours. 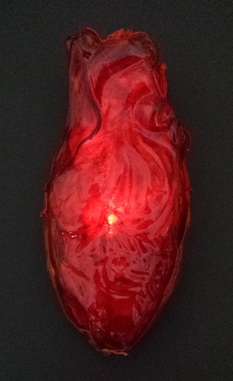 STEP 4 - Stuffing and Lights I used some bright red vein-like lace as stuffing in the heart to diffuse the light and to make the heart more opaque. Other materials you can use are: chiffon, curtain sheers, organza, or anything sheer and red. Insert a little red LED inside and you are done! See the before (the prop heart) and after photo below. Happy heart ripping fellow Enchanted Forest villains. ♥♥♥♥♥♥♥♥♥♥♥♥♥♥♥♥♥♥♥♥♥♥♥♥♥♥♥♥♥♥♥♥♥♥♥♥ 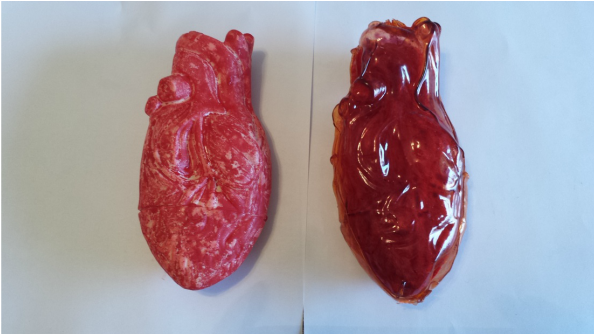
0 Comments
Leave a Reply. |
MeltingMirror's Cosplay BlogLearn more about my experiences in the cosplay world, from conventions to photoshoots and everything in between. Categories
All
|
 RSS Feed
|
© MeltingMirror. All rights reserved
|

|