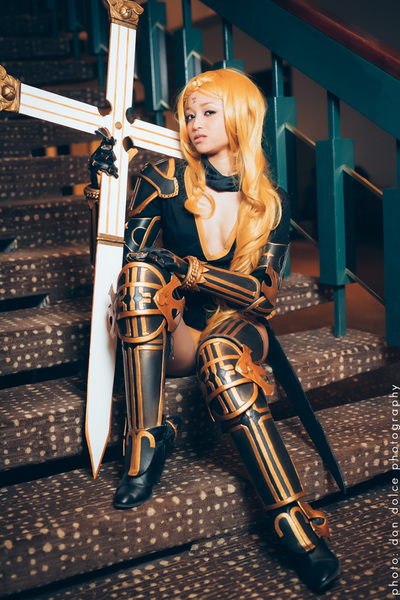
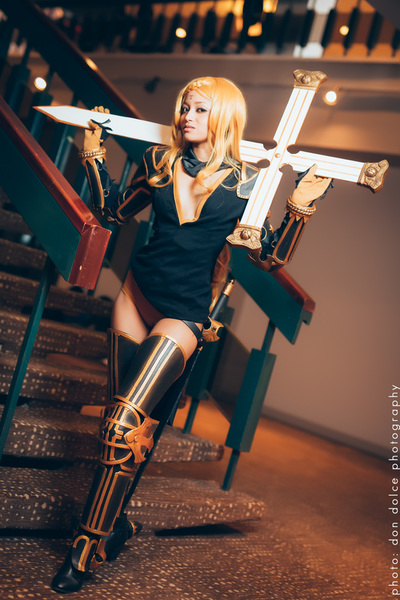
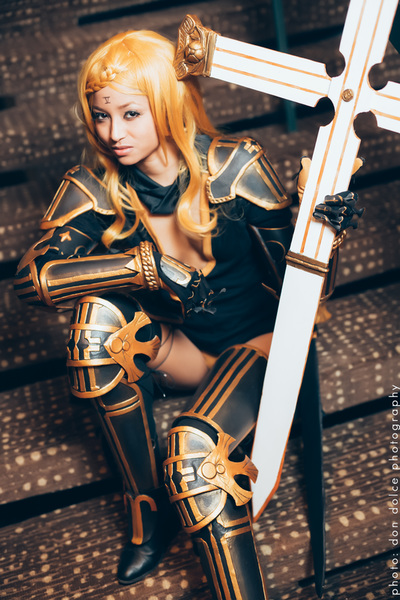
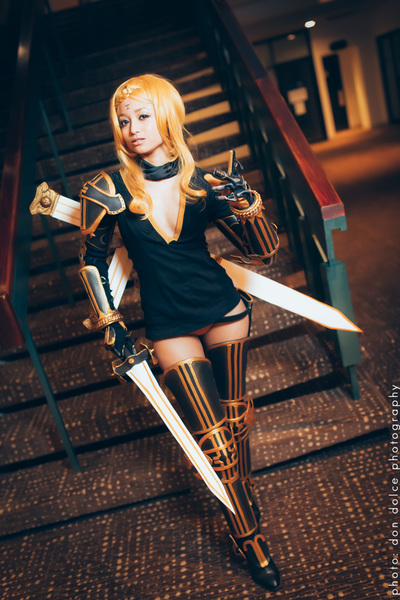
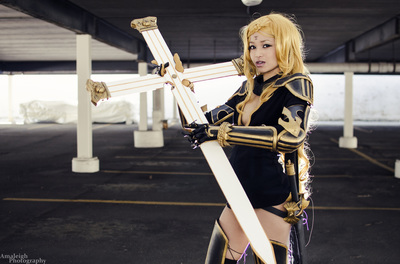
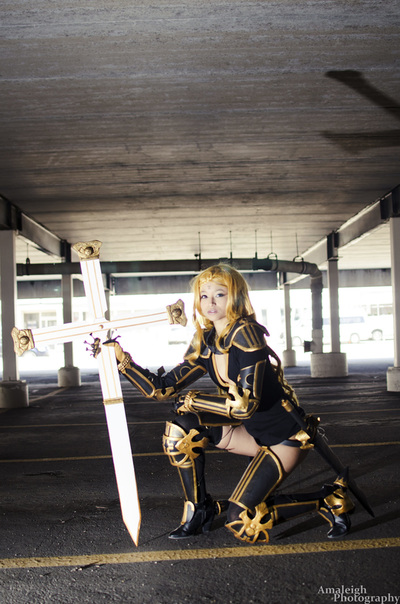
Five - Drakenguard 3 (Drag-on Dragoon)
Worn at:
Anime North 2015 - Toronto
Description:
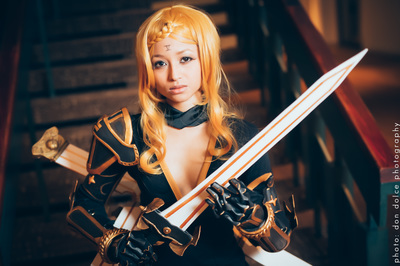
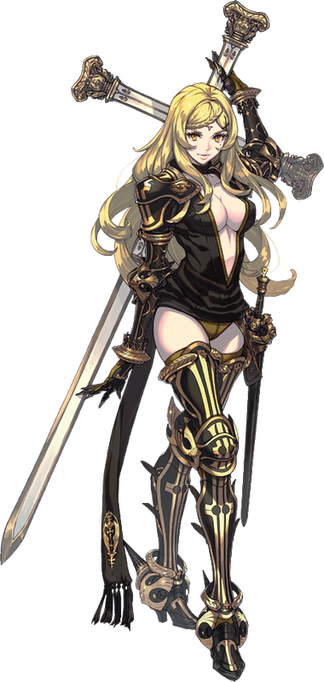
Wig: Is an autumn gold Hera from Epic Cosplay. I trimmed bangs to frame the face and longer stands to drape in the front. I made a braid to drape across my face and parted the bangs at the center.
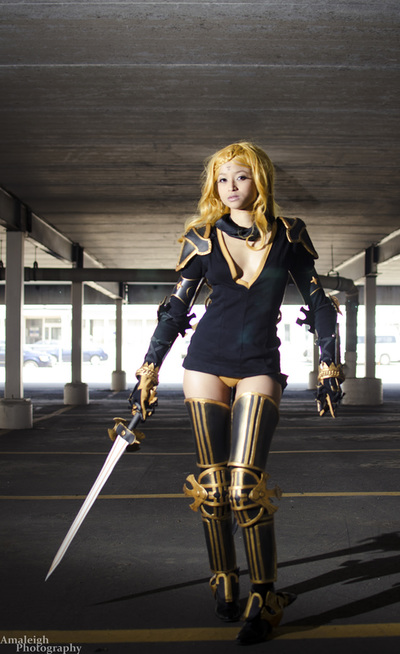
Sweater/Bottoms/Gloves: I used a black jersey knit from Mood fabrics for the sweater and a gold knit for the trim and the bottoms. The gloves were made with the same material, it is black with gold palms.
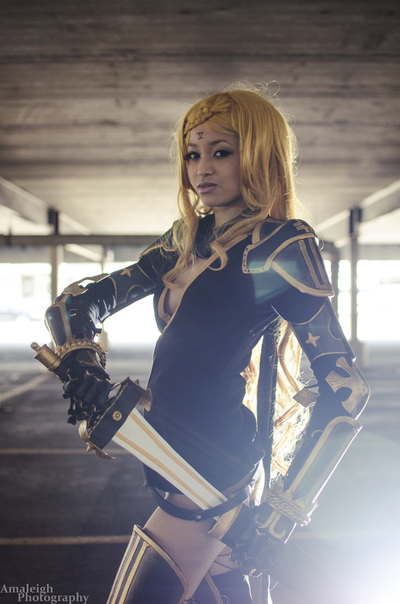
Harness: In order to keep everything in place I created a harness with a mix of soft cotton and synthetic strapping. The soft stuff was used to go from my waist to above my shoulder and back down to my waist in the back, and also for two straps around both my waist and hips. Synthetic straps were used as stabilizers crisscrossing on the back. I fabricated a holster for the cross sword out of tanned leather, leather strapping, and screwposts. Carabiner clips were used to latch onto D-ring on the harness. An eyelet was installed into the hip strap and a screwpost fastens a leather strap that holds the side sword. Button hole were placed strategically throughout the sweater to access these harness measures.
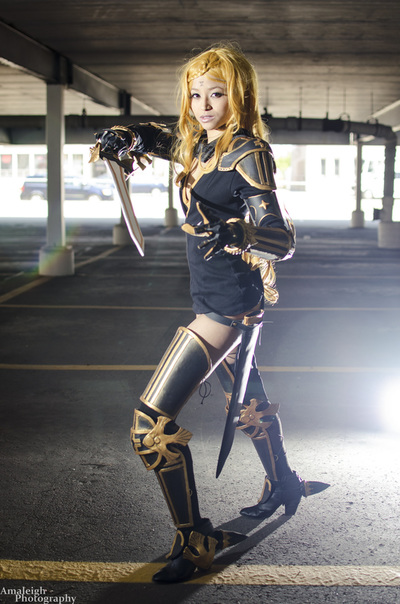
Armour (General notes): I had to deviate a bit from the original design for practicality reasons. Even with my modifications this costume was still uncomfortable and bulky. I removed the braided detail that hovers around the top of the thighs/cuisse and the ankles because they would always rub up against each other and would make it hard to walk. The same goes for the inner parts of the shoe armour. All of the limb pieces are supposed to be enclosed, however I opted to only do this for the rerebrace. All armour pieces got a coat or two of clear PlastiDip to protect it from wear and tear.
All armour pieces are made with yoga mat covered in worbla. I used 1 layer of worbla instead of the sandwich technique. It was nice to save on materials, plus I want my body to be in contact with soft mats instead on hard plastic. Trim details are 1cm strips of worbla layered on top.
Fastening: all but the rerebrace are fastened with D-rings and either black elastic or nylon cord. A 4-5in piece of wonderflex is heated and looped through the D-ring then glued to the inside of the armour.
Finishing: multiple layers wood glue was used as a primer. It was sanded then painted with black and gold gesso. I added some faint gold shading to lessen the contrast between the colours which is pretty drastic and looks cartoonish.
Paudrons: These were fastened down to the harness (as noted above) by glueing down a piece of strapping with snaps on the ends.
Rerebrace: These pieces are worbla and foam mats for the back of the arms and styrene and craft foam for the inner part of the arm. The raised cross detail is worbla.
Vambrace: For the braided wrist detail I glued down a layer of thick chain underneath a layer of worbla then pressed it into the gaps. I decided not to add the cross detail on the wrist because it would be too fragile. I was planning on laser cutting a plastic but I didn't get the go ahead from the library that has the tool.
Finger armour: I made 3 parts for the fingers and 2 for the thumbs. First there is a nail piece with an 1.5in extension towards the knuckles. Then, a small triangular piece higher up on the finger. Lastly, there is 2in long piece extending out from the knuckles. The pieces were primed with self-leveling gel, painted with gesso, then hot glued to the gloves.
Couters / Poleyns: The fan plates (aka the wings) were made with worbla on top of wonderflex. The wonderflex acts as a stabilizer since it's stiffer than worbla. Wood glue primer cracks if the pieces flexes so I switched to using flexible self leveling gel as a primer for these pieces. These pieces are hot glued down to the couters/poleyns.
Shoes: All armour pieces are fastened by crisscrossing elastic around the shoe and tying a knot under the heel. Holes were cut or loops were made to feed the elastic through. The heel points are foam cones covered in worbla. The wings/fan plates were made the same as the one on the couters/poleyns and glued to a worbla covered foam ball (cut in half ) base.
Side sword: The hilt is a one inch wooden dowel that is glued to the balsa wood blade. I cut and sanded the balsa wood to have tapered edges. The guard is made of craftfoam and worbla. The stripes on the blade were painted using painters tape as a guide, however masking tape is much better. Paints/primers used: white gesso mised with silver paint, black and gold gesso. The guard is made of craft foam and worbla.
Cross sword: I knew this would be a pain. I ruined 2-3 sculpts trying to make the mold for the cross ends.
The sword is made with balsa wood and a nut and bolt holds the pieces together at the joint which is hidden by a plaster medallion. I made it about a foot shorter than planned because I didn't want to worry about bumping into people with the blade.
I sculpted the end piece out of paperclay then made a mold using mold putty. I cast 6 pieces using a quick drying resin plaster (1hr cure time), then glued them with E6000 to the cross. To save on plaster and to keep them lighter I inserted a half foam ball into the bump of the design while filling the mold. I filled in any gaps with model magic and light modeling paste, then sanded it smooth.
The blades were painted with many layers of white gesso and the gold gesso stripes were added with the help of masking tape. The end pieces were primed in black gesso then painted gold so it would match the gold of the armour. These pieces were also dark-washed.
Costume retired.
