1 Comment
Costume Con (CC) is a truly unique event that I highly recommend for people that are dedicated to the craft of costume making. There is so much to learn and it has a great relaxed atmosphere thanks to it have a mature crowd. The main pillars of Costume Con are the panels, the competitions, and socializing. So I'll break down my blog about the weekend in these categories. My costumes for the weekend.
Click to go to their page with construction notes and galleries. Being invited to Anime Matsuri was a dream come true. After hearing so many good things about this event for years and having it on my "to visit" list I finally got to experience it. Everyone was kind and polite which made my first trip to Texas a blast!
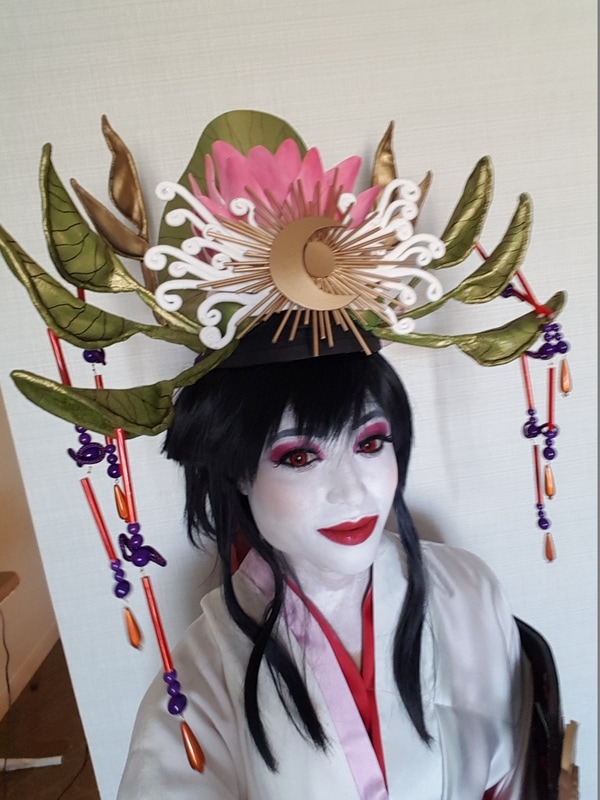
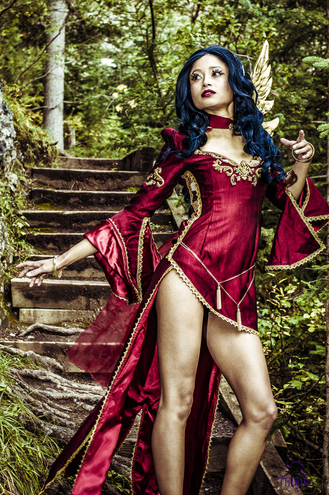
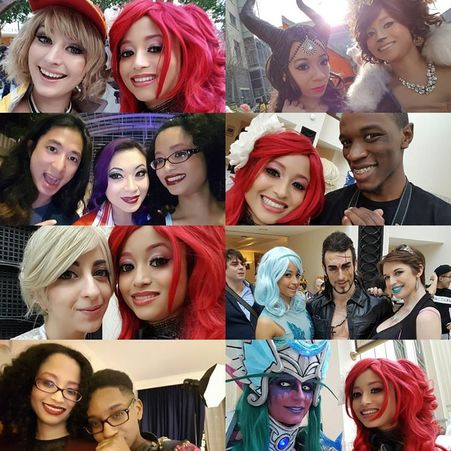 I thoroughly enjoyed Katsu this year. I decided not to push myself too hard and only booked one shoot per day and left the rest of my schedule open for quick shoots and hanging out with friends. I wasn't able to finish my big showstopper costume (Lilith - Reference here) due to health reasons. In the end it didn't bother me that much. In the past it would have bummed me out for the entire weekend which is an unhealthy habit. Instead I had fun. Here's what happened over the weekend.
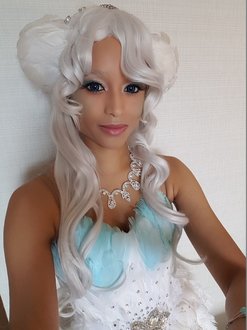
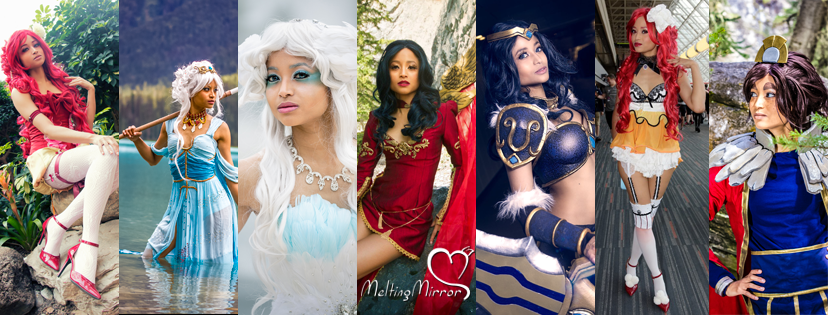
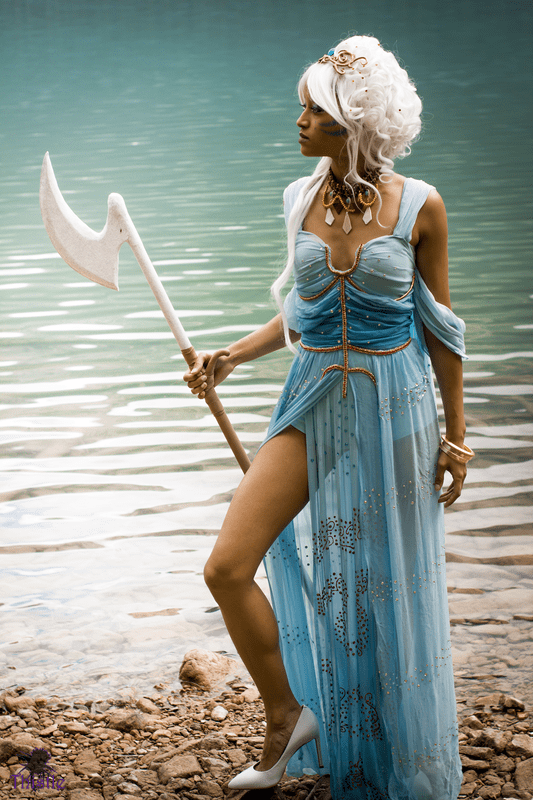
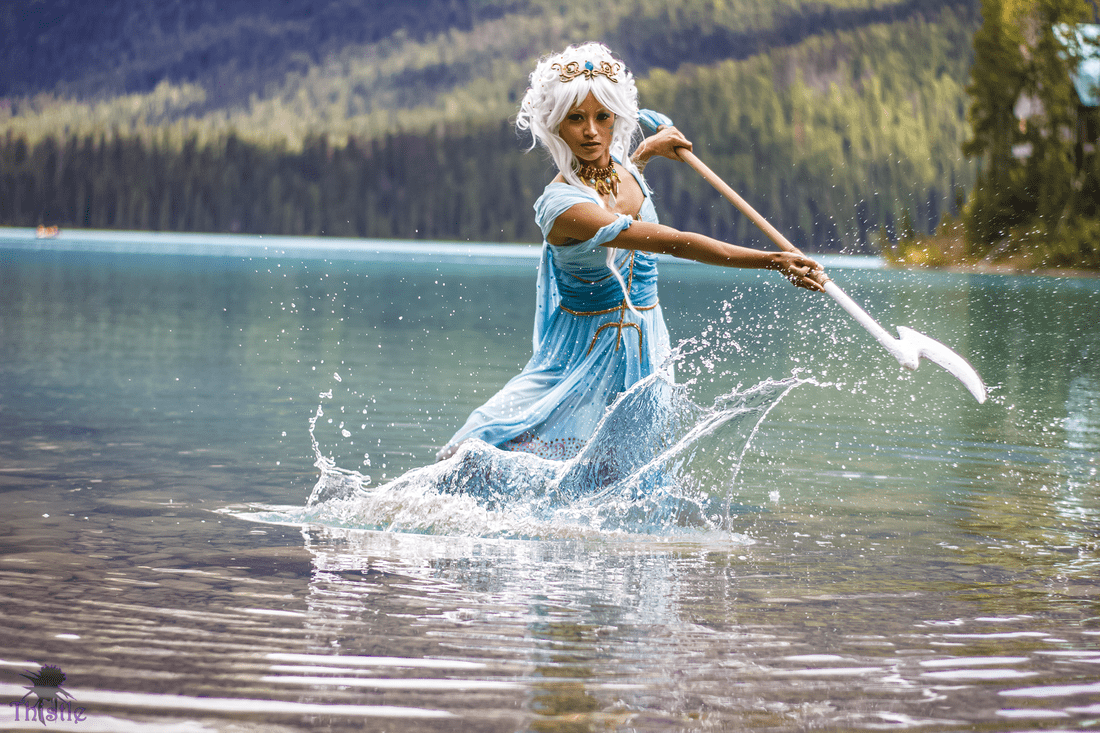
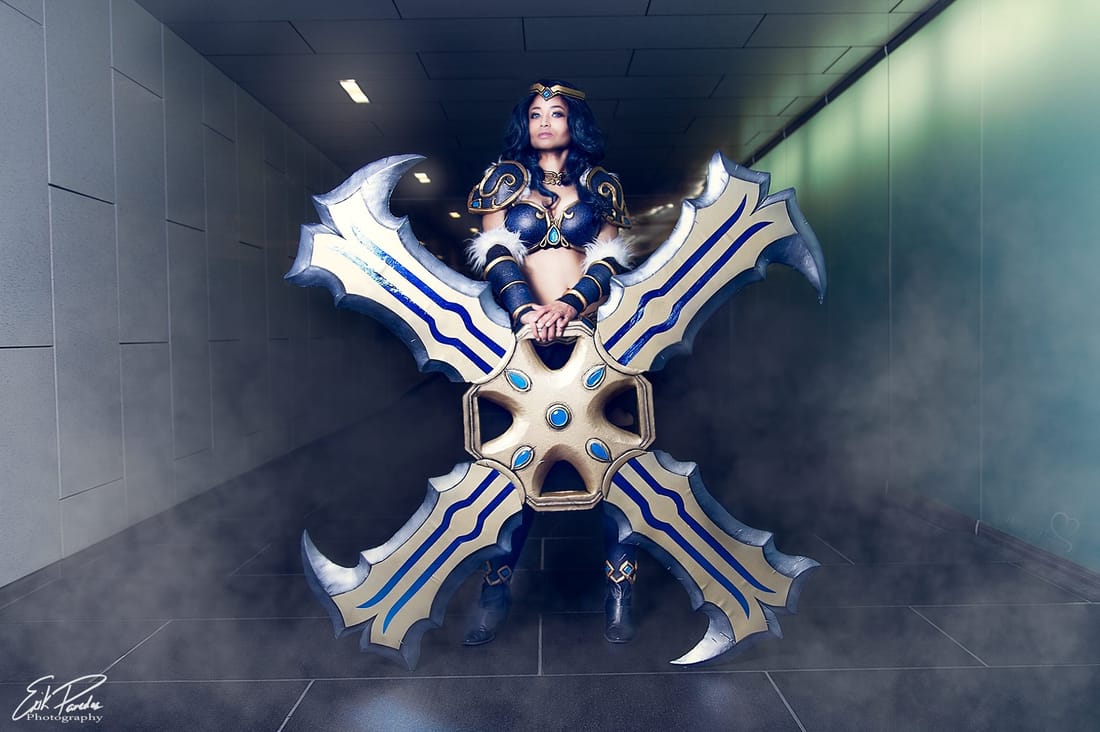
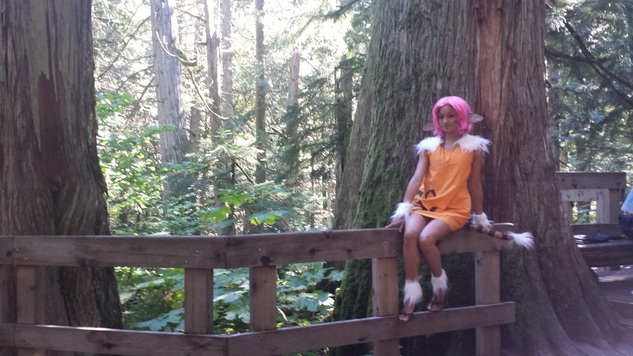
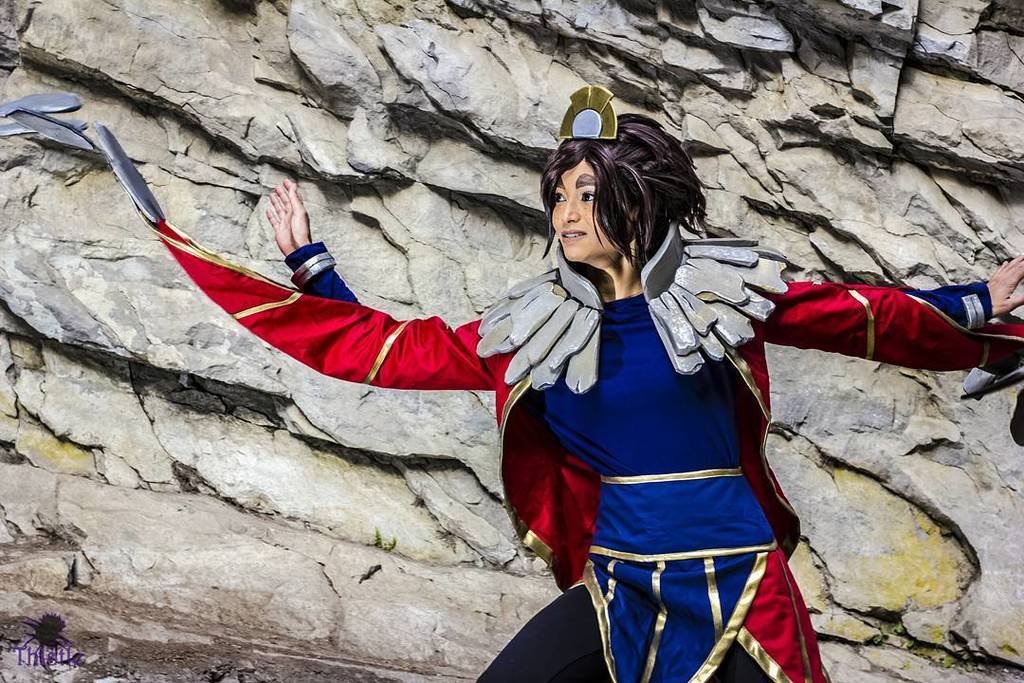
CostumesSeven costumes makes for a productive year by my standards and I got to use quite a few techniques along the way. For more details about how they were made, check out their pages. | Cancer | Kida | Swanna | Aion | Sivir | Mousse | Taliyah | WHAT I LEARNED
Costume ExpensesMost ExpensiveIt's a tie! Both Sivir and Kida cost about $218CAD. Most of the cost of Sivir was in the wig, worbla, and spraypaint, while Kida's cost were loaded into silk and rhinestones (most of which I didn't use but I repurposed them for Swanna). Least Expensive
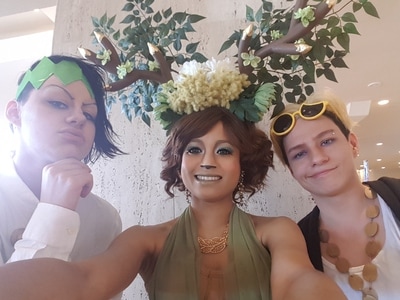
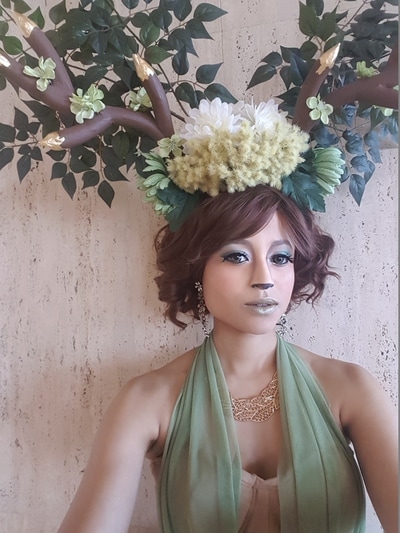
Favourites
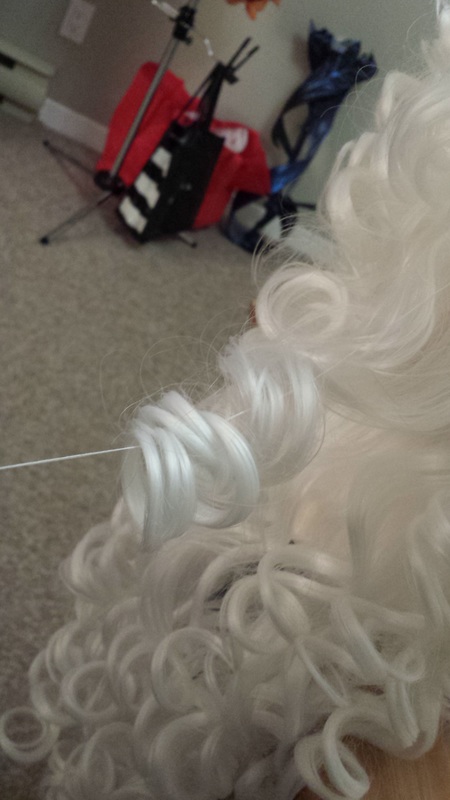
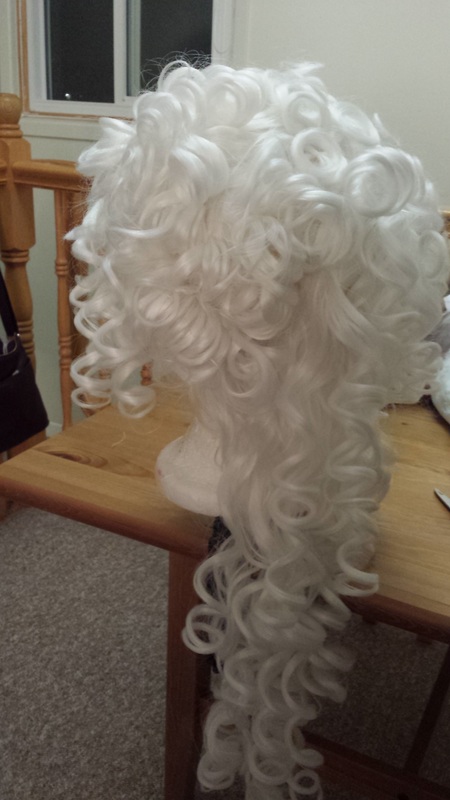
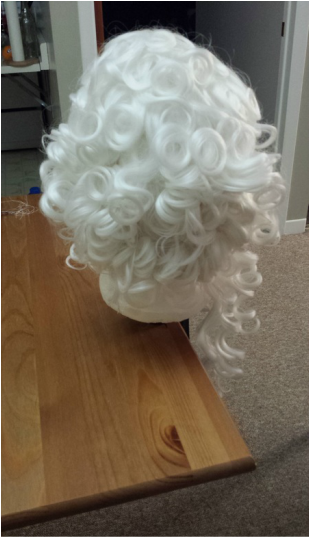
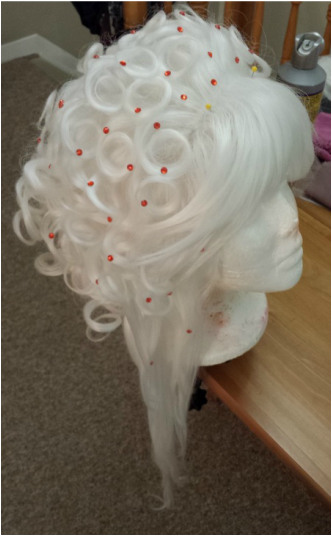
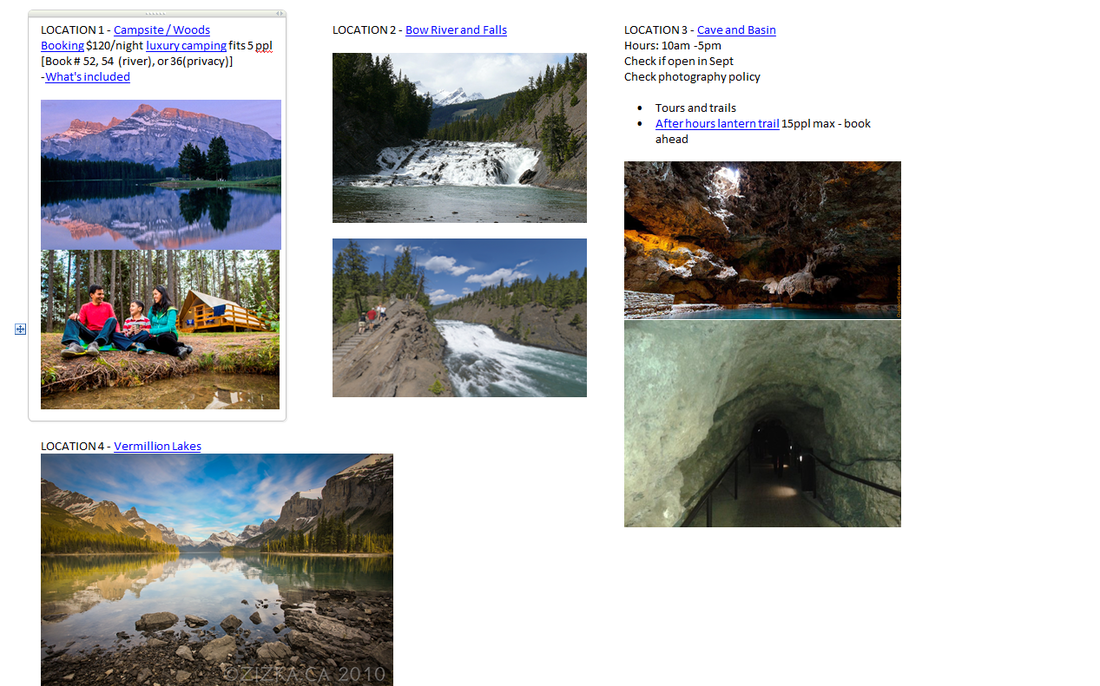
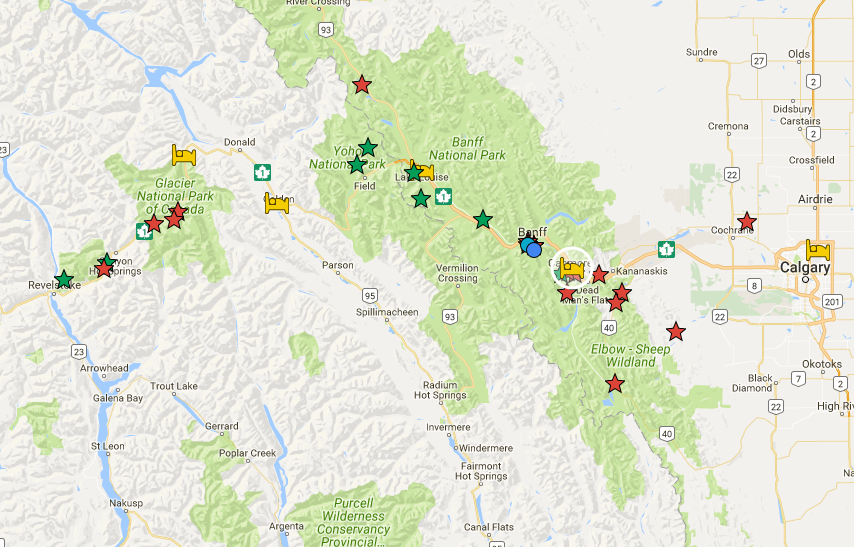
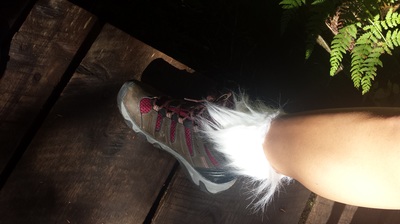
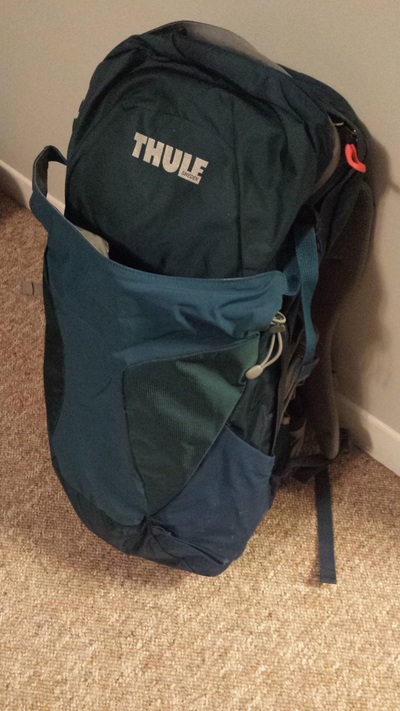
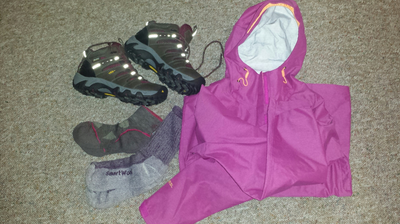
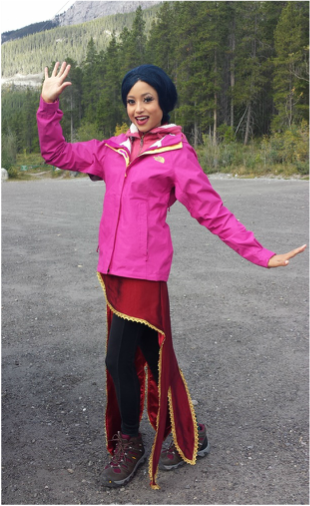
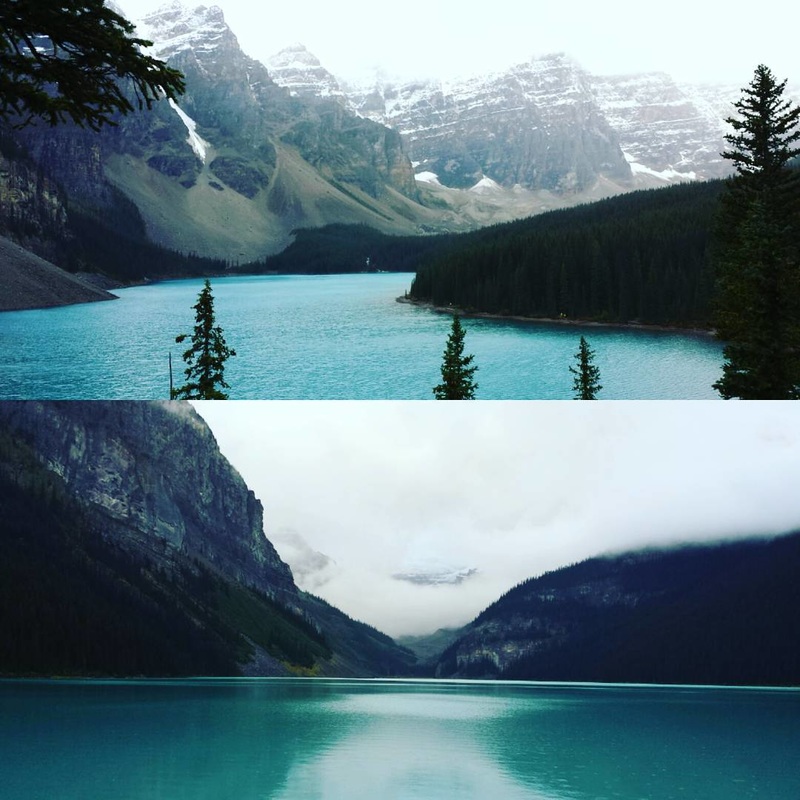
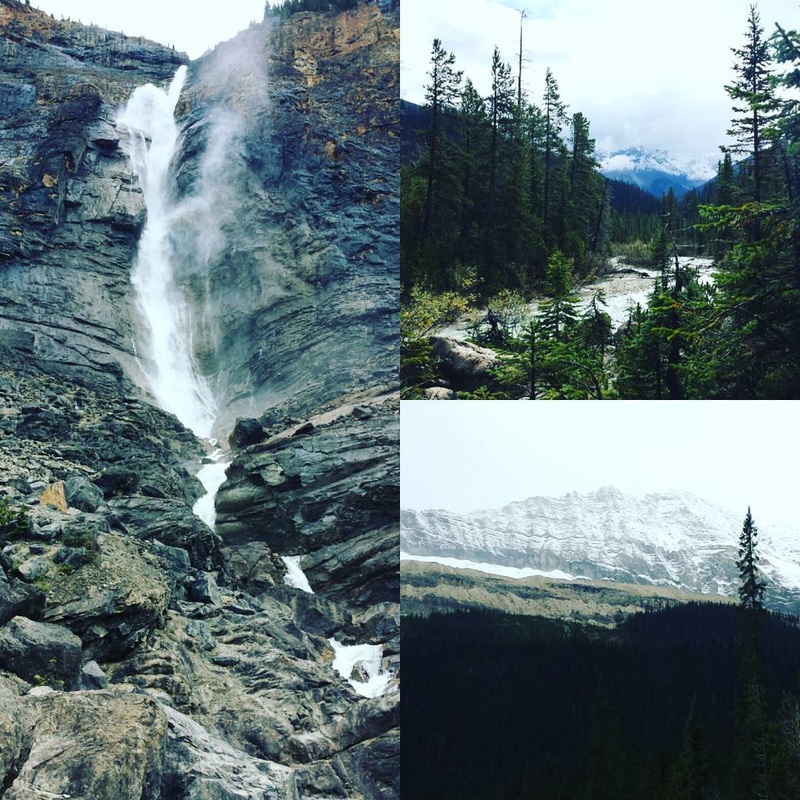
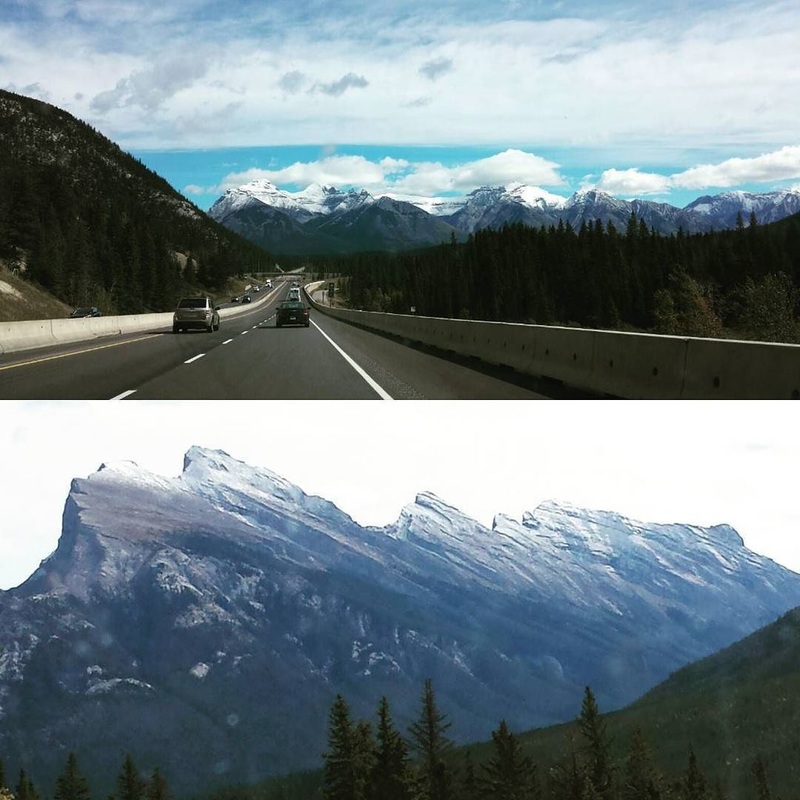
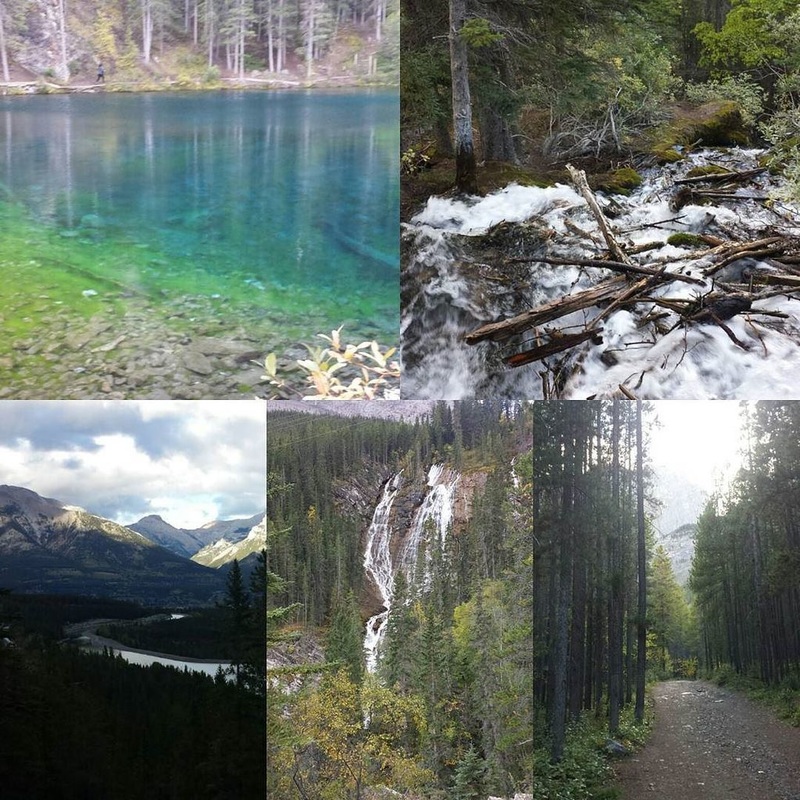
Favourite Event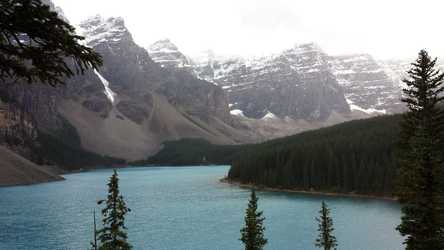 I`m switching it up this year since no convention could really compare to amazing time I had in Western Canada with my friends. I always want to be surrounded by mountains and turquoise water. All that fresh air and exploring was so refreshing plus much needed change to my usual con routine. A special thanks goes out to my fellow explorers Calamity, Shushuwafflez, Nomadic Goldfish, Vickybunnyangel, Lichon, Tricky Love and Thistle. Another highlight of the year was going to the League of Legends NA finals in Toronto. Participating in riftwalk was a blast and nothing beats watching the games live. Forward to 2017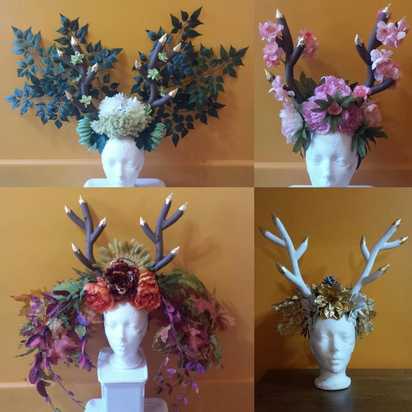 I was able to accomplish my goal of using leftover fabric on new projects in 2016 and I hope to keep that up for 2017. I'm already working on four very ambitious projects including my original Pokemon gijinka design for Sawsbuck (Headpieces on the left). I also hope to visit some new events as well. I may not be able to have another adventure in the wilderness next year but I'm already poised on planning my next big trip :) I hope to add new ways of showing my work or work-in-progress with you all. I'm exploring my options - Twitch, Patreon, etc. I'm a slow adopter so bare with me. For a list of my upcoming events and costumes you can visit my "PLANS" page. See you in the new year! MM 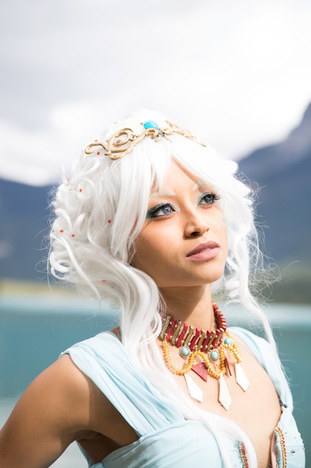 Photo by Lichon Photogrpahy Photo by Lichon Photogrpahy I’m a big fan of being able to re-use my wigs as often as possible so when I took on Kida (Hannah Alexander Vers.) I didn’t want to modify it too much. Also, I wanted the wig to remain full since reducing the fibers in light coloured wigs increases the chance of seeing through the wefts to the hair underneath. Finally, Kida normally has waist length hair so it makes sense that it’s pinned up for this hairstyle. In the end, I found a way to easily turn a long curly wig into a styled curly up-do. Materials: Wig head Wig stand Needle and thread to match the wig color Scissors (for cutting the thread) Sewing pins (To secure wig to foamhead) A wig with ringlet curls - I used a Victoria provided by Arda Using a Victoria or similar will save you a lot of trouble since the top half of the wig is already styled and you will only have to worry about the long strands of the wig. Setup: Secure your wig stand and install the wig head, then place the wig on top, pinning it in place with the sewing pins. Section off any hair that you do not want included in the up-do. In my case, Kida has long straight strands framing her face, so I kept some curls aside. 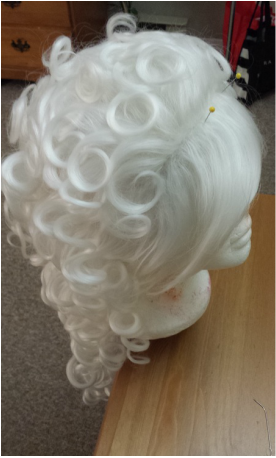 Strategy: Pick a side to start, I worked from left to right, then find the top ringlet curl of that side. It is easiest to work your way from the top down as to not get tangled in the other curls while styling the wig. At this point you need to decide on where you want to stitch your curls in relation to the placement of the vertical lace strips. The lace serves as a stable sewing base. Since the Victoria wig has a lot of curls at the top, I started sewing the curls about half-way down the cap. Sewing the Curls: Prep your needle and thread, tie a good thick knot and start stitching from the vertical lace strips. Once you have anchored your stitch, gather your curl and pass your needle through it (See photo below on the left). Once you have passed through all the rings of the curl you can lift it up and stitch it down to the lace strip. I do at least two stitches per curl to secure it down. Continue stitching curls along the length of the lace strip until you have sewn all the curls. Be sure to secure your stitches when you finish or run out of thread. Then move onto the next lace strip until you are done. Finishing: Set the wig with a light coat of Got2Be Freezing Spray to reduce the number of flyaways. When wearing the wig, use a few bobby pins to keep it in place. If you ever want to return the wig to its original state simply remove the stitches and shake out the curls. To complete the look for Kida, I carefully attached some orange rhinestones using Gemtac. Voilà!Five cosplayers with 15 costumes and three photographers on a week long road trip across Western Canada into the mountains and beyond. The trip was a dream come true but it did not you miraculously plan itself. Here a re a few things I have learned when planning a big trip such as this. Research, research, researchLOCATION SCOUT Many, many hours were spent hunting for locations on Google, blogs, etc. Consume as much information as you can and pick the locations that fit your needs. Once you find them start keeping track. I used a combination of OneNote project pages and Google Maps (more on that later). While you are mapping it out look into driving direction and distances between destinations (eg. 10min drive N of the hotel or 1hr drive and 30 min hike). This is especially important when dealing with cumbersome costumes when deciding how much to put on before getting to the destination and how long they can stay in costume. KEEP MOBILITY AND EASE OF ACCESS IN MIND Digging deeper into those travel blogs beyond the pretty photos will help you in the long run. Many sites will detail how to get to these locations which can be a tough hike. Make note of the obstacles you can face and keep that in mind when planning that leg of the trip. Another thing to remember, especially for cumbersome costumes, is to take note of the distance between the parking lot and your destination. Or simply find out if there is parking available in the first place. Parking tickets are a bummer while on vacation TIMING IS EVERYTHING Carefully chose when to take your trip while factoring in peak tourism seasons and weather conditions. I picked September because there would be fewer tourists (meaning cheaper hotel rates), it was the month with the least rainfall in the region, the weather would be cool but manageable for most costumes, and it was right before certain park services shut down for the winter. EXPENSES In order for people to confidently join you on this adventure, they should be given a ballpark figure to budget for. Hotels, rentals, passes, airline tickets should be factored in including miscellaneous costs. The onus is on them to settle n their own budgets and put the money aside. Map it OutI highly recommend using Google maps for planning out any trip. You can find all of your preferred shooting locations then save them to a custom map which you can load as an overlay on top of regular Google Maps. You can customize the markers' shapes and colour for even more precision, add notes and photos, plus you can add layers to your specialized map so you can filter out certain markers. My three main layers/categories were "Shooting Locations," "Hotels" and "Tourism Stuff." Best of all, you can open it up to other people the add and elaborate on. Pack AccordinglyOnce you know your locations and the time of the year for your trip, then it is time to figure out what gear you will need. I cannot tell you enough how much my hiking purchases saves me over my week long trip to the Rockies. If all our locations were easily accessible I would have soldiered on with regular sneakers and made it work, however, we had to hike up mountainsides, through streams, up stone piles, etc. If you have done your research then you should have a clear idea of what the trip calls for. Granted not everyone on our trip was as decked out as I was, but I have no regrets for my purchases. What I brought:
What I forgot:
Strategically pick your CostumesIf you are going through all the trouble of flying across the country to get photos, you might as well make it count. Pick costumes that match well with your settings by doing even more research. Have potential backups in case you do not finish your new projects in time. Make sure you have enough room to transport everything to that location. Do all your costumes fit in your luggage? Does your luggage meet airline standards (weight and dimension)? Do you have enough space in your rental car for everyone's luggage? Match up your costume choices with specific locations ahead of time so you can schedule out your trip and have your photographers on the same page. This way everyone knows what to expect. Pick your Team Carefully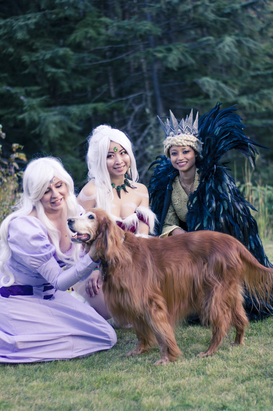 Sophie is a cosplay veteran Sophie is a cosplay veteran Spending a weekend with friends at a convention is one thing, spending a week on the road with them is another. I would suggest not inviting the ones that drive you crazy after 2 nights and to stick with the people who are cooperative. Being organized and clean are important as well as meshing with the rest of the group. It sounds cliché but teamwork is important to maximize everyone's potential. Everyone had to take on several different duties to make the vacation a success (human crutches, photo assistant, bag carrier, splash expert, bead placer, etc). Enthusiasm and willingness to help each other helped make many of these photos happen. Also from a practical standpoint, numbers matter. Dividing costs 8 ways helps cushion the financial burden on everyone especially when it can to transport and accommodations. Since most rooms fit 4 people, a group of 8 was ideal since you maximize savings. Set Realistic Expectations and Sort out terms with your Photographer(s) We reached a nice balance with 3 photographers for 5 cosplayers. At any given location there were 2-4 people in costume at once. We were able to have a nice rotation of cosplayers and photographers without putting too much pressure on one person. Be mindful of the working styles of those involved similar to booking or working with photographers at a convention. Don't expect a photographer who likes to produce one polished image per shoot to pump out ten all of sudden. Be respectful and set out your expectations and goals before your book your trip so that all parties are happy in the end. Friends and Fun come First and Photos come Second When I signed up people for the trip I made sure that everyone would be okay going out to these locations even if the photos didn't turn out. Enjoy the trip for what it is and the photos will be gravy. To put it simply, shit happens. The weather could be awful or a memory card gets corrupted. By focusing on having fun and spending time with your friends the trip becomes less stressful. Keep an Open Line of CommunicationHave everyone on the same page through a group chat or forum. Facebook groups or a Messenger group chat work well. Be sure to post updates for everyone to see so that they can contribute to the planning process. Have back up plans in place in case you split up and cannot contact each other. We made this mistake once. There is a surprising level of cellphone service out in the national parks in Western Canada but there are black out zones, Lake Moraine being one of them. Setting meet-up locations and times can easily solve this problem. Where would you go for a cosplay trip?
For a long time I've been amazed and inspired by cosplayers who do on location shoots. After cosplaying for 12 years, you tend to get into a routine when it comes to conventions. I'm hitting the 10 year mark for certain regional cons, so even though I love these events, when it comes to getting new and interesting photos, you are at a loss. Either you are shooting at the same place that you have in previous years or you end up with the same photos as ten other cosplayers due to the lack of suitable shooting locations.
What I love about conventions is that I get to see friends from far away, however, it's a catch-22 since people schedules are busy so you have to settle with saying hello in passing or ten minutes of chatter between shoots and panels. So I took it upon myself to switch it up this year. At first I was inspired by Anna Fischer's Wild Places project and her "Cosplay Iceland" trip. I was also inspired by Lichon Photography's work with cosplayers out in western Canada. I was curious to know why I didn't see Canadian cosplayers going on these adventures, especially out west, so I figured I might as well make it happen. Why Banff?
I've never been to Western Canada, the furthest west I've been in Canada is Windsor, ON which is next to Detroit (although I've been to Vegas in the US). This was a multipurpose trip since I would get to do cosplay stuff but also be a tourist. The same applied to many of the people who participated.
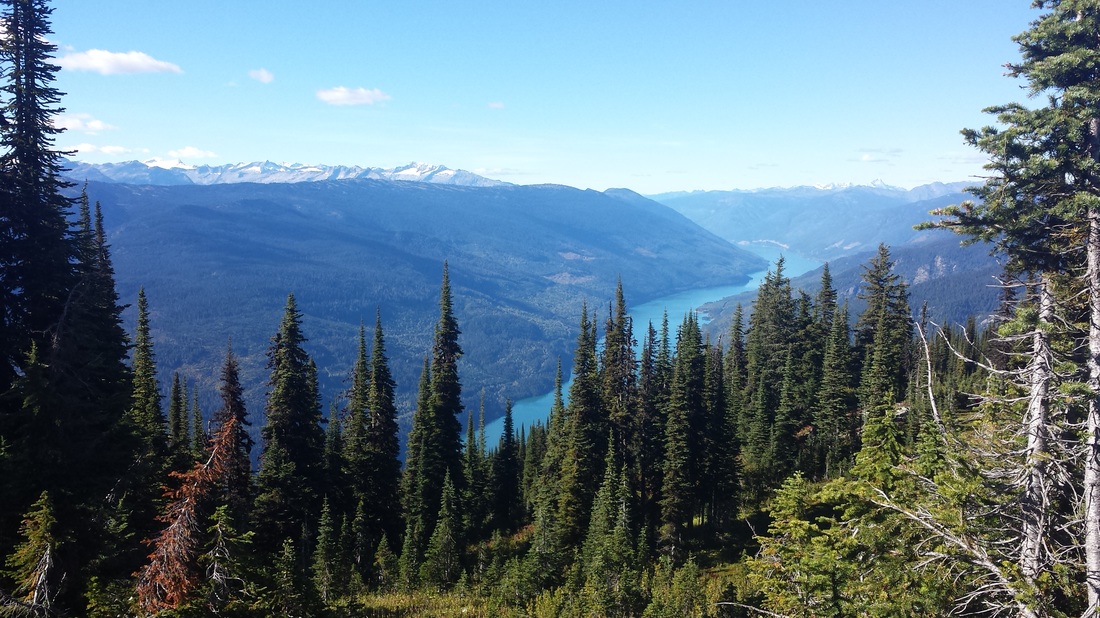
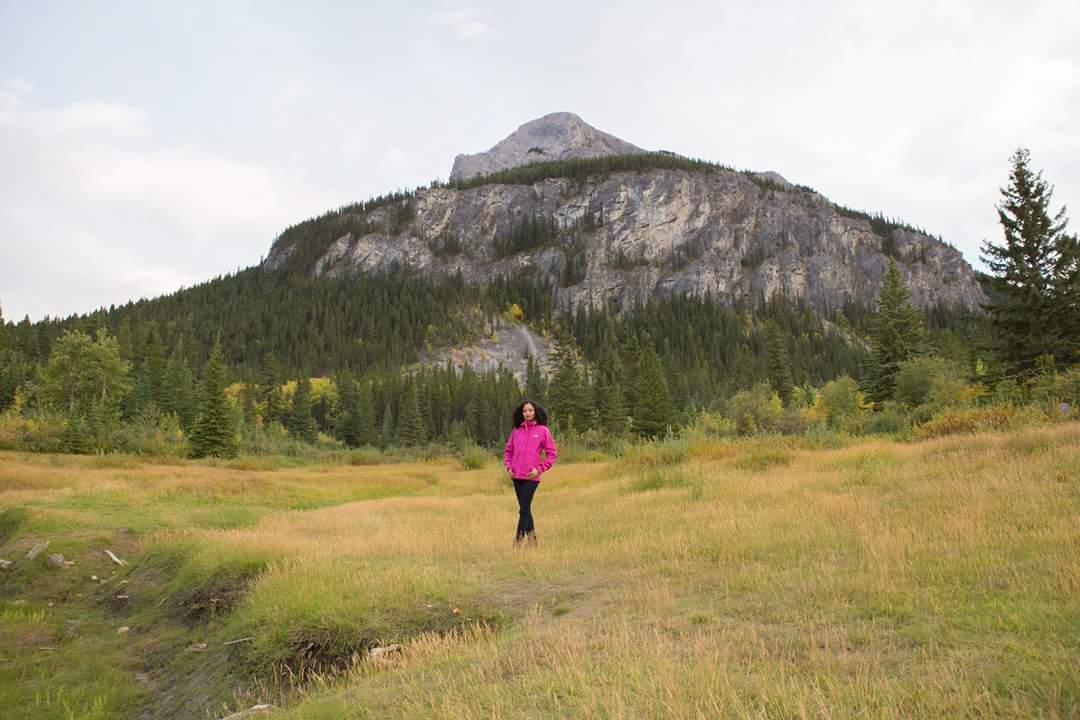
Secondly, in the Banff area (We hit up 4+ national parks along the same highway) there is a high concentration of beautiful natural wonders, such as turquoise lakes, waterfalls, mountains, and giant cedars. The furthest point we traveled was about 4 hours from the airport in Calgary.
Thirdly, cost-wise Banff is an affordable trip. The locations are close and since it is in Canada we didn't lose money on exchange rates. This trip was supposed to serve as an alternative to travelling to a big US convention. For myself, it costs over $1000CAD to go to Dragoncon. Although I had a great time that one year I attended, the return on investment wasn't that great. Why not spend a little more and go someplace amazing for a week and get unforgettable photos and memories?
The Team
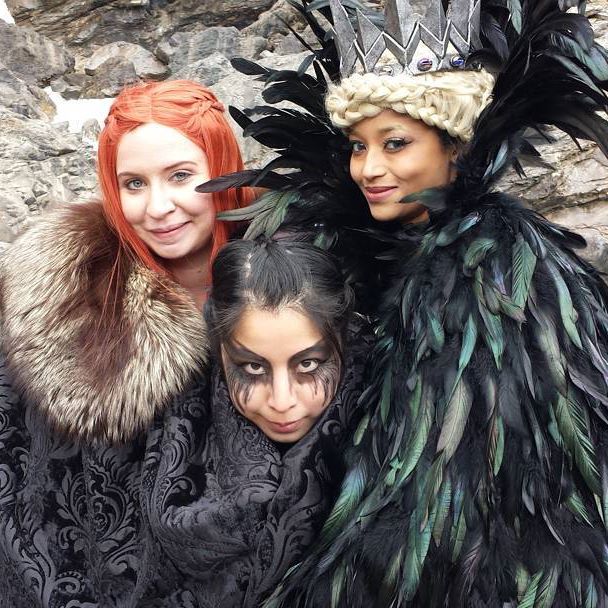
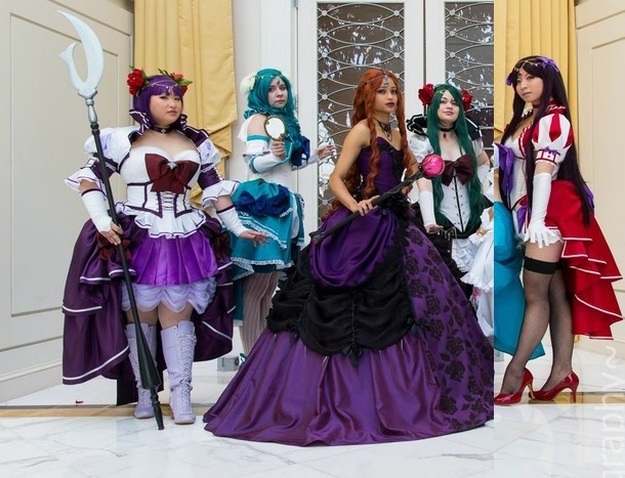
I find it amazing that I have reached a point in my cosplay life that I can convince seven individuals to go out into the wilderness with me. I was overjoyed that these lovely ladies signed up for the trip. I've known each of them for several years and it was nice to have us all in one spot. Katsucon 2015 was the last time we were all in the same building together, pictured below.
COSPLAYERS: Shushuwafflez, Nomadic Goldfish, Myself, Calamity Cosplay, and VickyBunnyAngel.
Another shout out goes to our amazing photographers. Three cheers for Lichon and Thistle for trusting that we weren't a bunch of psychos and signing up for this trip without knowing any of us. Can you imagine a week long road trip with strangers? Well, by the end of it we were all great friends so it worked out marvelously.
PHOTOGRAPHERS: Lichon Photography, TrickyLove, and Thistle Photography The Plan
This trip took a lot of planning. A lot. I'll get into that in another blog. On the plus side, it is something I am used to. I'm usually the one booking rooms for all my cons and airline tickets for myself and friends. I started organizing this one year in advance by scouting shooting locations, looking into park passes, and potential costs. Once I had a solid idea of the trip I sent out invitations and got other people involved.
The goal was to hit up as many diverse locations without feeling rushed. In the end we still ended up staying in five different hotels over a 7 day period but I feel we still had some room to relax. We had several potential shooting locations set aside for each day as options or back-ups depending on the weather and our energy levels.
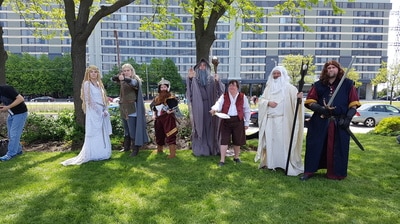
Each cosplayers brought a selection of costumes (2-5) that fit the scenery. We kinda dropped the ball on big group cosplays but we'll make up for it next time. I was the crazy one who brought five costumes [Aion - Taliyah - Kida - Ravenna - Merle]. I figured if it could fit in my luggage, why not? Worst case scenario, I just don't wear one of them... but I wore them all, somehow. One of the important aspects of this trip was to enjoy ourselves without the crazy cosplay stress that comes with conventions. Which meant there were days that people had to take it easy and skip on wearing a costume or shooting at a certain location and it was OK. You're on vacation so take a step back, breathe a little, and enjoy your time with friends.
The Results
This trip was more than I could ever ask for. The whole group got along well and I got to bond with old friends. Our new team members quickly became good friends and I look forward to touching base with them over the years. I got to soak in so many sites and breathe in that fresh mountain air. I even saw two wild moose and a wolf while driving down the highway #Canada
We all got to test how hardcore we were as cosplayers.
Final Word
Don't let your dream be dreams. JUST DO IT! We were three days into our trip and I still couldn't believe it was actually happening. It was a dream come true so it felt unreal. I made memories that will last a lifetime and I can't wait to do it again. Now that I know what it takes, I will likely do one of these trips every year or every other year.
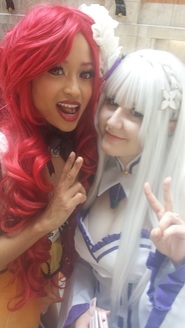 Mao-Chan helped out with shoot with PitFire. Such a cutie. Mao-Chan helped out with shoot with PitFire. Such a cutie. This was my 9th year at Otakuthon. Wow! It has always been a favourite of mine thanks to the venue, location, and friends. I had a great time this year even though it's getting harder and harder to spend time with friends since the event is so photoshoot friendly that everyone tends to wandering around shooting all day. This was a much more relaxed year since I skipped competing in the WCS Canada preliminaries/finals and judged the masquerade instead of competing. Although after a year of judging events I feel due for a good stage performance. 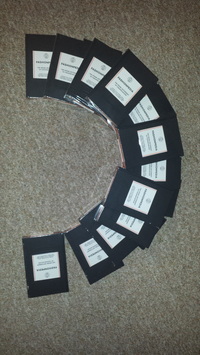 20 Fashionpedias 20 Fashionpedias Recently, I got together with a group of 20 cosplayers and we each bought a copy of Fashionpedia when they launched their Kickstarter back in March 2016. I was really excited to get a copy since I am a big fan of another book they created - The Fashionary - which has fine outlines of figures, so you can draw consistent designs over top. They even have variations for men and shoes. I just did my first read through the Fashionpedia and here are my impressions . Note on Images: All subsequent photos are from Fashionary's website so that I don't post anything beyond what they are willing to share because copyrights are a thing. |
MeltingMirror's Cosplay BlogLearn more about my experiences in the cosplay world, from conventions to photoshoots and everything in between. Categories
All
|




 RSS Feed
